
11/27/2019
At some point i wanted to start experimenting with different types of 3D printing materials, instead of just the rigid plastic i am used to. I ordered some TPE (an elastomer) filament to give it a try.
It took me a while to figure out how to print with it. The secret is to make all extrusions like walls, tops, bottoms, infill, everything have the same print speed (20mm/s MAX for a .4mm nozzle). Also don’t use retraction. The temp is very sensitive, there is about a 5 degree C sweet spot where too cold will be blobby, and too hot will be runny.
The theory is that since this material is squishy, any change in extrusion speed will cause the filament itself to squish in the extruder, which then puts pressure on the nozzle so more or less material comes out than the intended amount. Retractions do the same thing. If there are no sudden pressure changes in the nozzle, the soft material will extruded predictably and as intended.
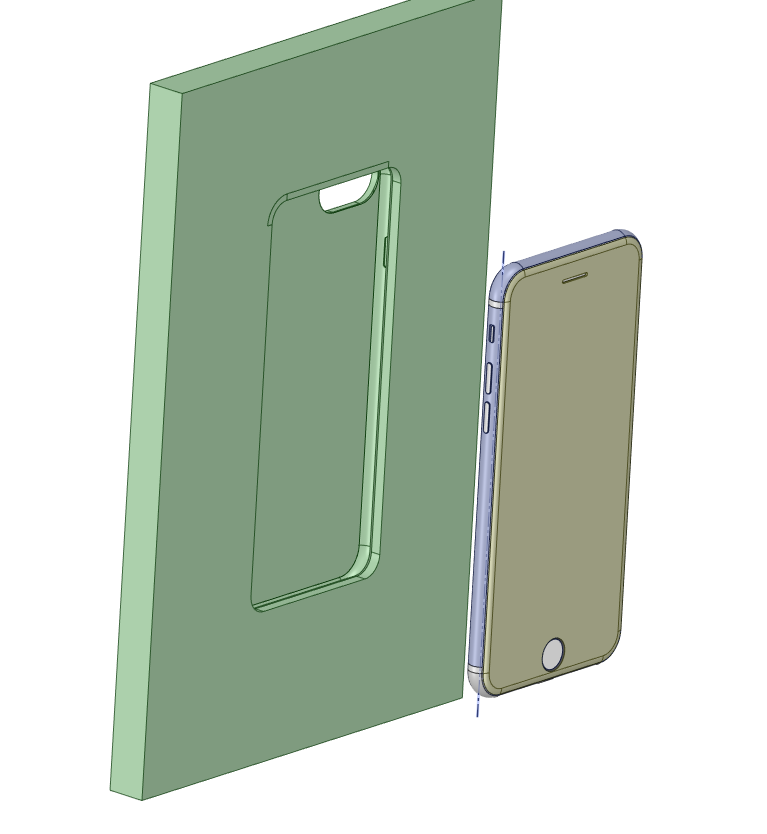
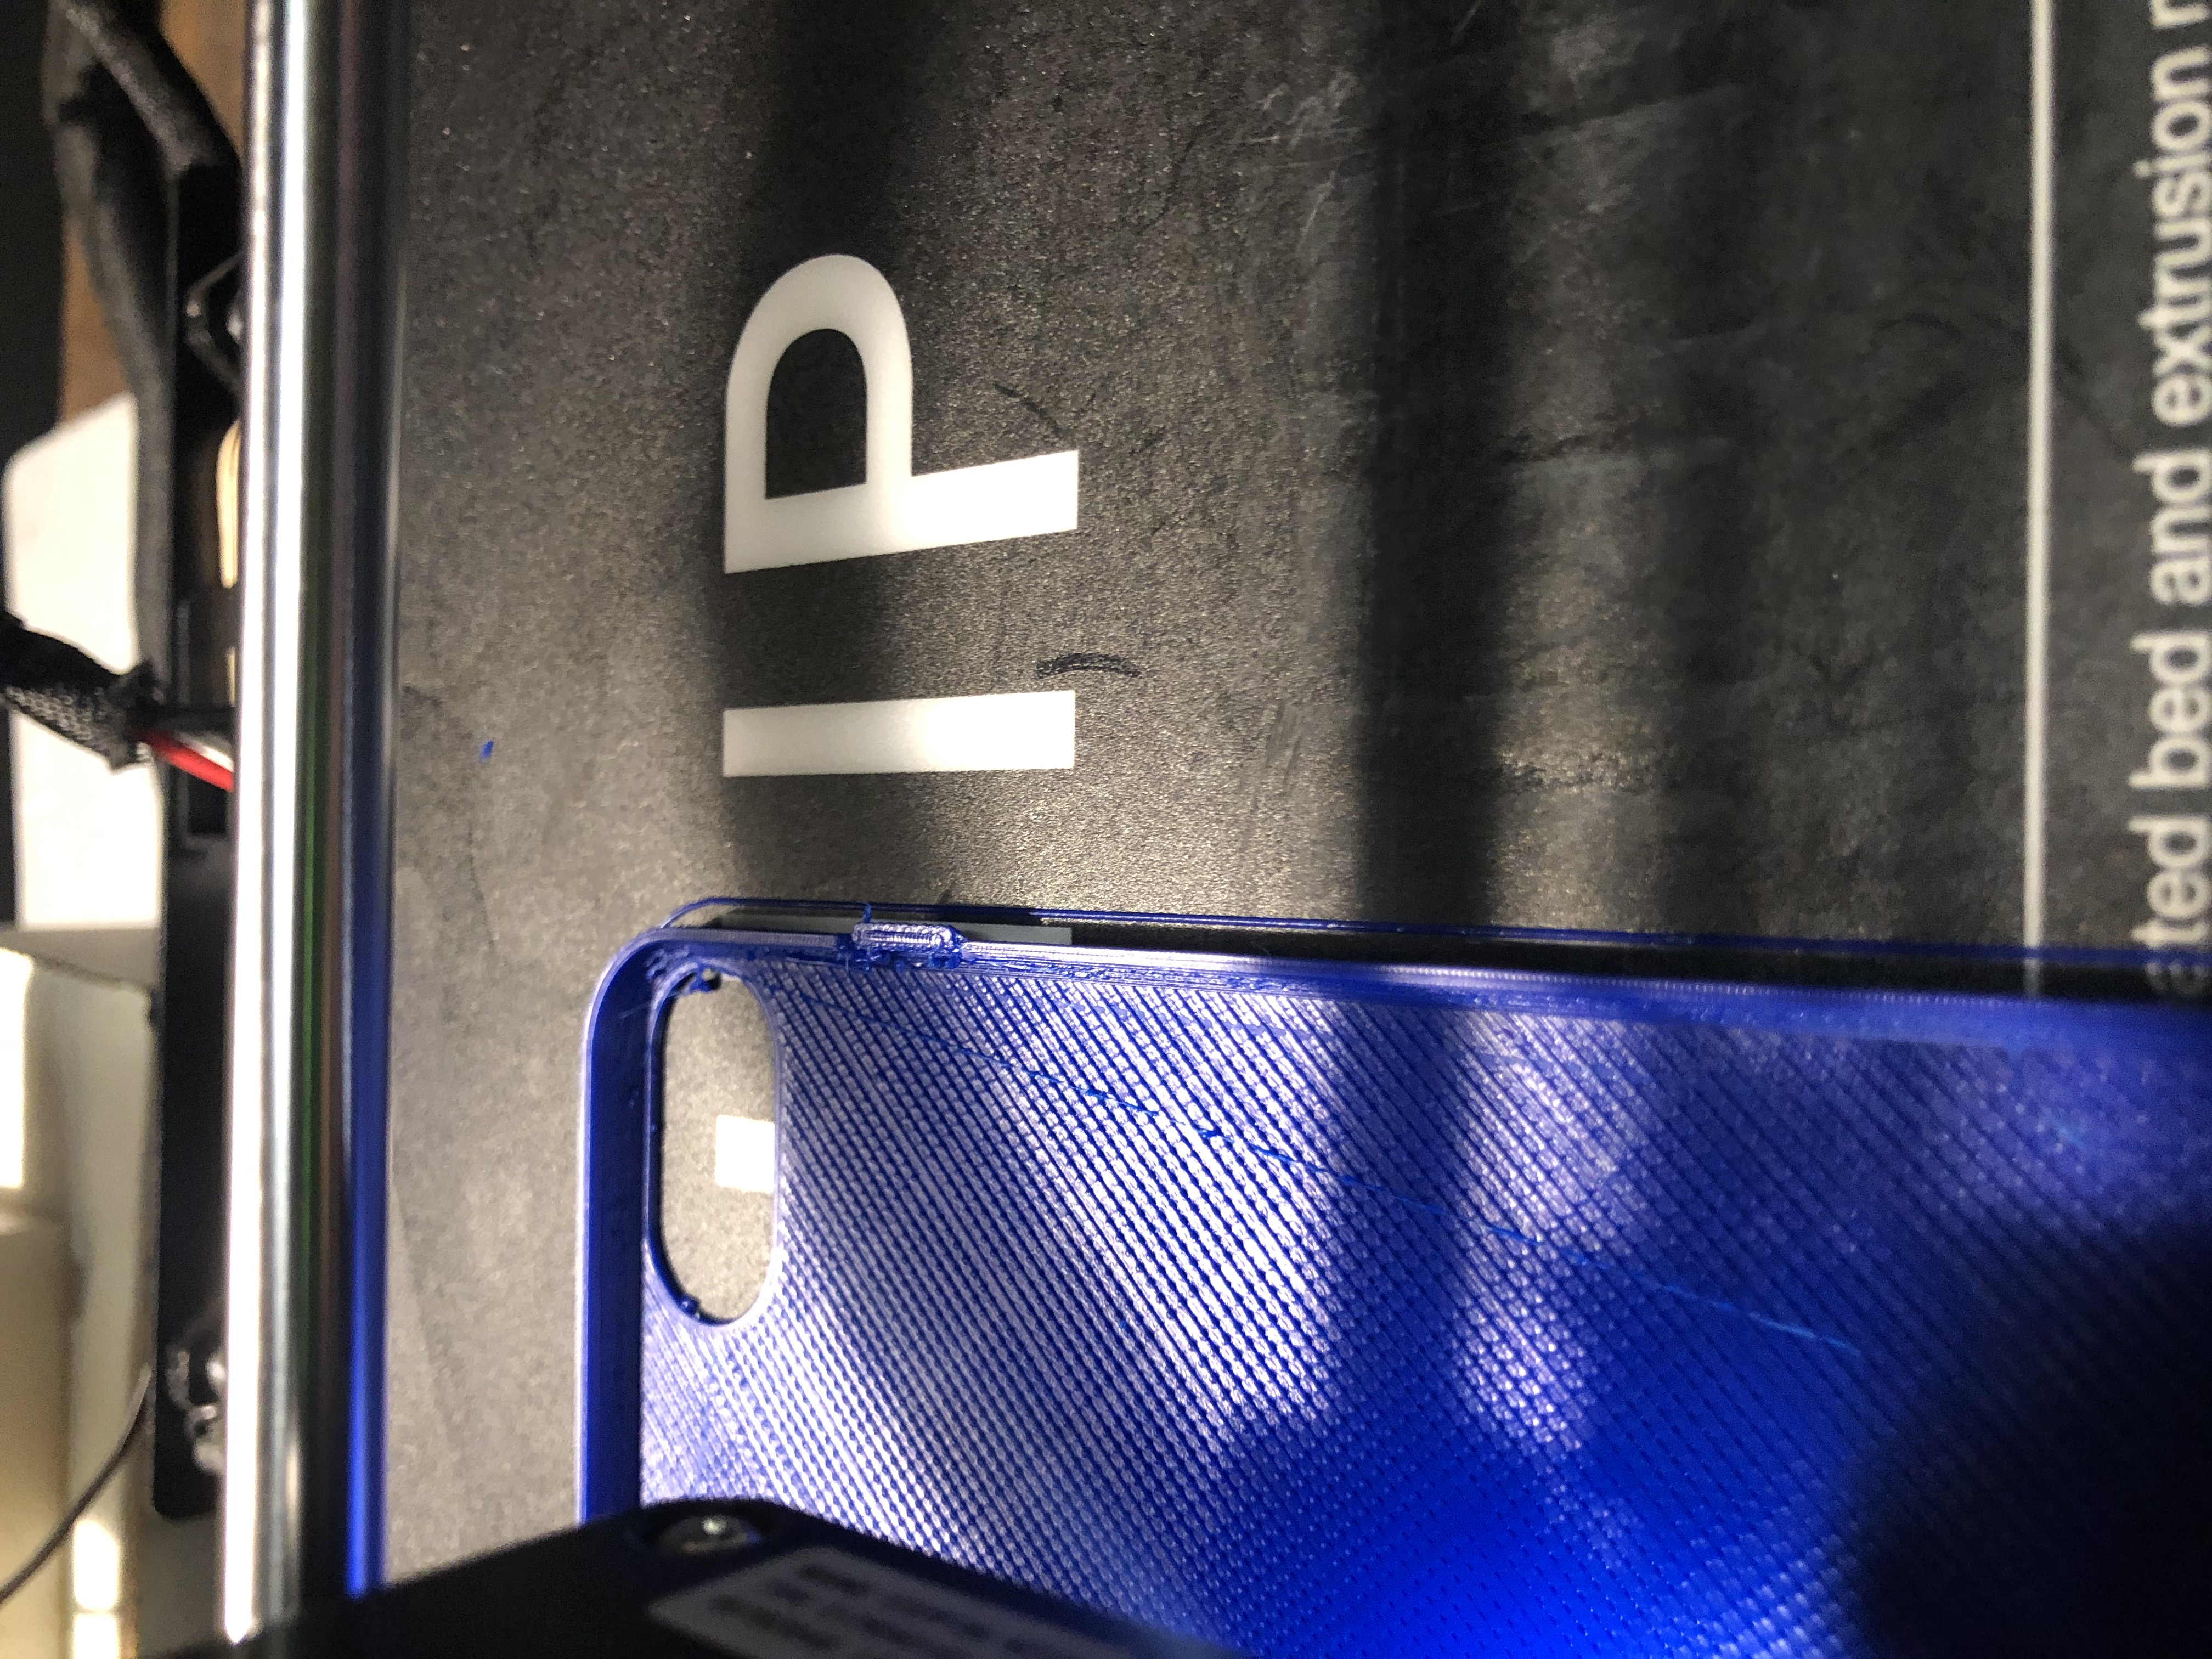
Once i figured out the settings, i wanted to make something really cool. This material would make an awesome, bright, flashy phone case! Well i found a model of my exact phone so I downloaded it and got to work.
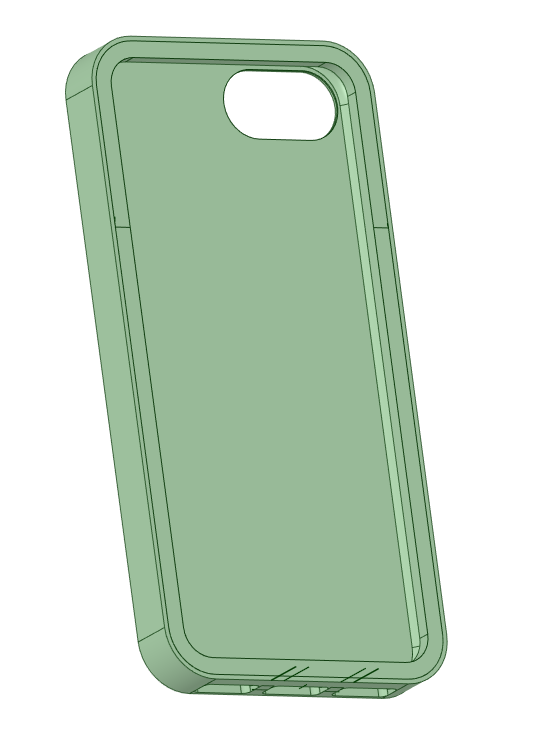
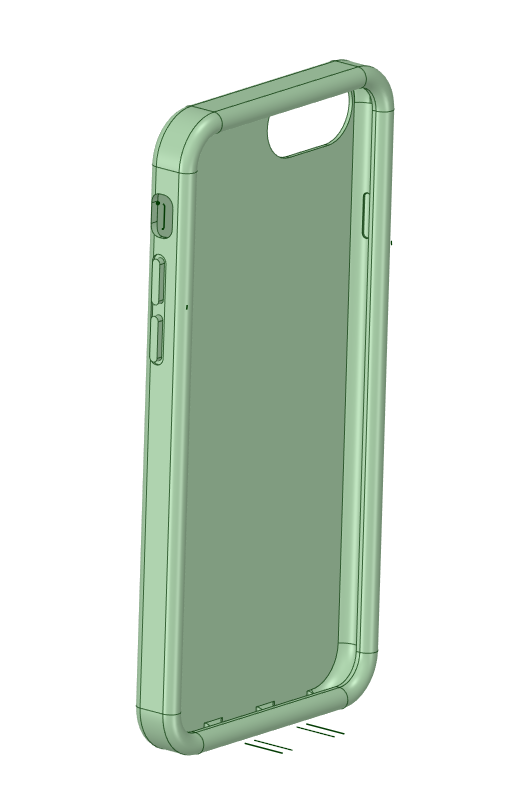
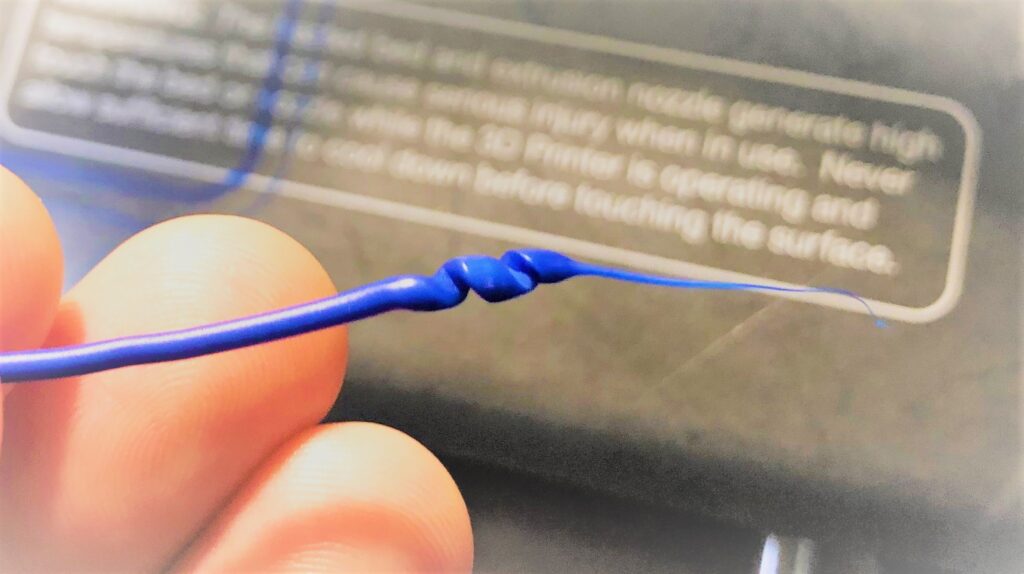
I printed a lot of tests of these two designs to see if they would print and how well. I spent a few months struggling to get them to print well. Each case took about 7 hours to print, and often it would over heat and jam, or the squishy filament would bind and get caught in a gear. Adding the round overs and buttons made things even worse.
I was exhausted, and sick of these failed prints. I had spent almost 3 months trying to print this damn case. I lost enthusiasm. I still cared, but i needed to take a break. I put this project down for a few months.
In the next 6 months, i bought another type of material, TPU(polyurethane) which is a more rigid, yet still flexible material. Kind of a hybrid between TPE and the normal rigid PLA. This material is easier to print than the TPE. This rejuvenated my enthusiasm to finish the Phone case project.
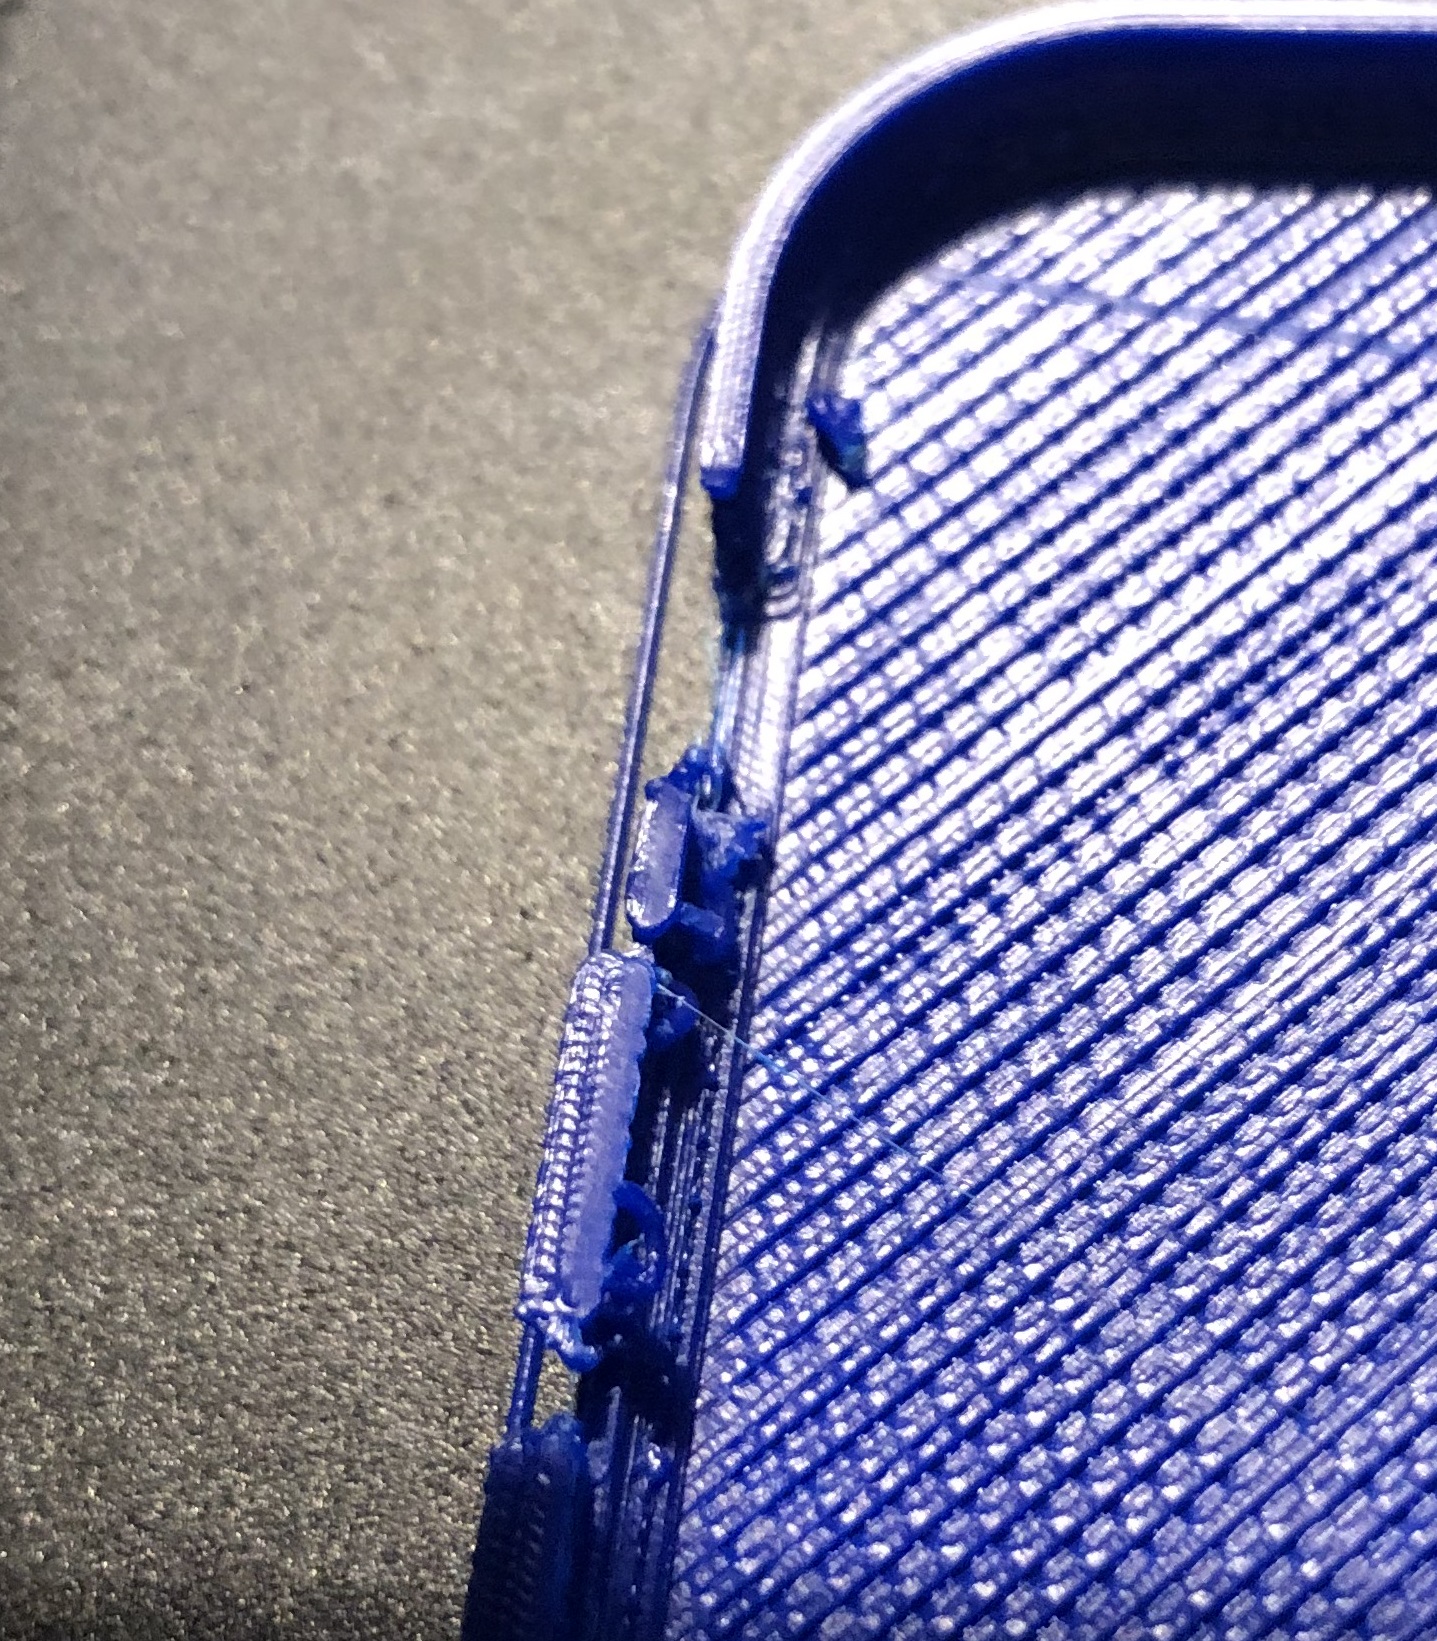
The bright Green TPU i bought seemed to behave more similar to the Soft TPE than rigid PLA. For Example, it had a very tight temperature range where it would print properly, Retractions and Speed changes caused oozing and jamming, cant go faster than 20mm/s…. It did seem to jam less and handle the pressure changes a bit better though.
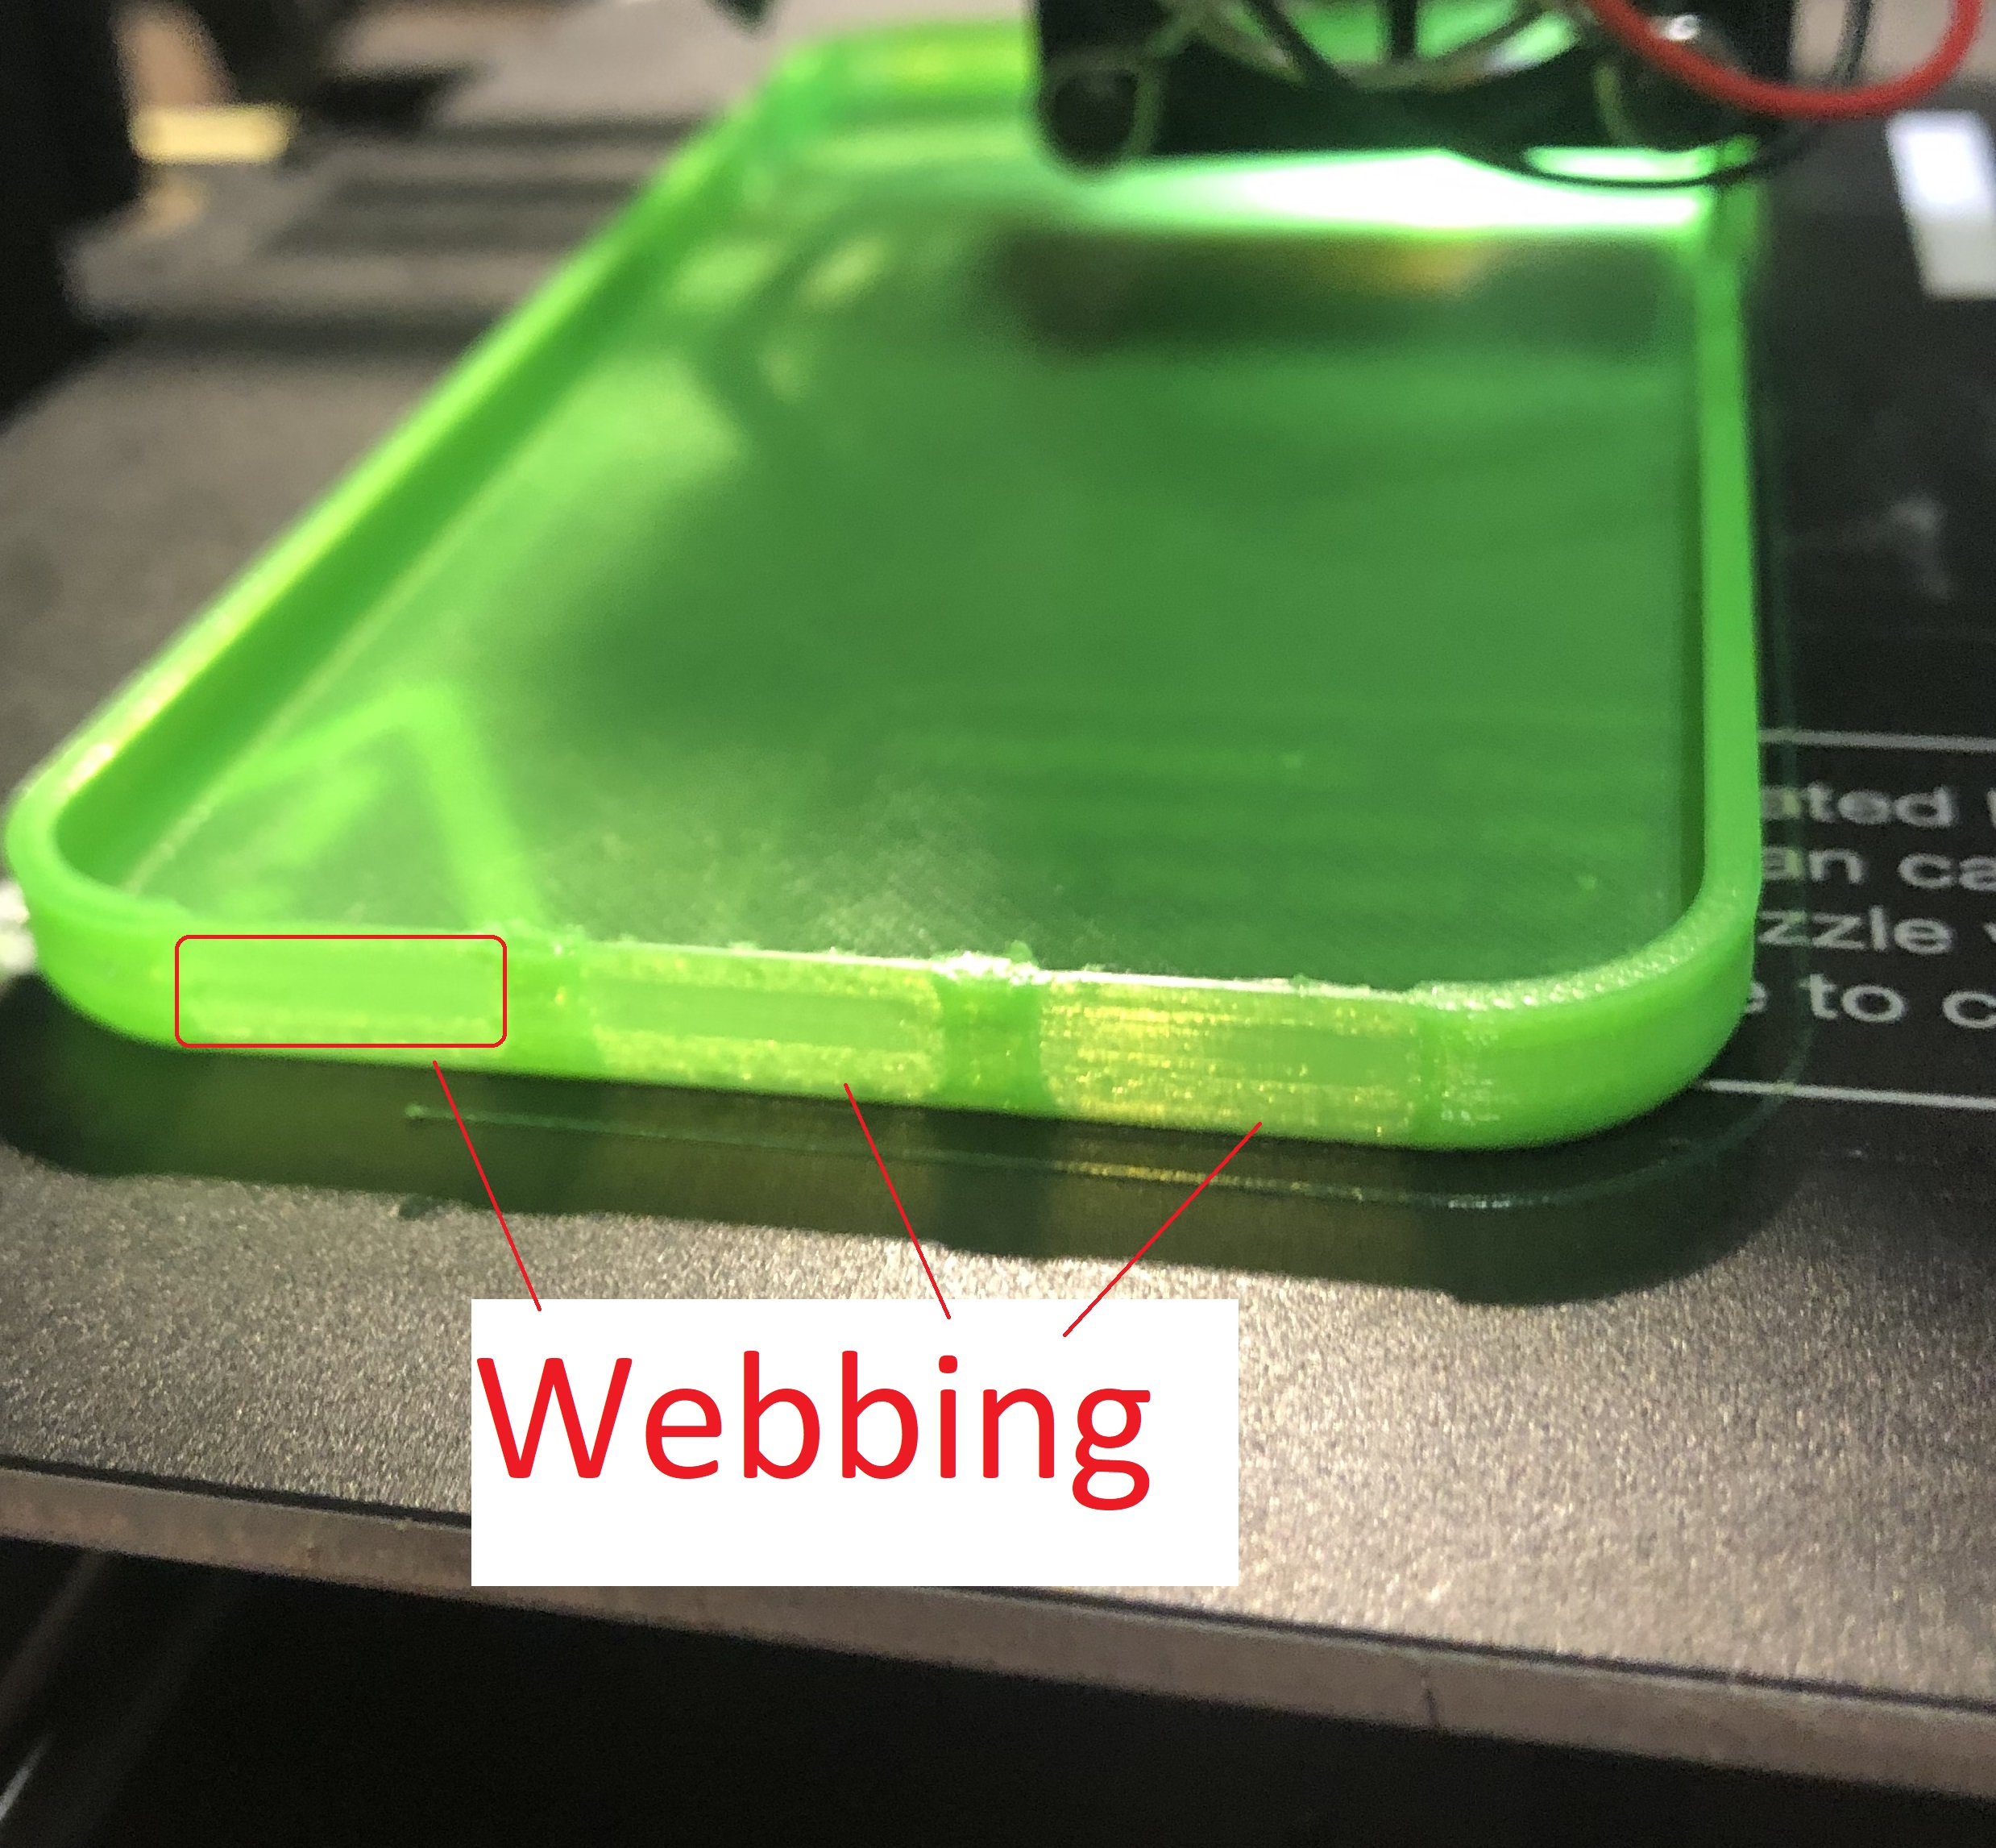
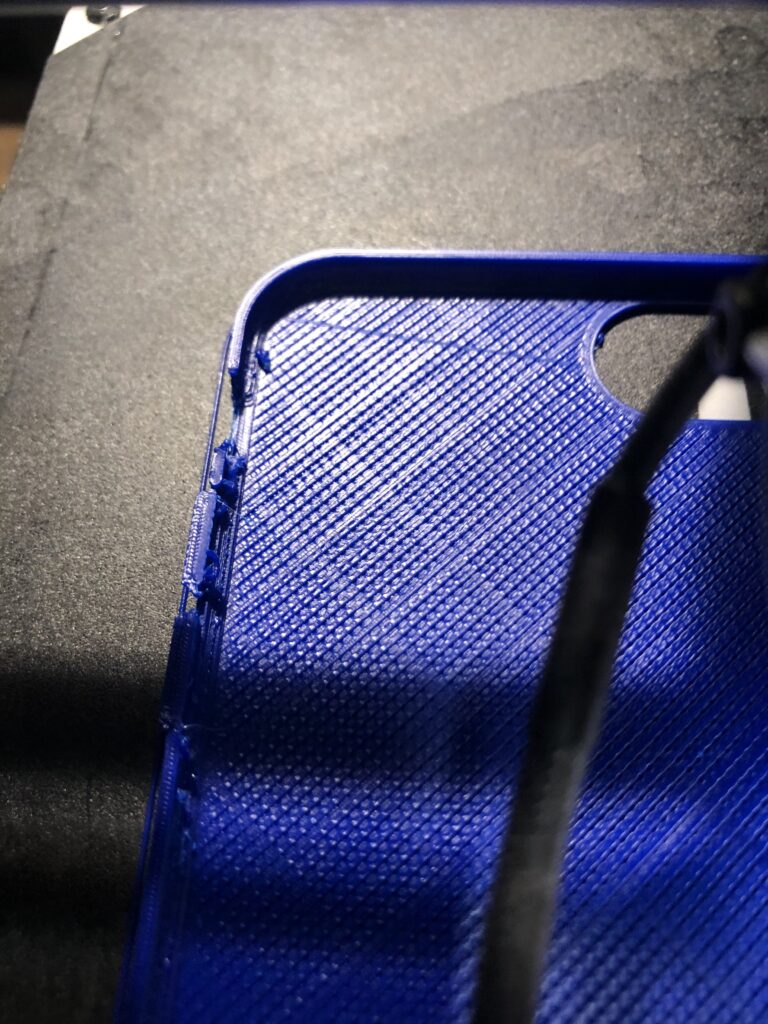
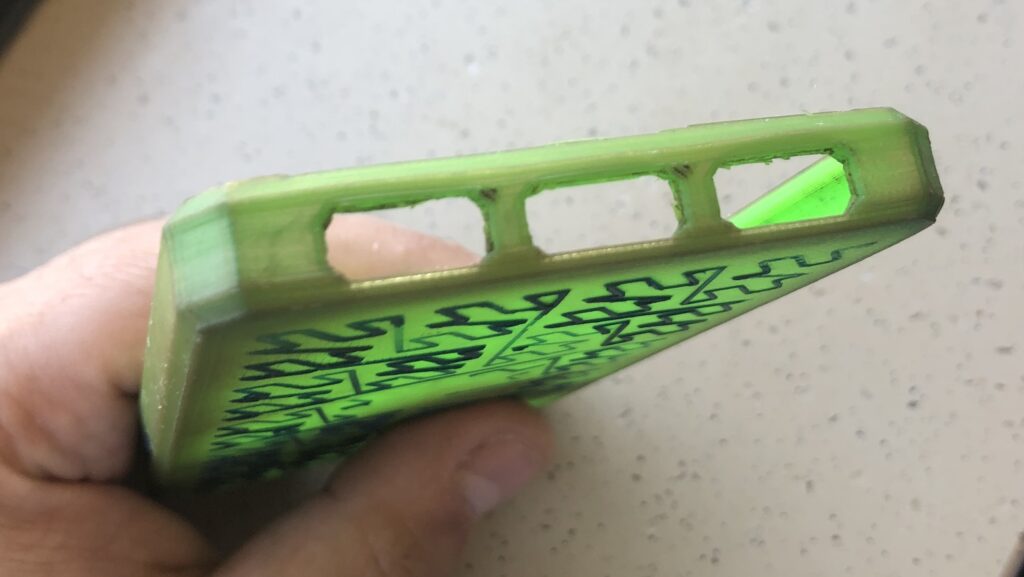
I realized that I could essentially add supports to the messy areas so they would print better. I added thin walls or webs that were easily cut out with an exacto knife after the print.
This Webs technique was what i needed to print what I couldn’t 6 months ago.
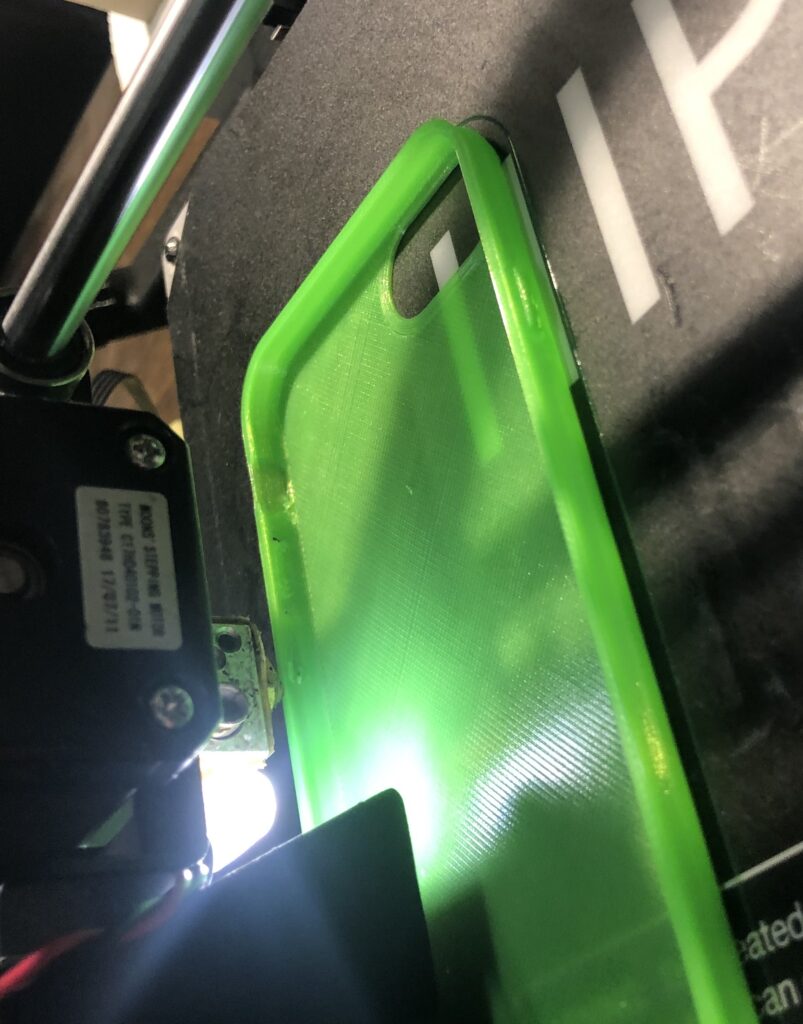
I was very excited. The print peeled off the bed fine, everything was intact, no weird warping, time to see how it fits.
I fit so good for the first print. It fully went on the phone and had good protection around all the glass. A few of the buttons were stuck being pressed down though. I took some measurements, made a new file, and carefully checked each setting in the software. I left work early on a friday and went to my friend Ed’s house to use his nicer 3d printer. I carefully spent over an hour cleaning and doing a tune up and calibration on his printer. I made sure every screw and belt was tight and then went to start my print. When everything looked like it was set up and running well, I turned the speed down to 80% to be extra careful. I stayed and watched for a couple hours, but eventually went home to let the print finish.
I Jumped out of bed at like 5am the next morning. Since Ed’s printer is in his lab and his garage, i was allowed to go check on the print at 5am, without disturbing him or his family. I immediately went to the brown line, caught a nice empty train, and just had the most anxious antsy ride ever.
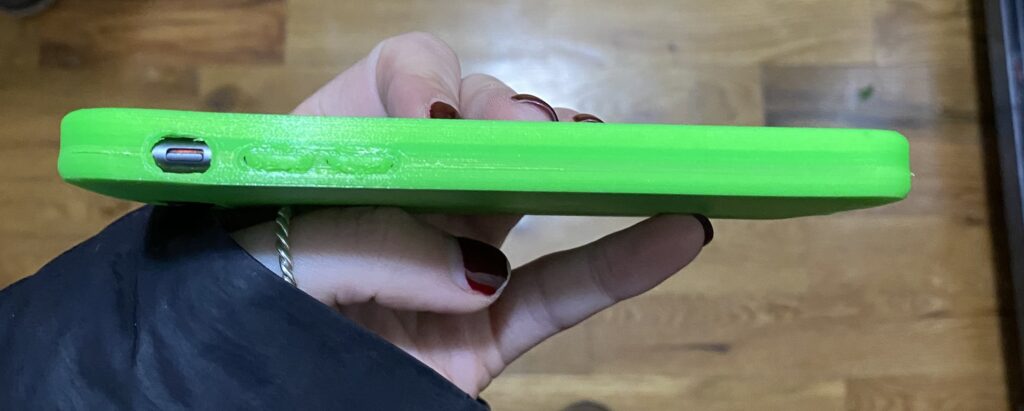
I got into the lab and saw the phone case, just perfectly printed, with the light shining on it. It looked amazing. No defects, no warping, everything looks clean. I tried a test fit and it was perfect. There was no slack on the buttons nor was there any additional pressure. I was inundated with bliss.
I was so excited that i cut out the webbing and cleaned up the case on the ride home, and hired a hand model to take these photos.
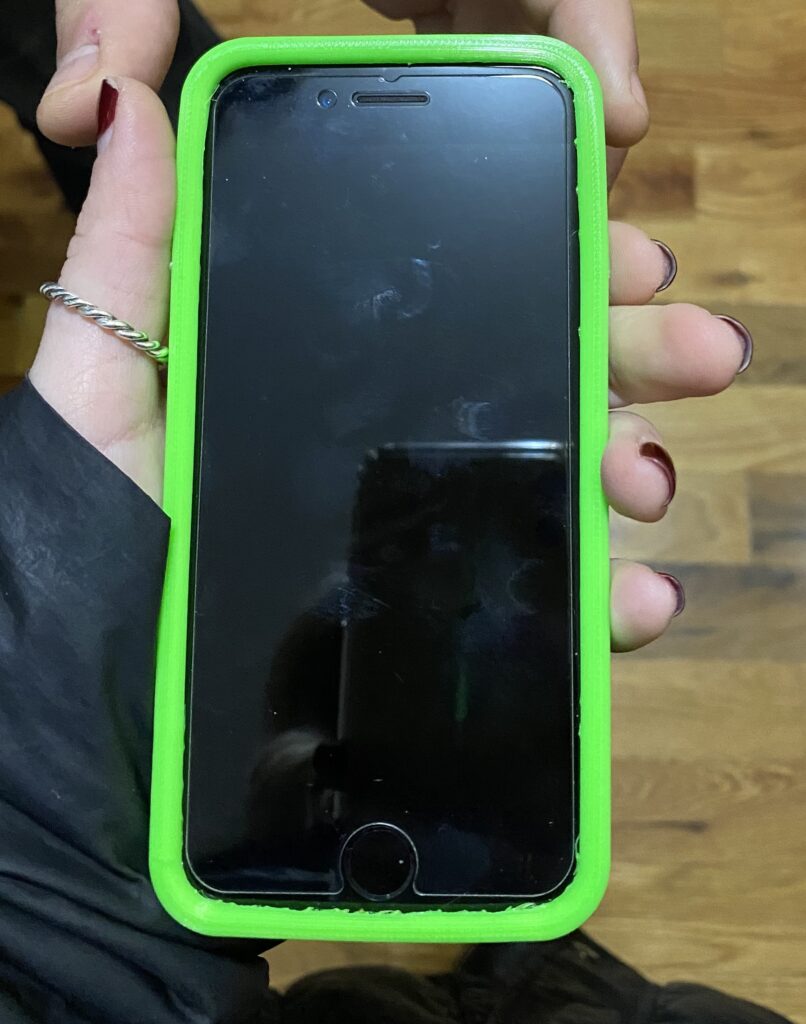

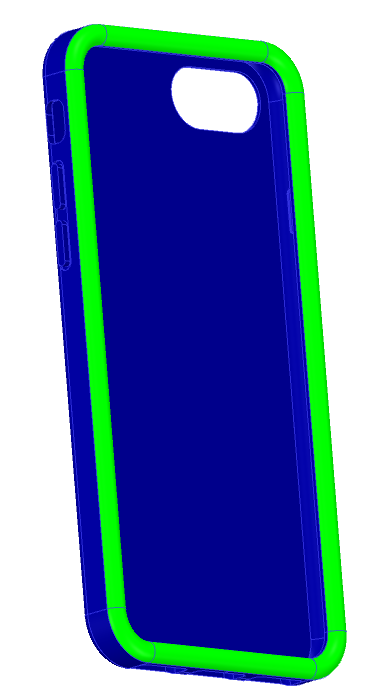
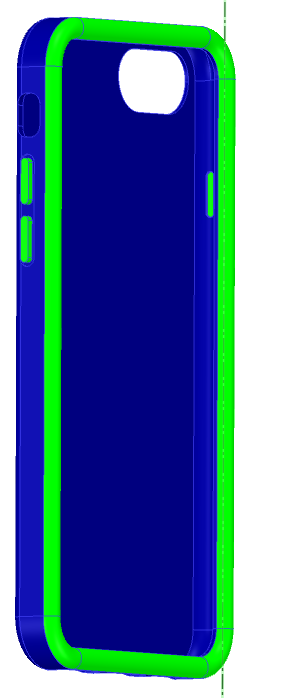
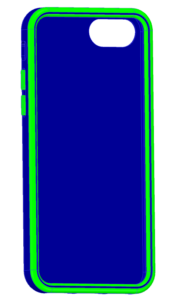
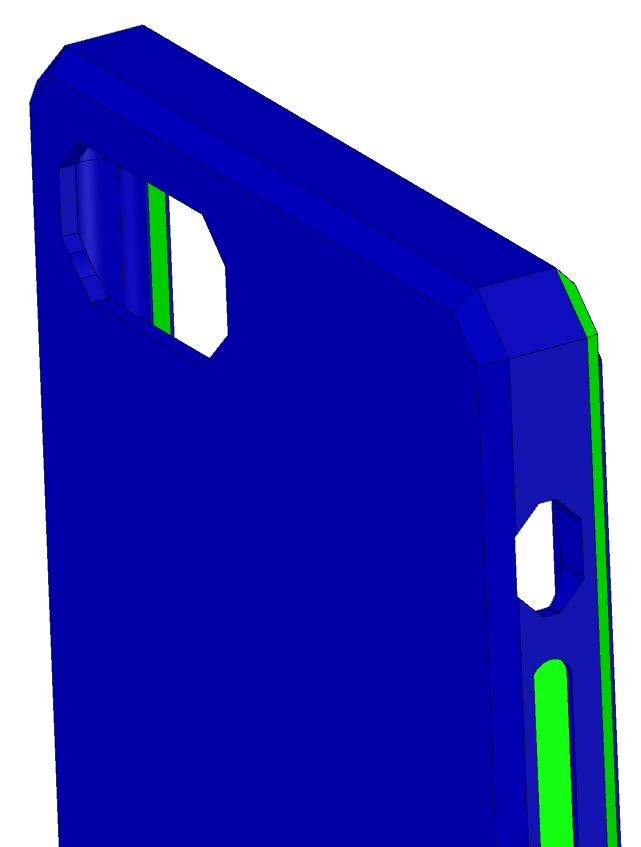
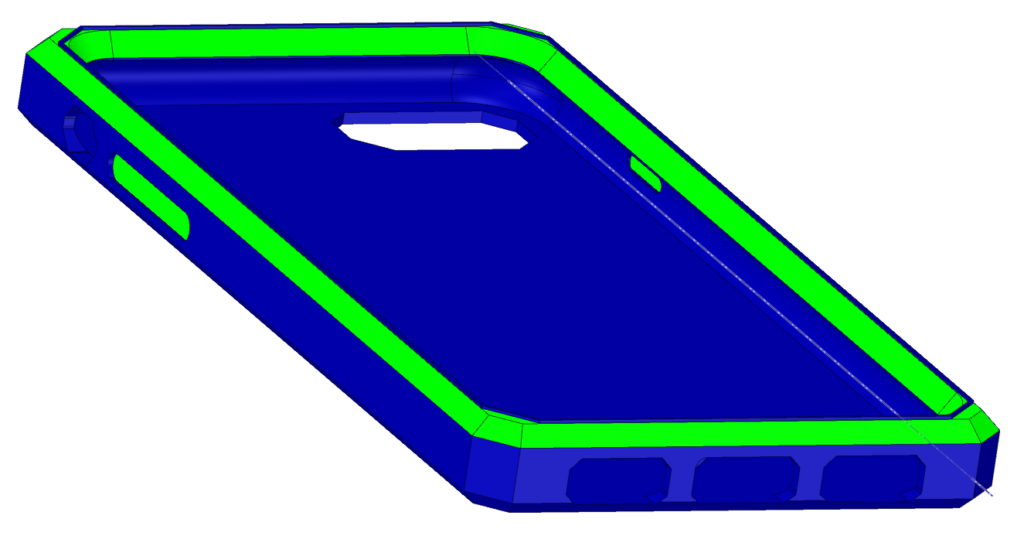
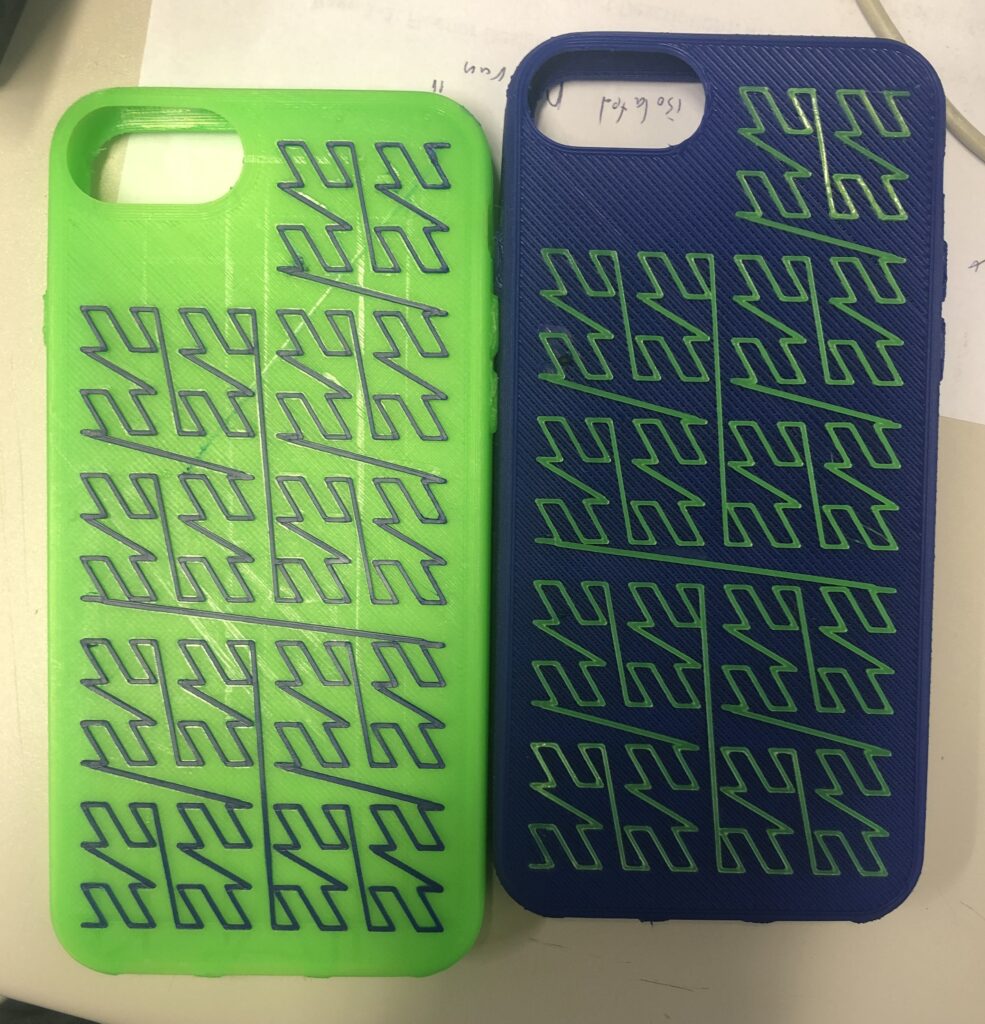
I LOVED the look of the Green Line around the screen of the Phone, But i felt like the bright green sides and big plain back of the case stole the attention away from the beautiful Bezel.
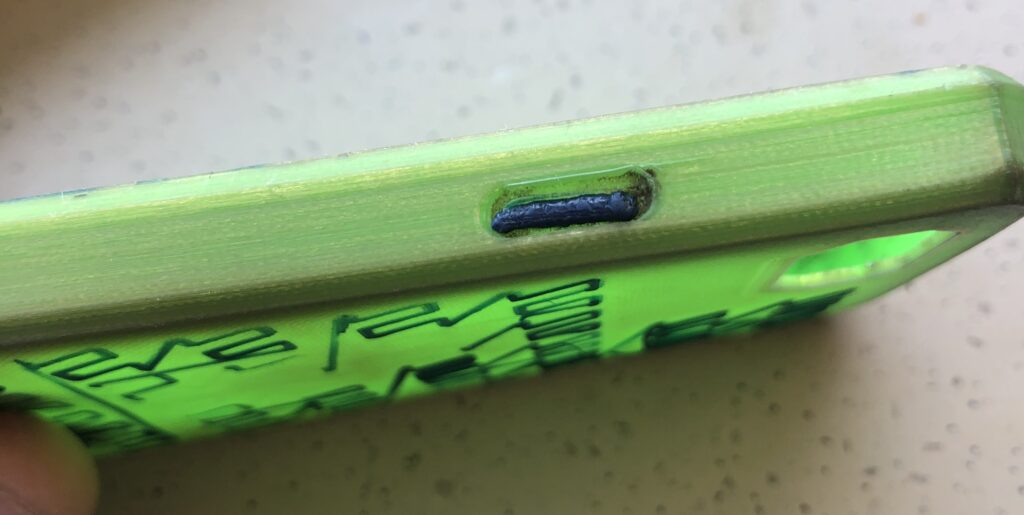
I started wondering if i could print the bottom of the case in the duller blue TPE, but then still print the bezel with the flashy green TPU. I experimented a little and found that the two materials do adhere to each other well cough that i could ~~theoretically~~ print them together.
I started reallly considering a new design with both materials. If i was gonna do that though, why stop at just a two-tone plain color design?
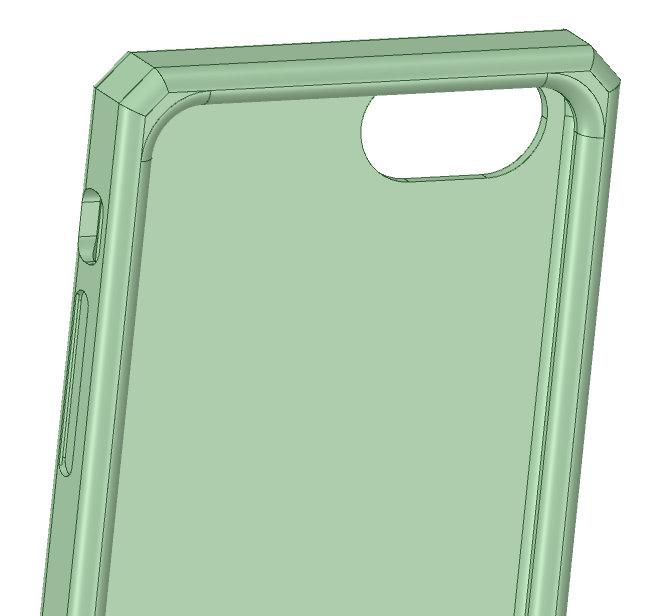
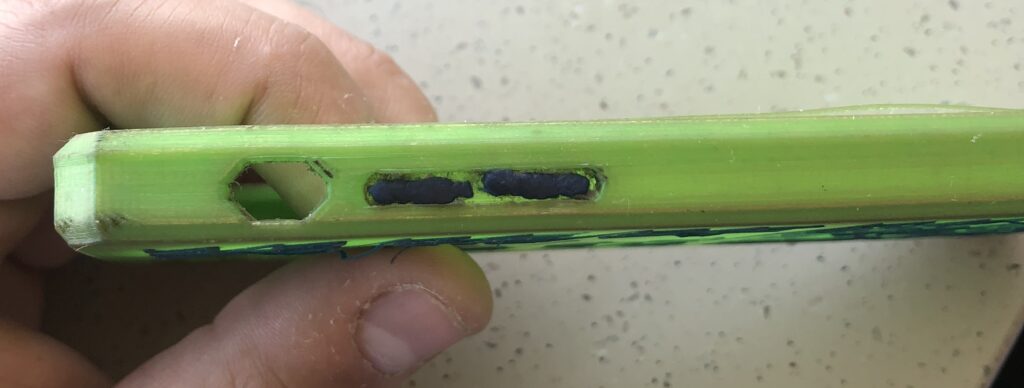
First i said, i wonder if the buttons could also be green. Concept 3, I decided to also add a thin stripe of blue on top of the bezel. For Concept 4, i decided to add some extra bumpers to protect the corners of my phone in case i drop it. I really liked the hard angles that were created by the bumpers, so i decided to incorporate the hexagonal edges and shape everywhere i could.
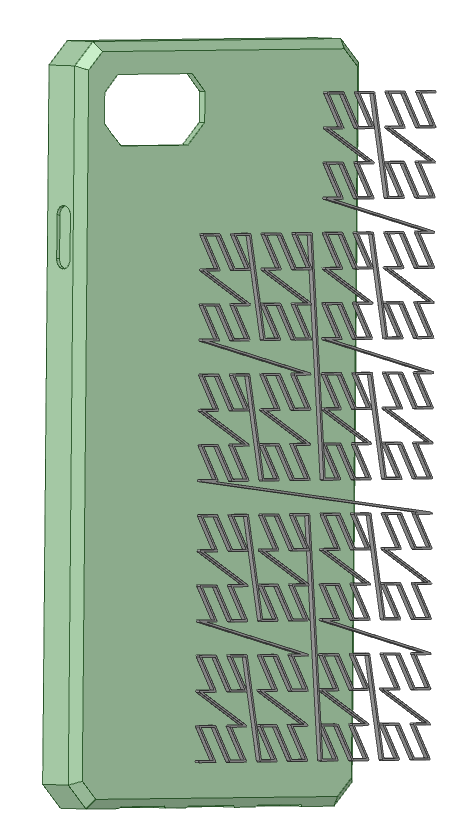
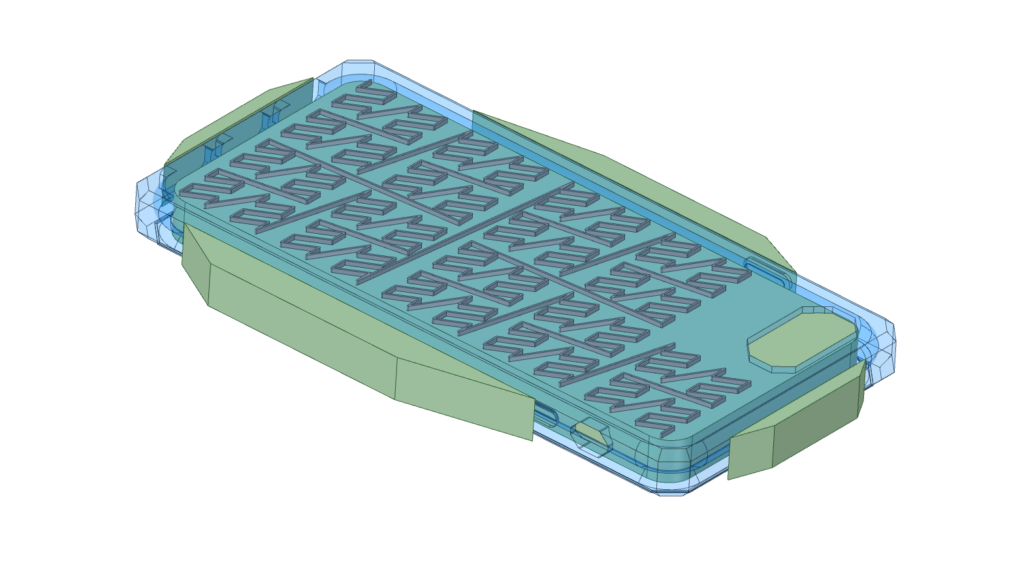
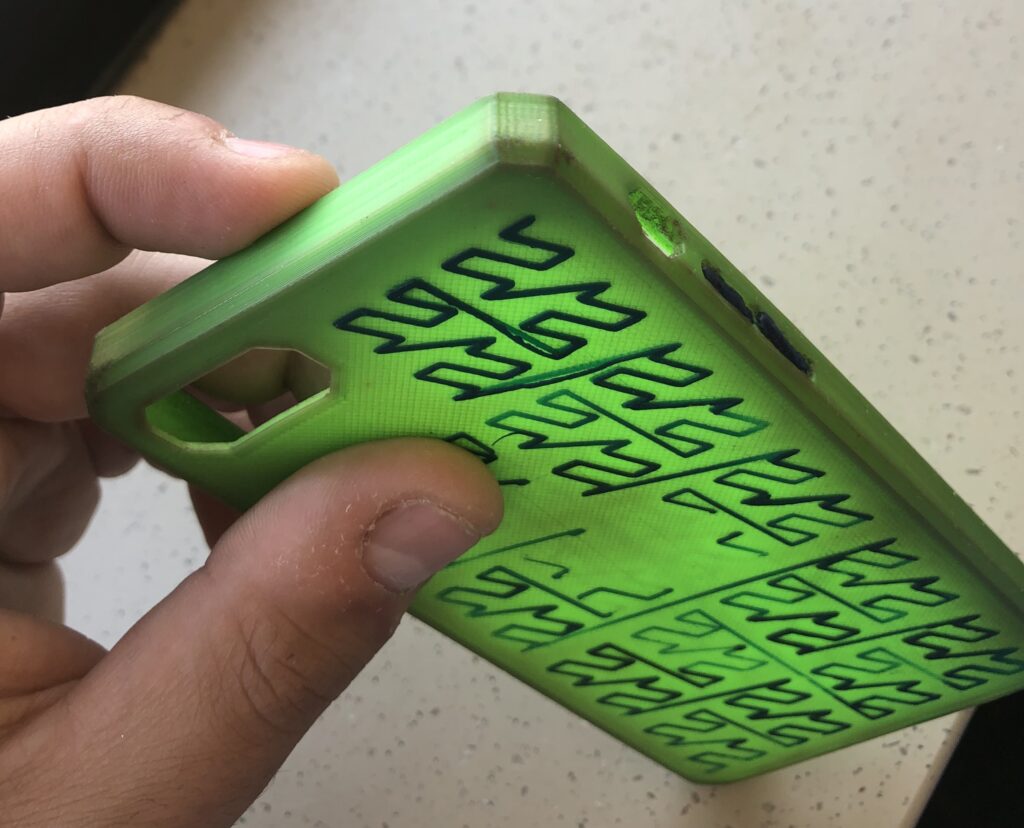
By now, i was fully invested in a sweet design. I had also been studying MC Escher, space filling patterns, and how they relate to math and data storage. I really wanted to incorporate a space filling curve design into my case. The blank back side was the perfect canvas. The Z-order Curve stood out to me as the most unique and I really liked the acute angles, so i chose to add this pattern to the back of the case.
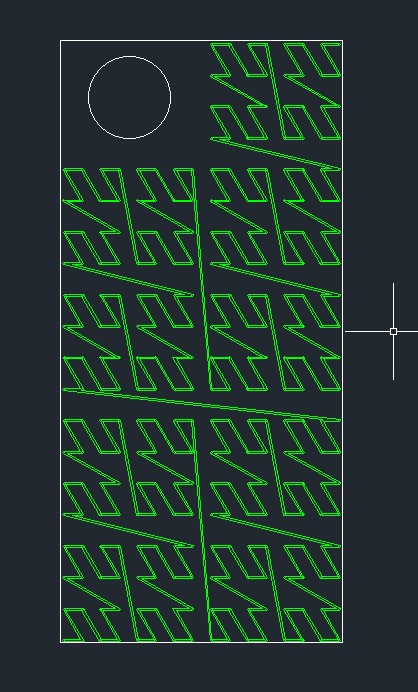
I used a generator to create a 4th order Z curve and imported it into AutoCAD. I then had to add the extra section next to the camera. Now i could convert this pattern to a printable part and put it on my phone case.
The next Challenge was how to actually attach that part to the phone case. Since i needed the flat back to adhere to the printers bed, Printing the pattern first and the case on top was not an option, nor was printing the case face down and the pattern on top.
I was confident that if I switched material from green to blue or vice versa, The material would stick to each other, i just couldn’t print the case in a way that would allow me to do that for the pattern.
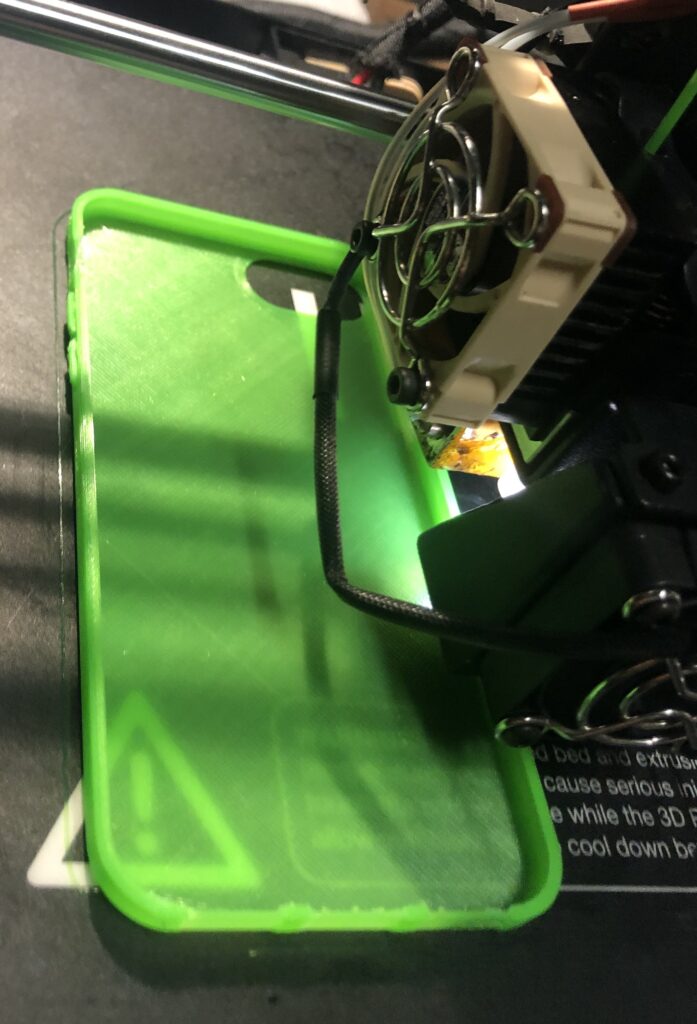
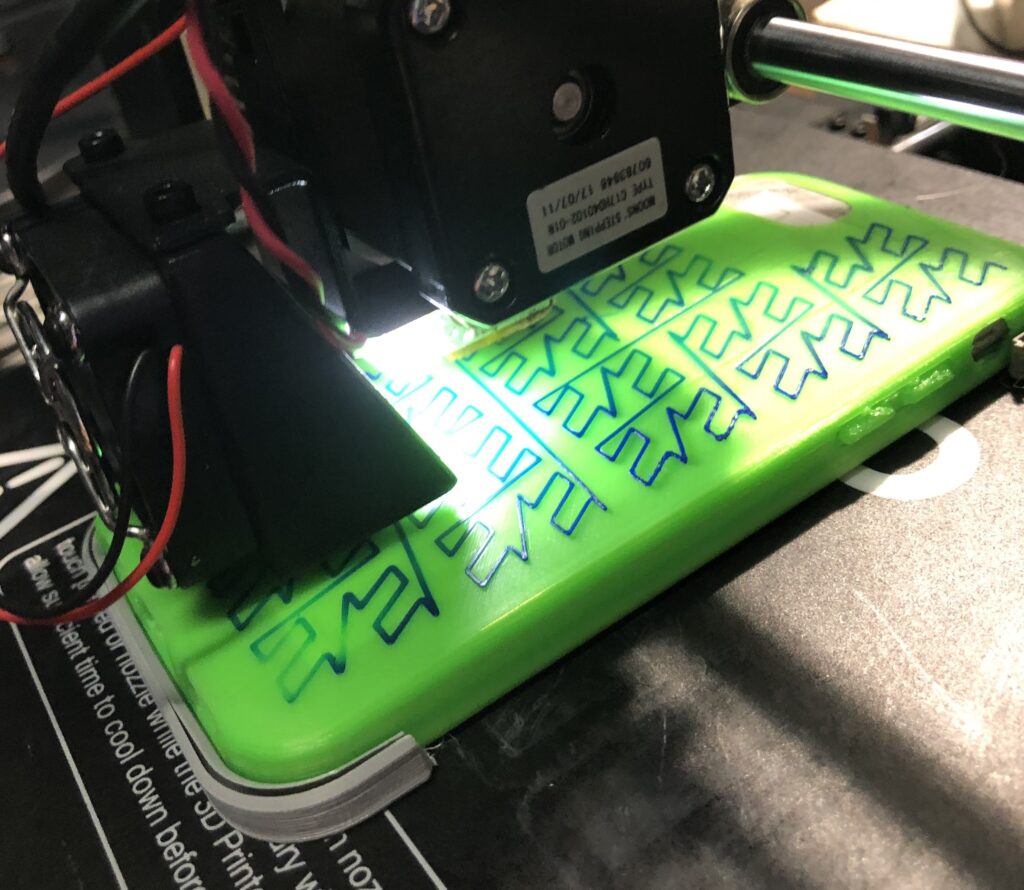
I knew since i was already doing something similar by adding the thin blue line from concept 3, there has to be a way to print the pattern directly onto the back of the case. That’s when i got the wild idea of doing literally just that, i will print directly onto my phone case. I just have to trick the printer into thinking that the phone case, is the print bed where it is supposed to be printing the pattern.
But how could i do that? I know i can offset the height of the bed, so the thickness of the phone or case wouldn’t be a problem, i just had to precisely measure that thickness(.45″) and tell the printer that the bed is .45″ lower than it thinks.
Even if it prints at the right height, the phone case will sag in the middle and not be flat. Plus the heat might warp or even melt through the case or push it around. I figured, i could just print with my actual phone in the phone case. This could make the back flat and rigid, while also adding weight so the case wont be pushed around so easily. But i was nervous to put my phone near all that hot equipment.
!! i know, ill just print a dummy phone to use. And i can also print it directly to the bed so that it wont move around at all. Or i can just print a fence Jig onto the bed to hold it in place, and use a dummy phone in the case to fit perfectly. With the case securely locked on the bed, i should be able to print the pattern directly on top!
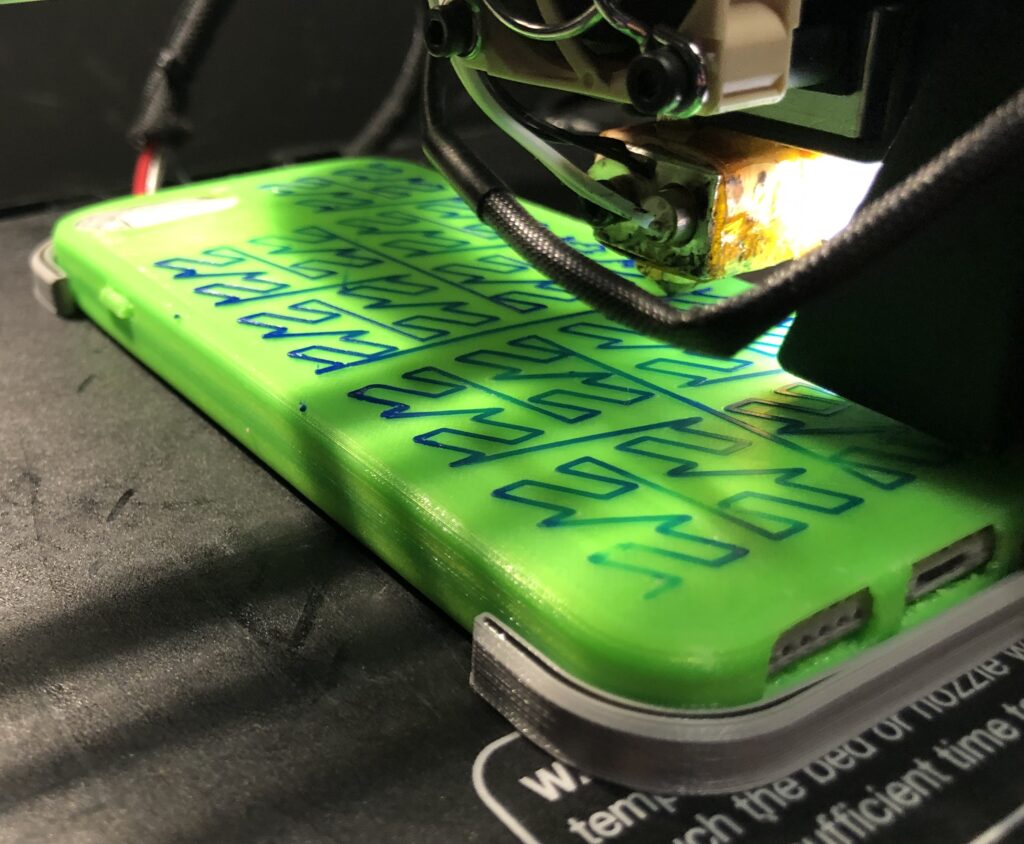
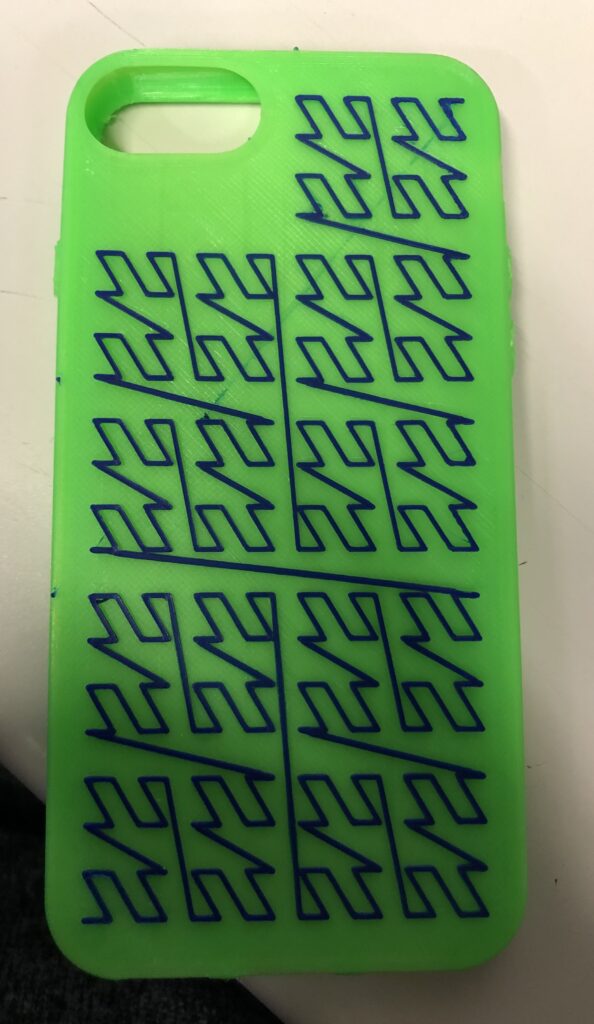
This ultimately worked out well. It did take a ton of experimenting, trial and error, frustration and patience.
UPDATE: 7/4/2022
I’ve Had this phone case on my phone for 2 years now. It has held up extremely well. The bezel is sufficiently thick to protect from drops and the material is very durable. Some of the blue highlights have peeled off, but overall it still works great!
Andrew
Hello friend
where can i buy nozzle attached lights