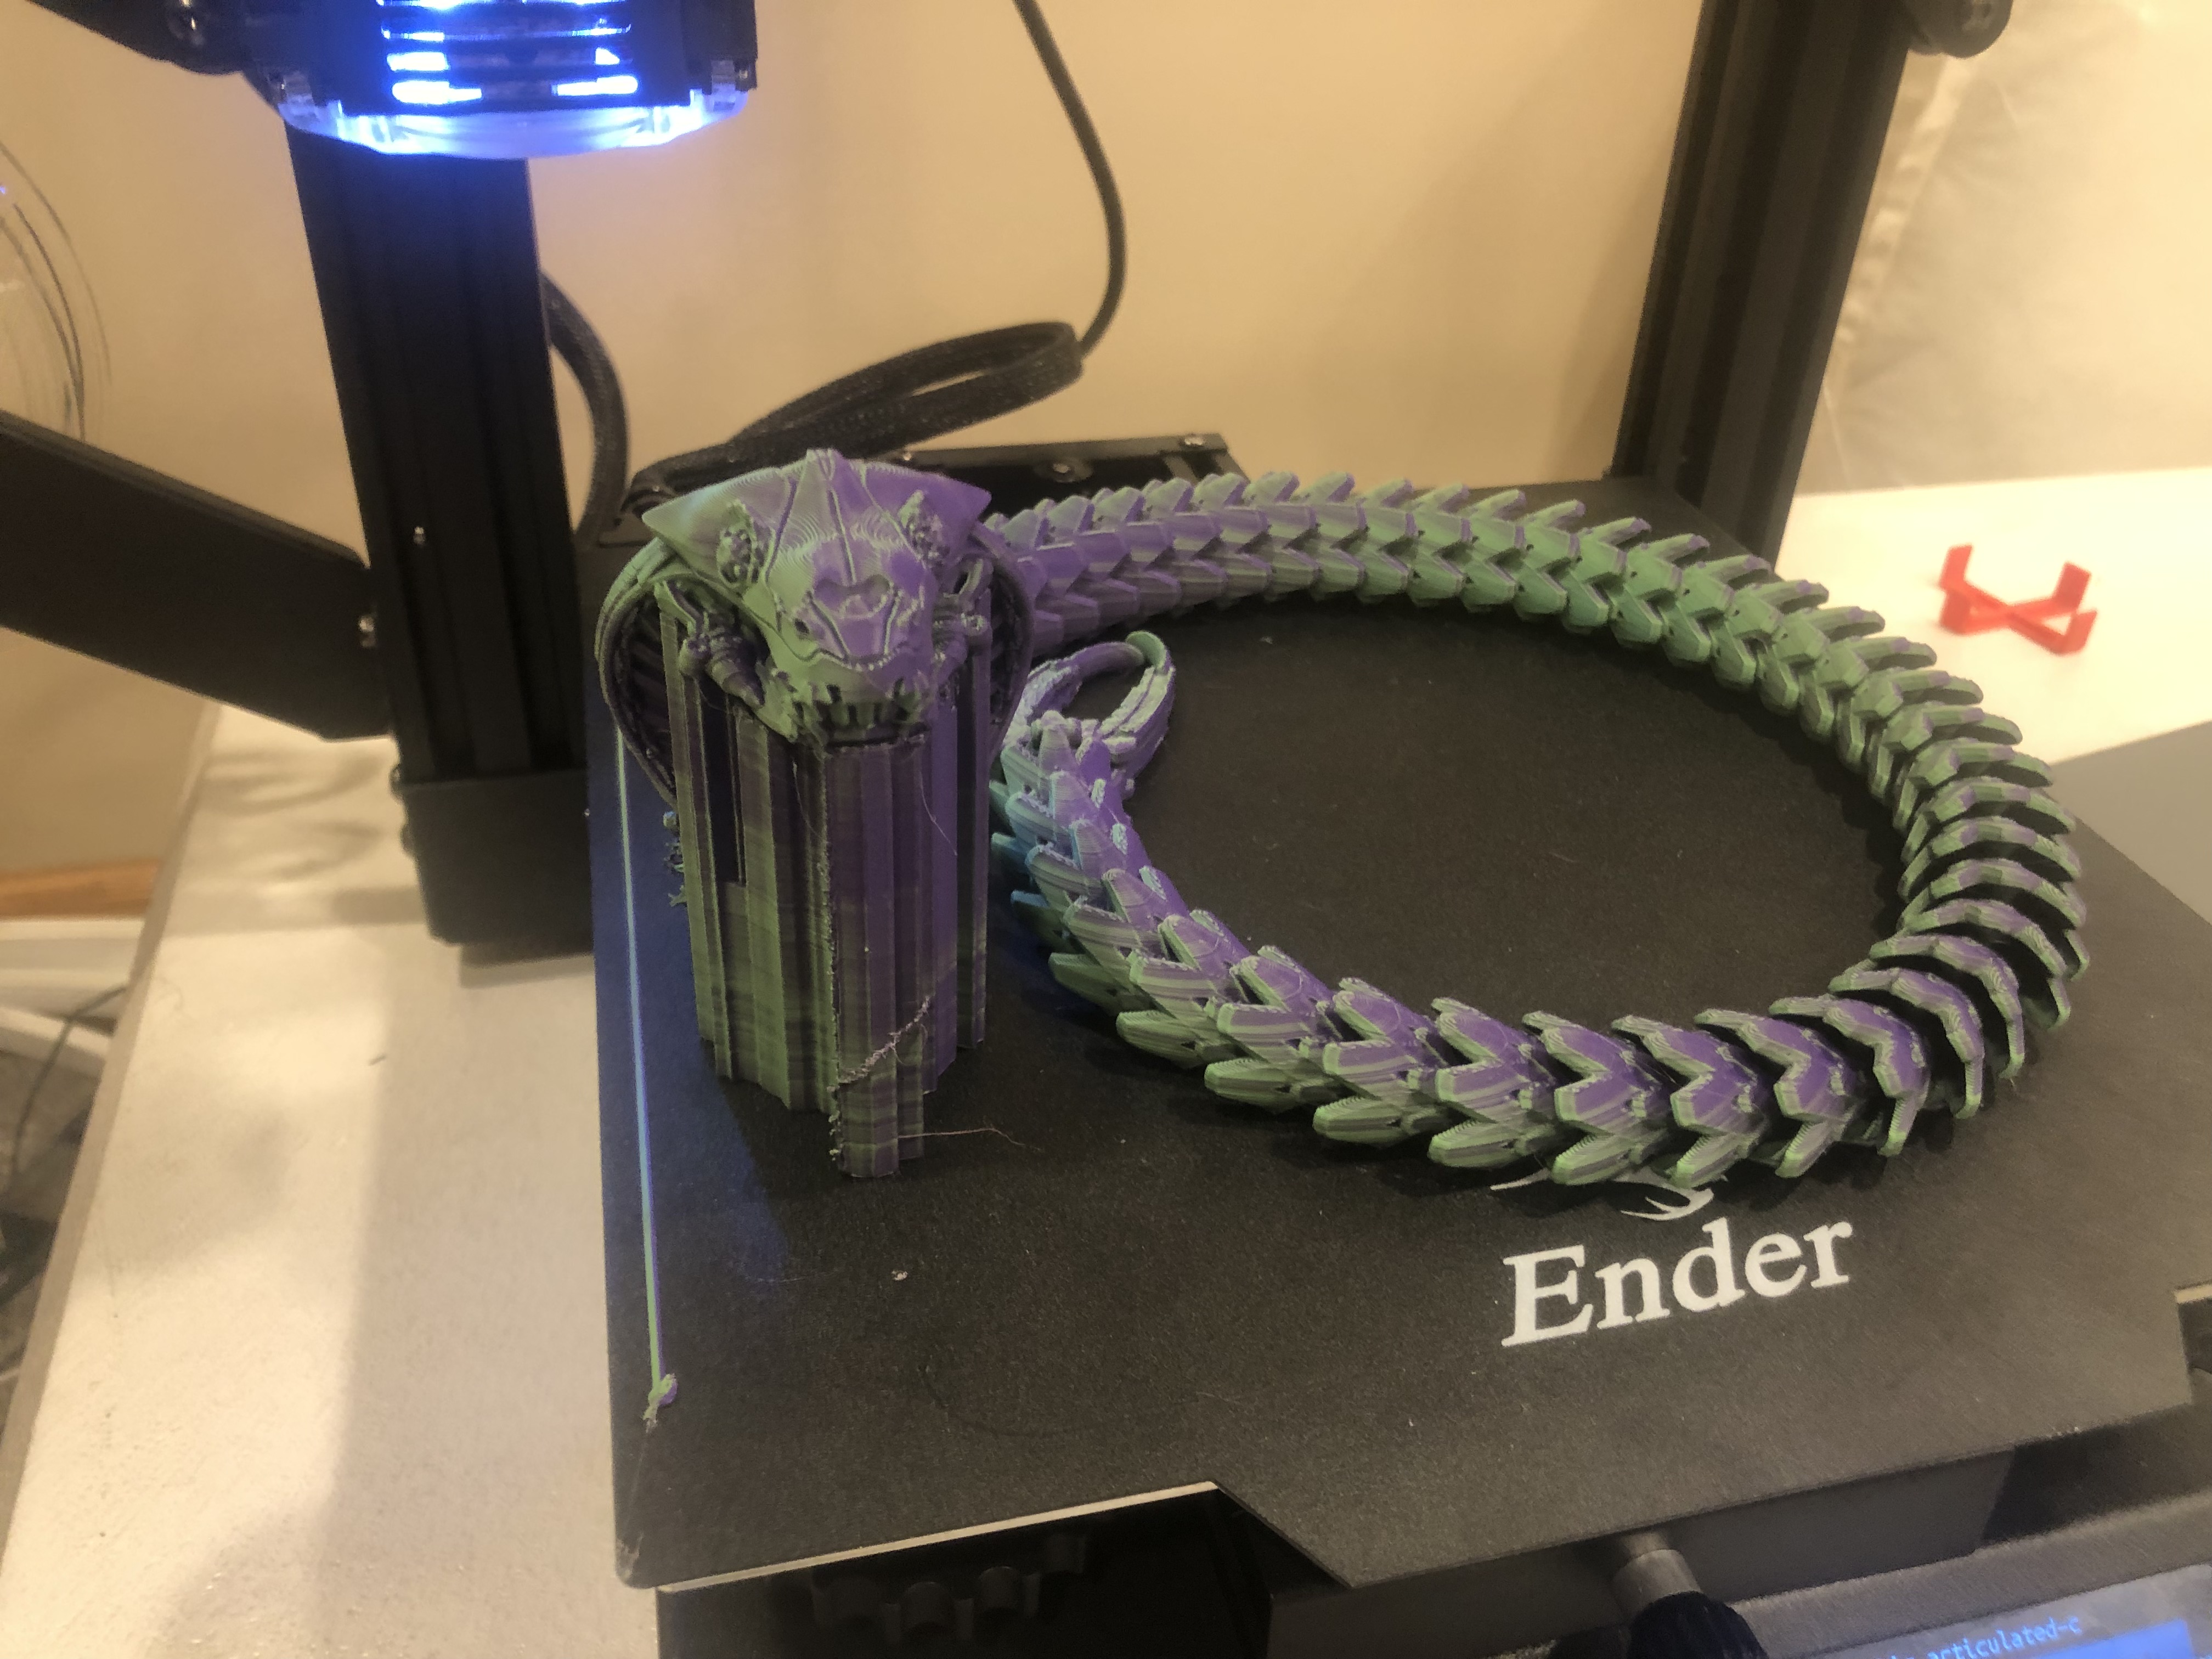
So im realizing more and more of my friends have 3D printers than I realized, so i wanted to sum up all the things i would tell someone who is newly using FDM printing.
My default rule of thumb settings are
- 1st layer speed = 10-15 mm/s
- the first layer is extremely crucial to the success of the rest of the print. going to fast can completely ruin a print, so going too slow on a first layer is a good problem to have
- # of walls/loops = 3 or 4
- the default of 2, is just not enough. a 3rd or 4th wall will make defects less noticeable, and parts feel much sturdier.
- Using more walls instead of denser infill is a much better way to add strength to parts
- # of top/bottom solid layers = 4-8
- I usually run a light infill(5-10%), and it will show through the 4th top if the layers are thin, The more complex the geometry, the more infill i put and less top/bottoms
- Temperatures
- Build plate usually 60-75
- Nozzle = 190-220 for PLA. Silkier and stiffer filaments tend to need more heat, but it really varies by roll. Hotter temp = Shinier finish.
When designing your own parts, one of the first scenarios you’ll run into, is fitting things together. Use these rules of thumbs below to get parts to fit together, while allowing them to move freely or not, as intended. These #s are based off of general FDM printing results.
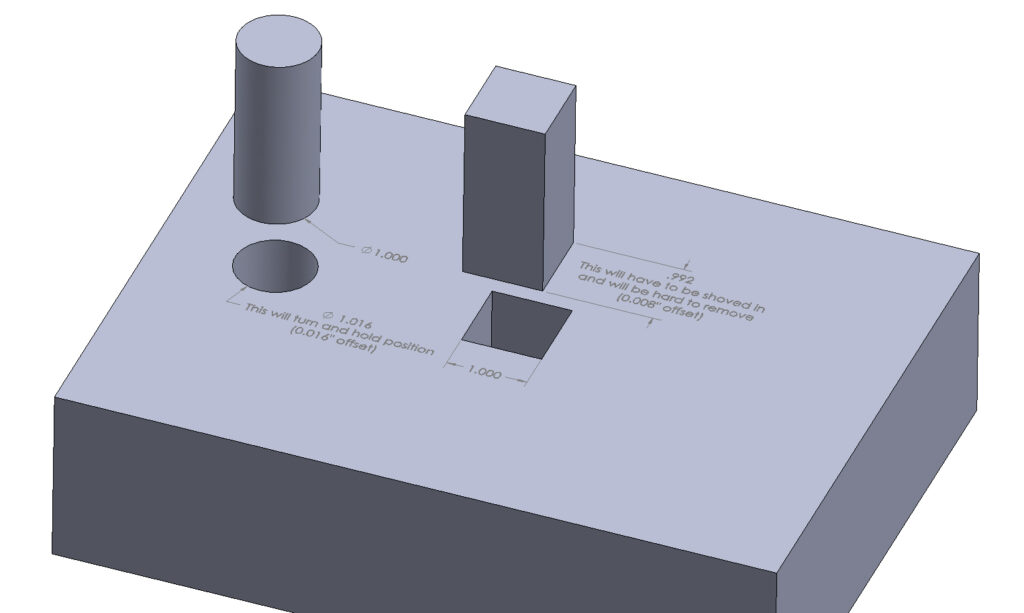
.008″ offset on closed bodies for a tight fit
.016″ offset on closed bodies for a pivot/ sliding fit
.024″ offset on closed bodies for a free fit
More offset is needed at small scale (under an inch) because of excessive squishing while printing small features. Similarly, these offsets may be too loose at larger scales.
These offsets are usually more convenient to set up in the slicer vs the 3D model, especially if the part will eventually be made other ways.
Changing Filaments
I do a lot of manual filament changes, my biggest tip is purging the nozzle BEFORE pulling the filament out. This prevents thin hairs from getting stuck in the tube and clogging.
Every time the filament changes, i manually extrude ~ 2″ of filament. Fast enough that it clears out all the molten backlog, youll feel resistance begin once its clear. now it will freeze quickly as you pull it out. Pull it out Steady. Pulling steady ensures that the tip pulls into a single sharp cone, instead of a long thin hair that may break. This also makes it so you have to purge much less with the new color.
Additionally, I use this Gcode to move and park the nozzle away from the print so the purge and filament change go smoothly. I put this gcode right before the layer that is to be the new color.
M600 E30.00 U300.00 X0.00 Y0.00 Z15.00 ; Generated by FilamentChange plugin
G92 Exxxx ; set extruder to next E spot or E-howmuch to purge(2mm)
M109 S215 ; set the hot end a bit hotter for adhesion, dont forget M104 S211 later
the M600 parks it at home and Z height of 15
for G92, set the E value to ~2 more than the last shown E value. This
M109 changes the temperature incase you want more adhesion
Generic Tips
My first layer speeds are 12-15mm/s
Getting a good bed level really is tenths of a millimeter. Using the paper will get close enough to calibrate with, but usually less than 1/8 of a turn will make or break each corner for me. I feel like gluestick is a crutch, but I use it a ton and it washes easier than you think.
DesignSpark Mechanical is a free, slept on software for modeling
Outputting Multi-STL from Solidworks, make sure to check “disable transforming to positive output space”, or the origins wont match
Ask me any questions you may have or share what you want to see next!