A common “add-on” or additional feature to 3D modeling software is the ability to create real looking photos with just the computer.
I’ve never had a job or worked on a project that required photorealistic renderings beyond a simple, almost crude level of detail. Black and white line drawings or cartoon looking graphics were always more than sufficient.
Nonetheless i have always had an interest in the rendering software’s and like to at least play around with each one I come across. Like most things, I do try to push the skill/art/science to its limits. I like to take actual photographs and see how well I can re-create the image. I try to scrutinize every little detail i can find such as,
- Shadows and Light Source Reflections match
- Often extra shadows show up and additional light sources are needed
- The viewing angle, depth of field, and focus length match
- I make sure all the same details are hidden or exposed
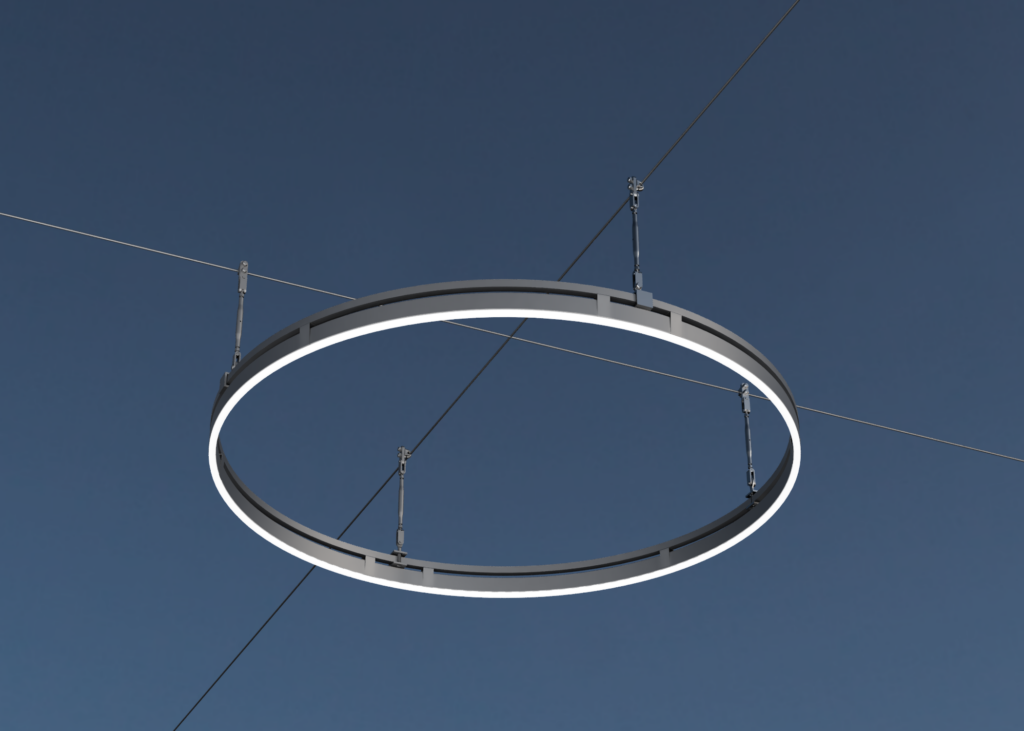
I think the first rendering i ever did with a purpose was this rendering of a “Catenary Ring”. Customers started having a need to hang lighting from a cable that ran across two building or outdoor poles. This cable is sometimes called a Catenary, or a Guy-wire. There was no light fixture like this on the market yet so customers had a hard time visualizing what i meant when i said i could build a frame( a rigid body is required for mounting these lights) and attach that to the cable.
I suggested we build a prototype of the of the idea and take pictures to share with the customer. My boss said this was prohibitively expensive, and that contracting with an outside digital artist would be much quicker and cost effective(Cheap).
A part of me felt a bit offended, i could tell he didn’t think the prototype would work or look all that great. I also was a little hurt that given the physical prototype was too expensive, and that a rendering is the plan, i was just assumed to be incapable of producing a digital picture. After all, i did conceptualize, design, and 3D modeling the complete fixture up to this point. The only views my boss had seen were the simplistic, cartoon looking graphics that the software uses to conserve power.
So, in my head, i painted this theoretical “outside contractor” as an enemy. I told myself that this is just some random guy who is gonna give his best shot at what he thinks MY product will look like. I said well im just some guy no different than him, i bet i can do whatever he does.
So i went back to the Lab and started clicking through the rendering options. I would watch a YouTube tutorial, then go click through the options myself, googling each step and term along the way. I started catching on, and after reading about how some of the Ray-tracing processes work, and comparing that to my knowledge of FEM, I got a good intuitive feel for how the software worked.
within a few days I shared this rendering with my boss,
Since then, people at work have known, “Jimmy can make renderings”, so i do get asked occasionally to show what a project will look like. Usually these renderings are a sales tool to lock in a sale with a skeptical customer, or a customer who just needs a little more documentation to warrant their purchase.
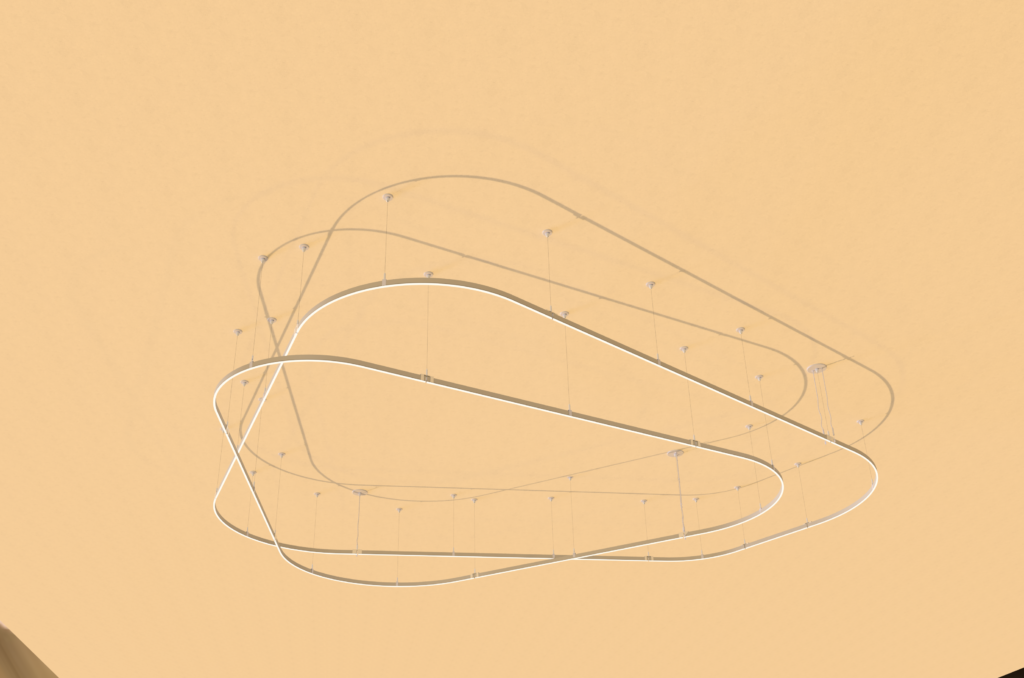
Here is one i did for a suspended light fixture. at the time i thought the “top”, “side”, and “front” label the software uses was completely arbitrary, and merely a convenience for orienting the model. I thought it would be ok to model this one upside down. Thats how i learned that the software attemps to mimic the sun and natural light/shadows, by throwing some extra shadows towards the ground…… except in this came, its the ceiling, so i acidently have a ton of extra shadows on the ceiling. OOPS
Self Imposed Challenges
Challenge #1
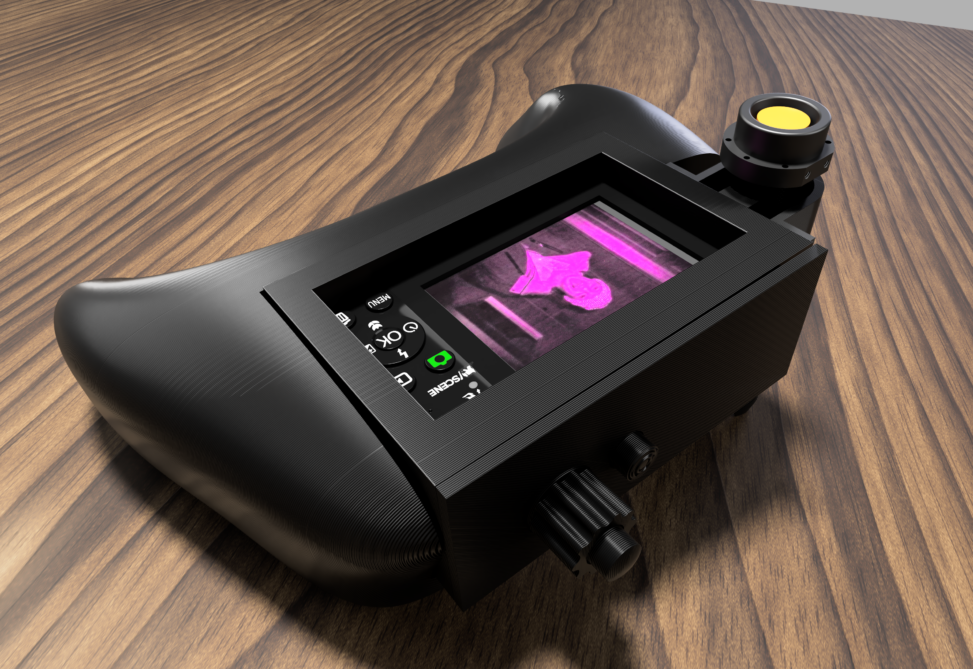
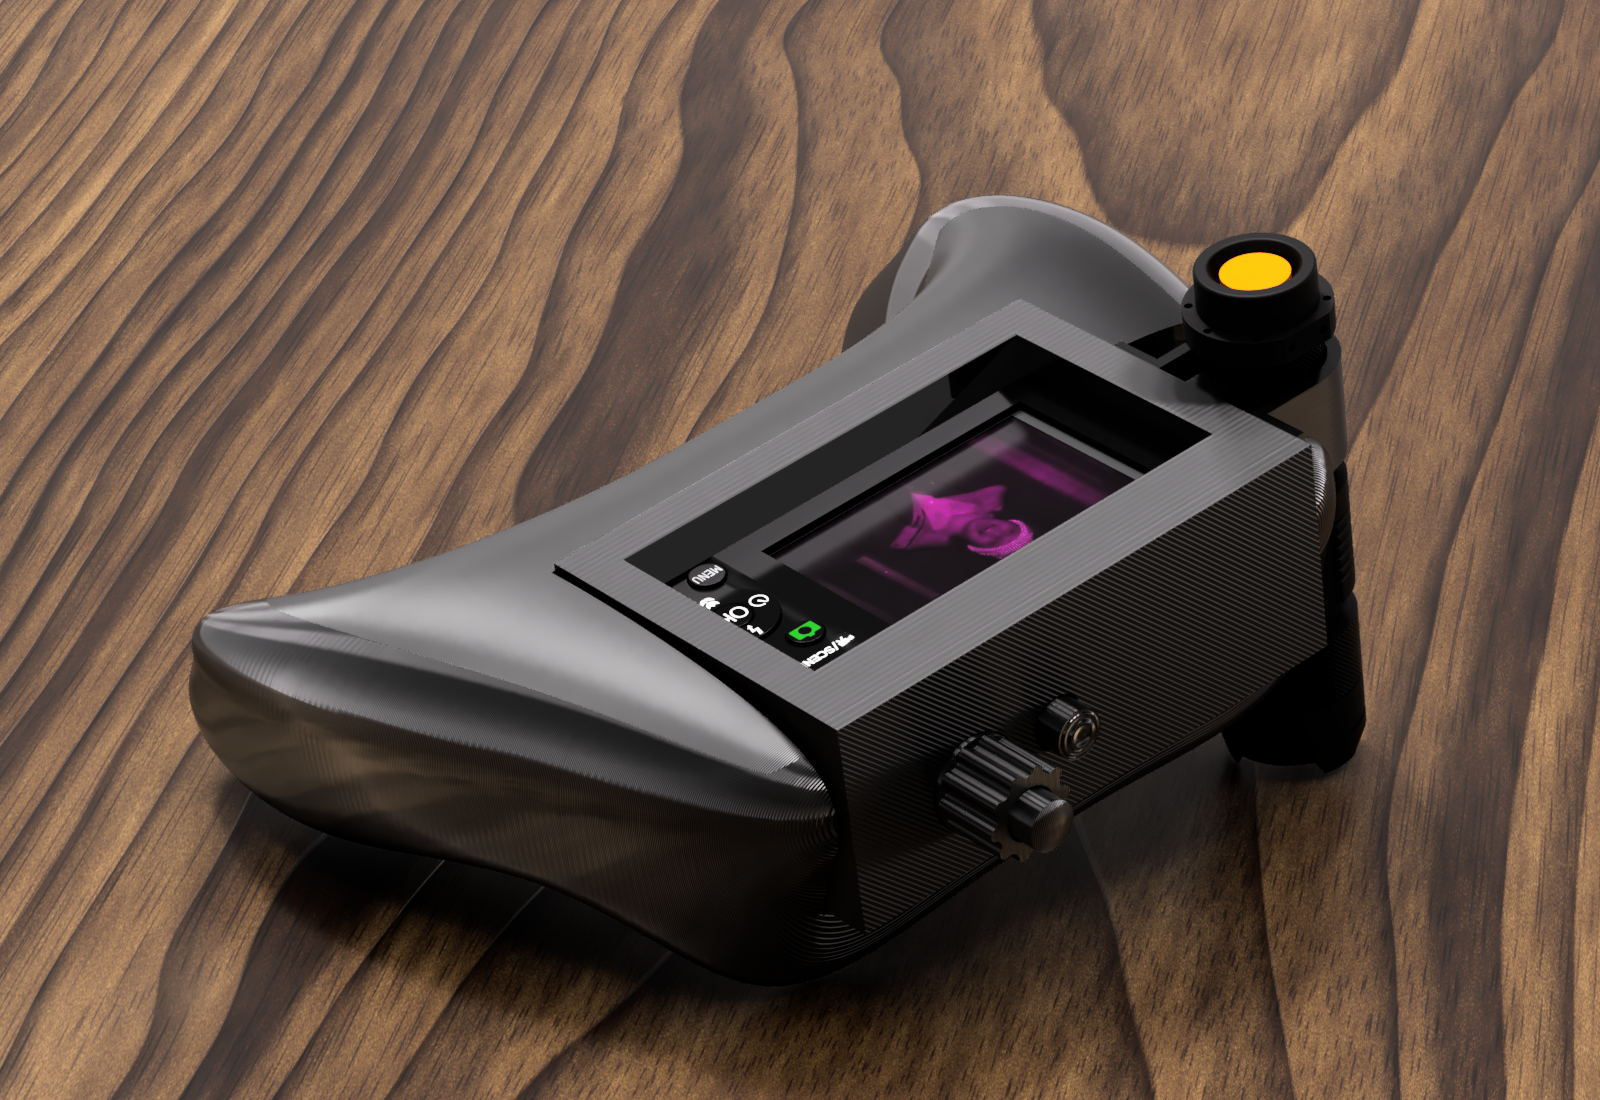
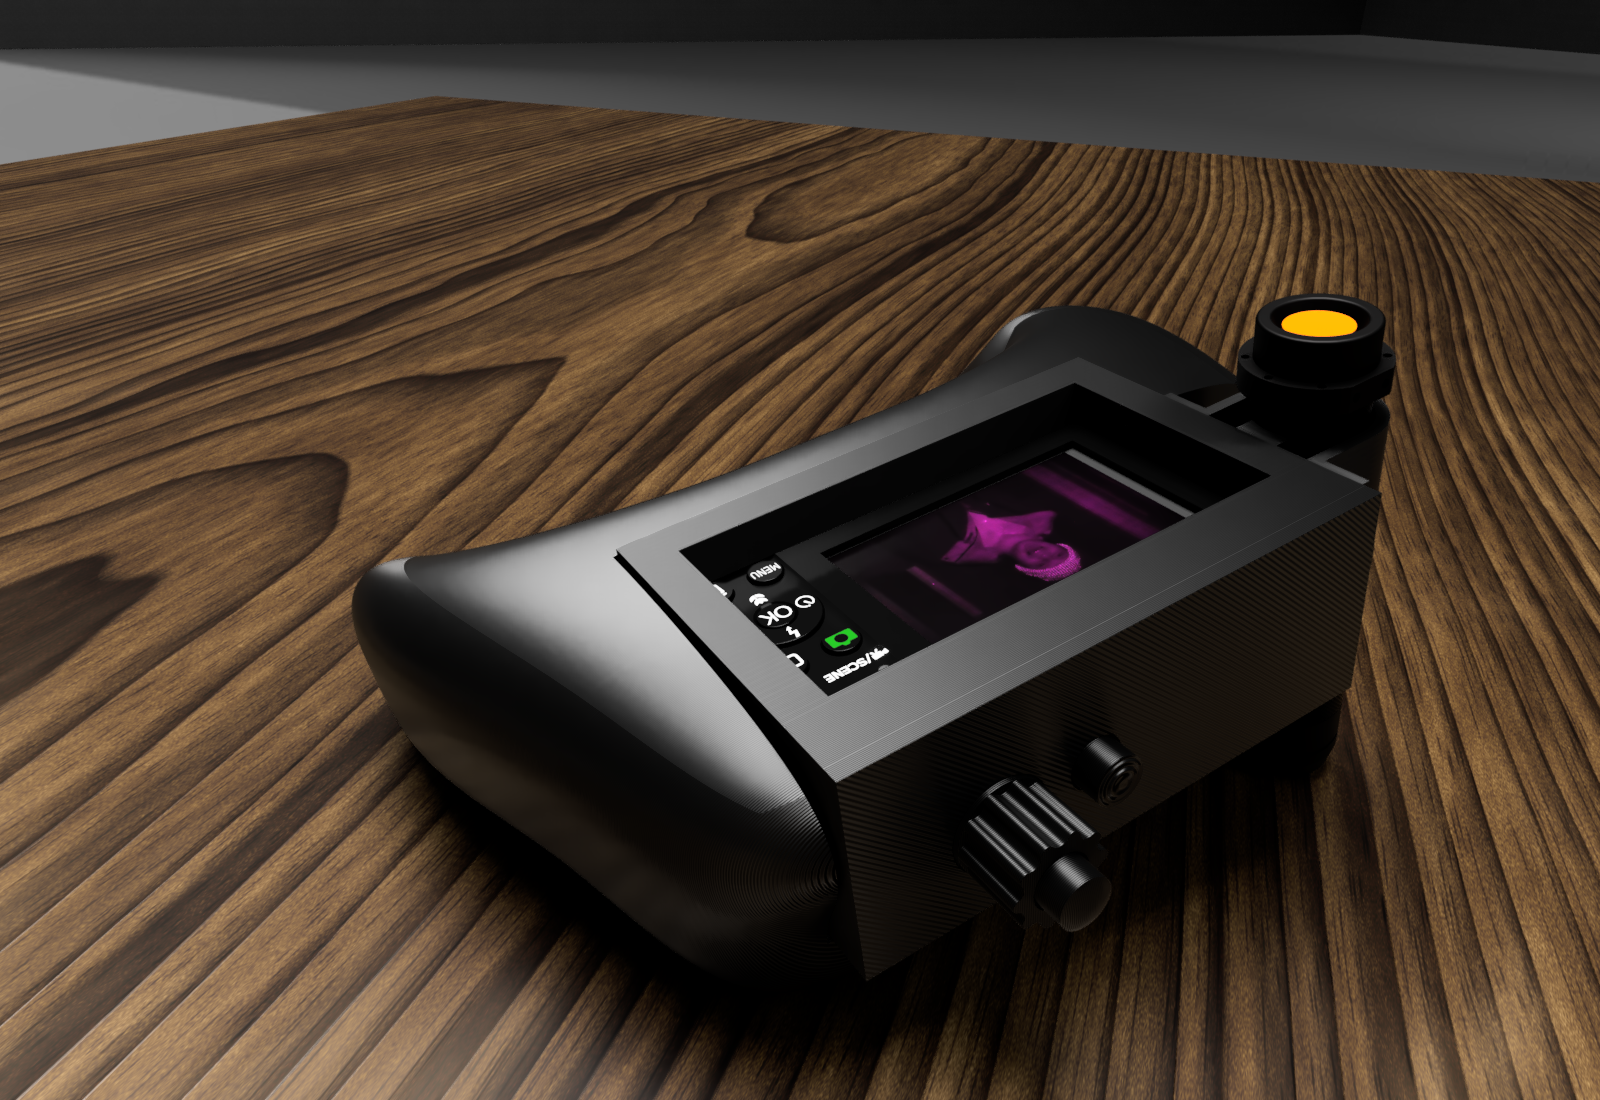
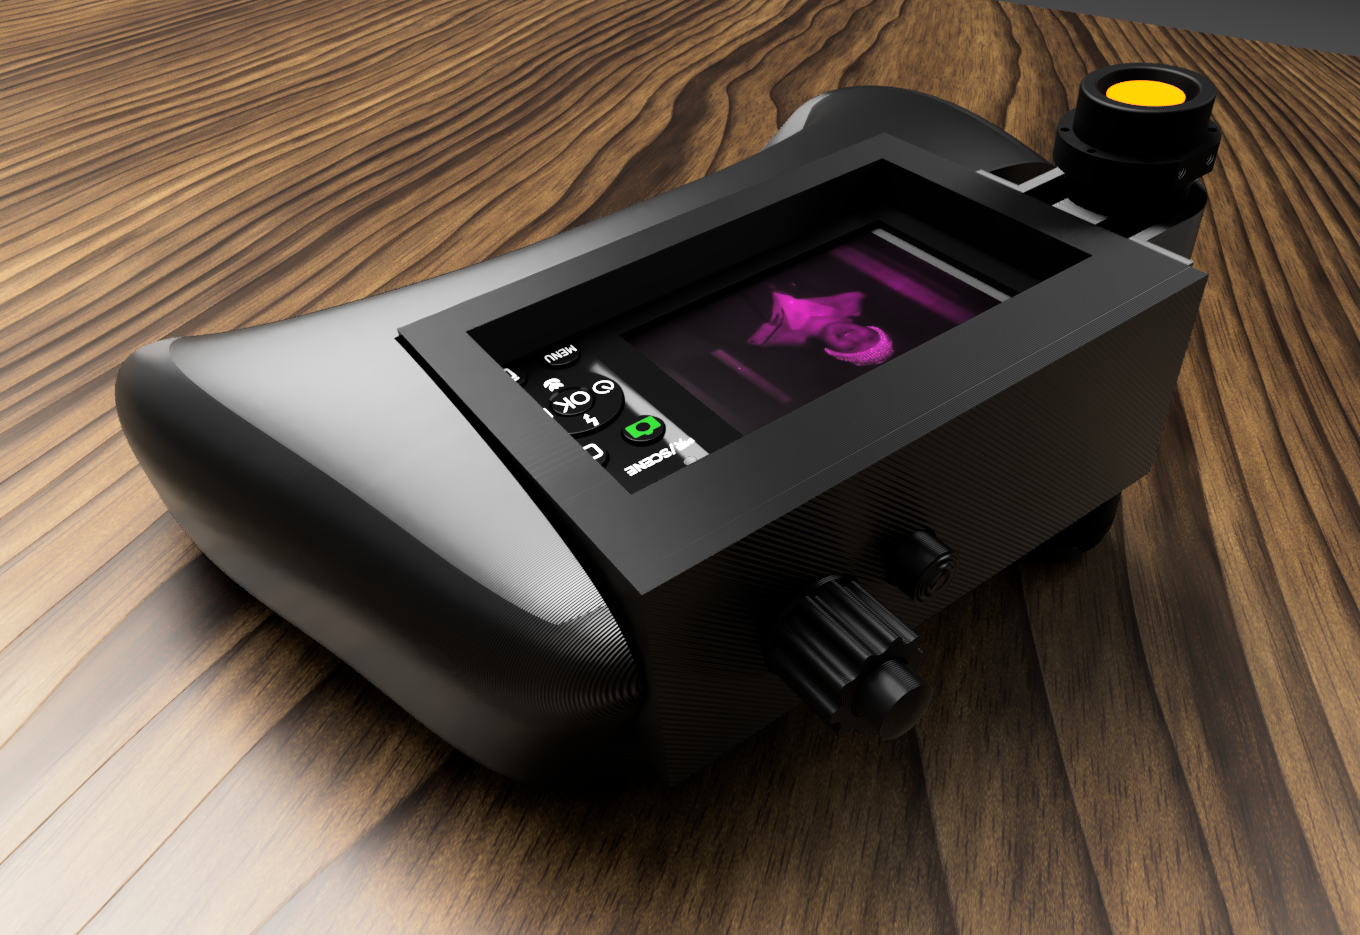
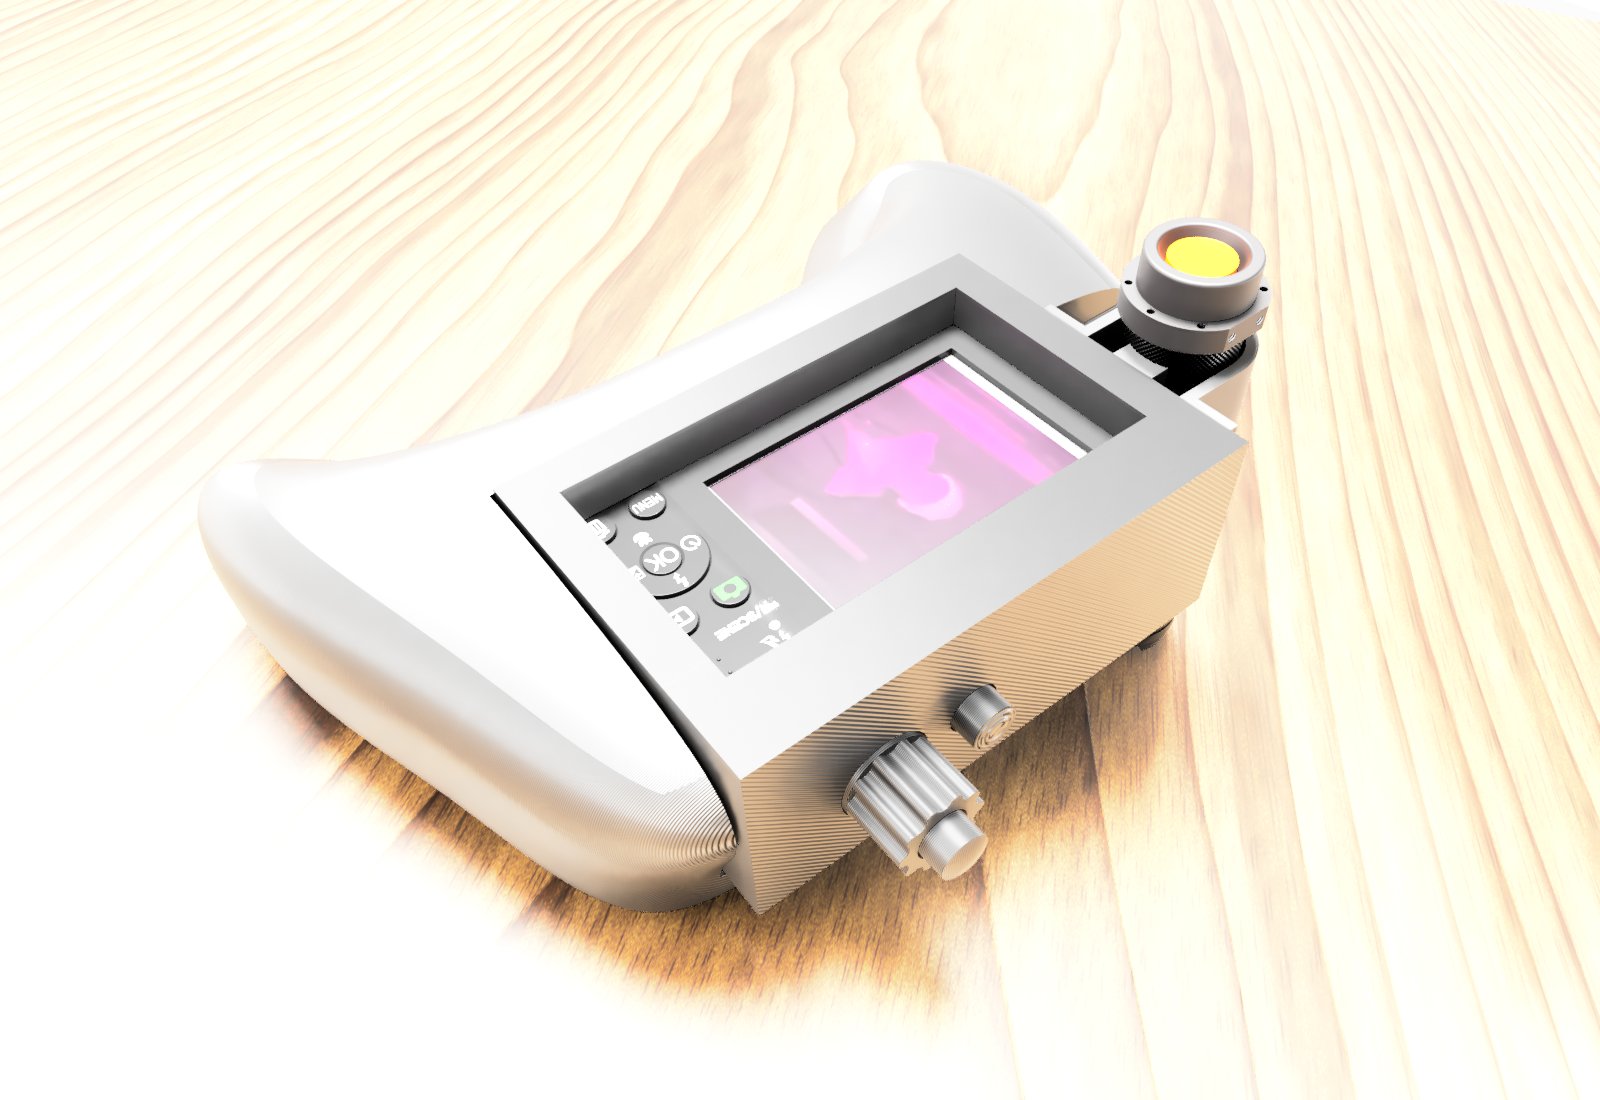
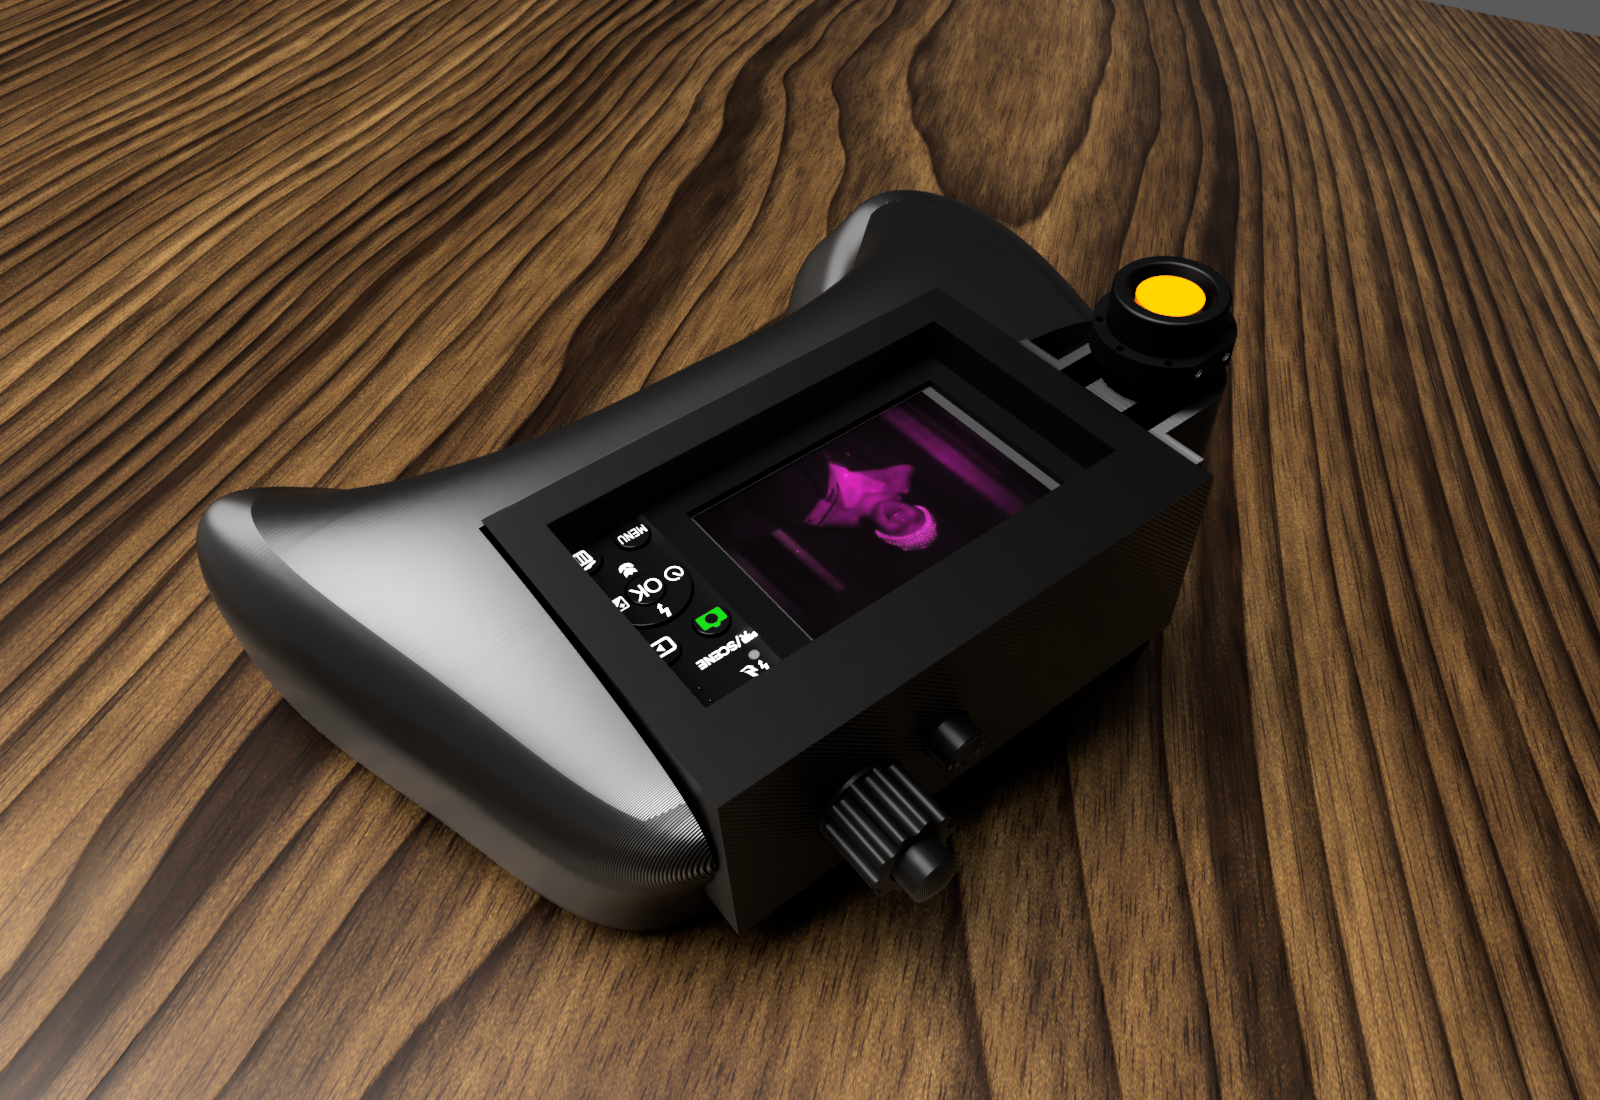
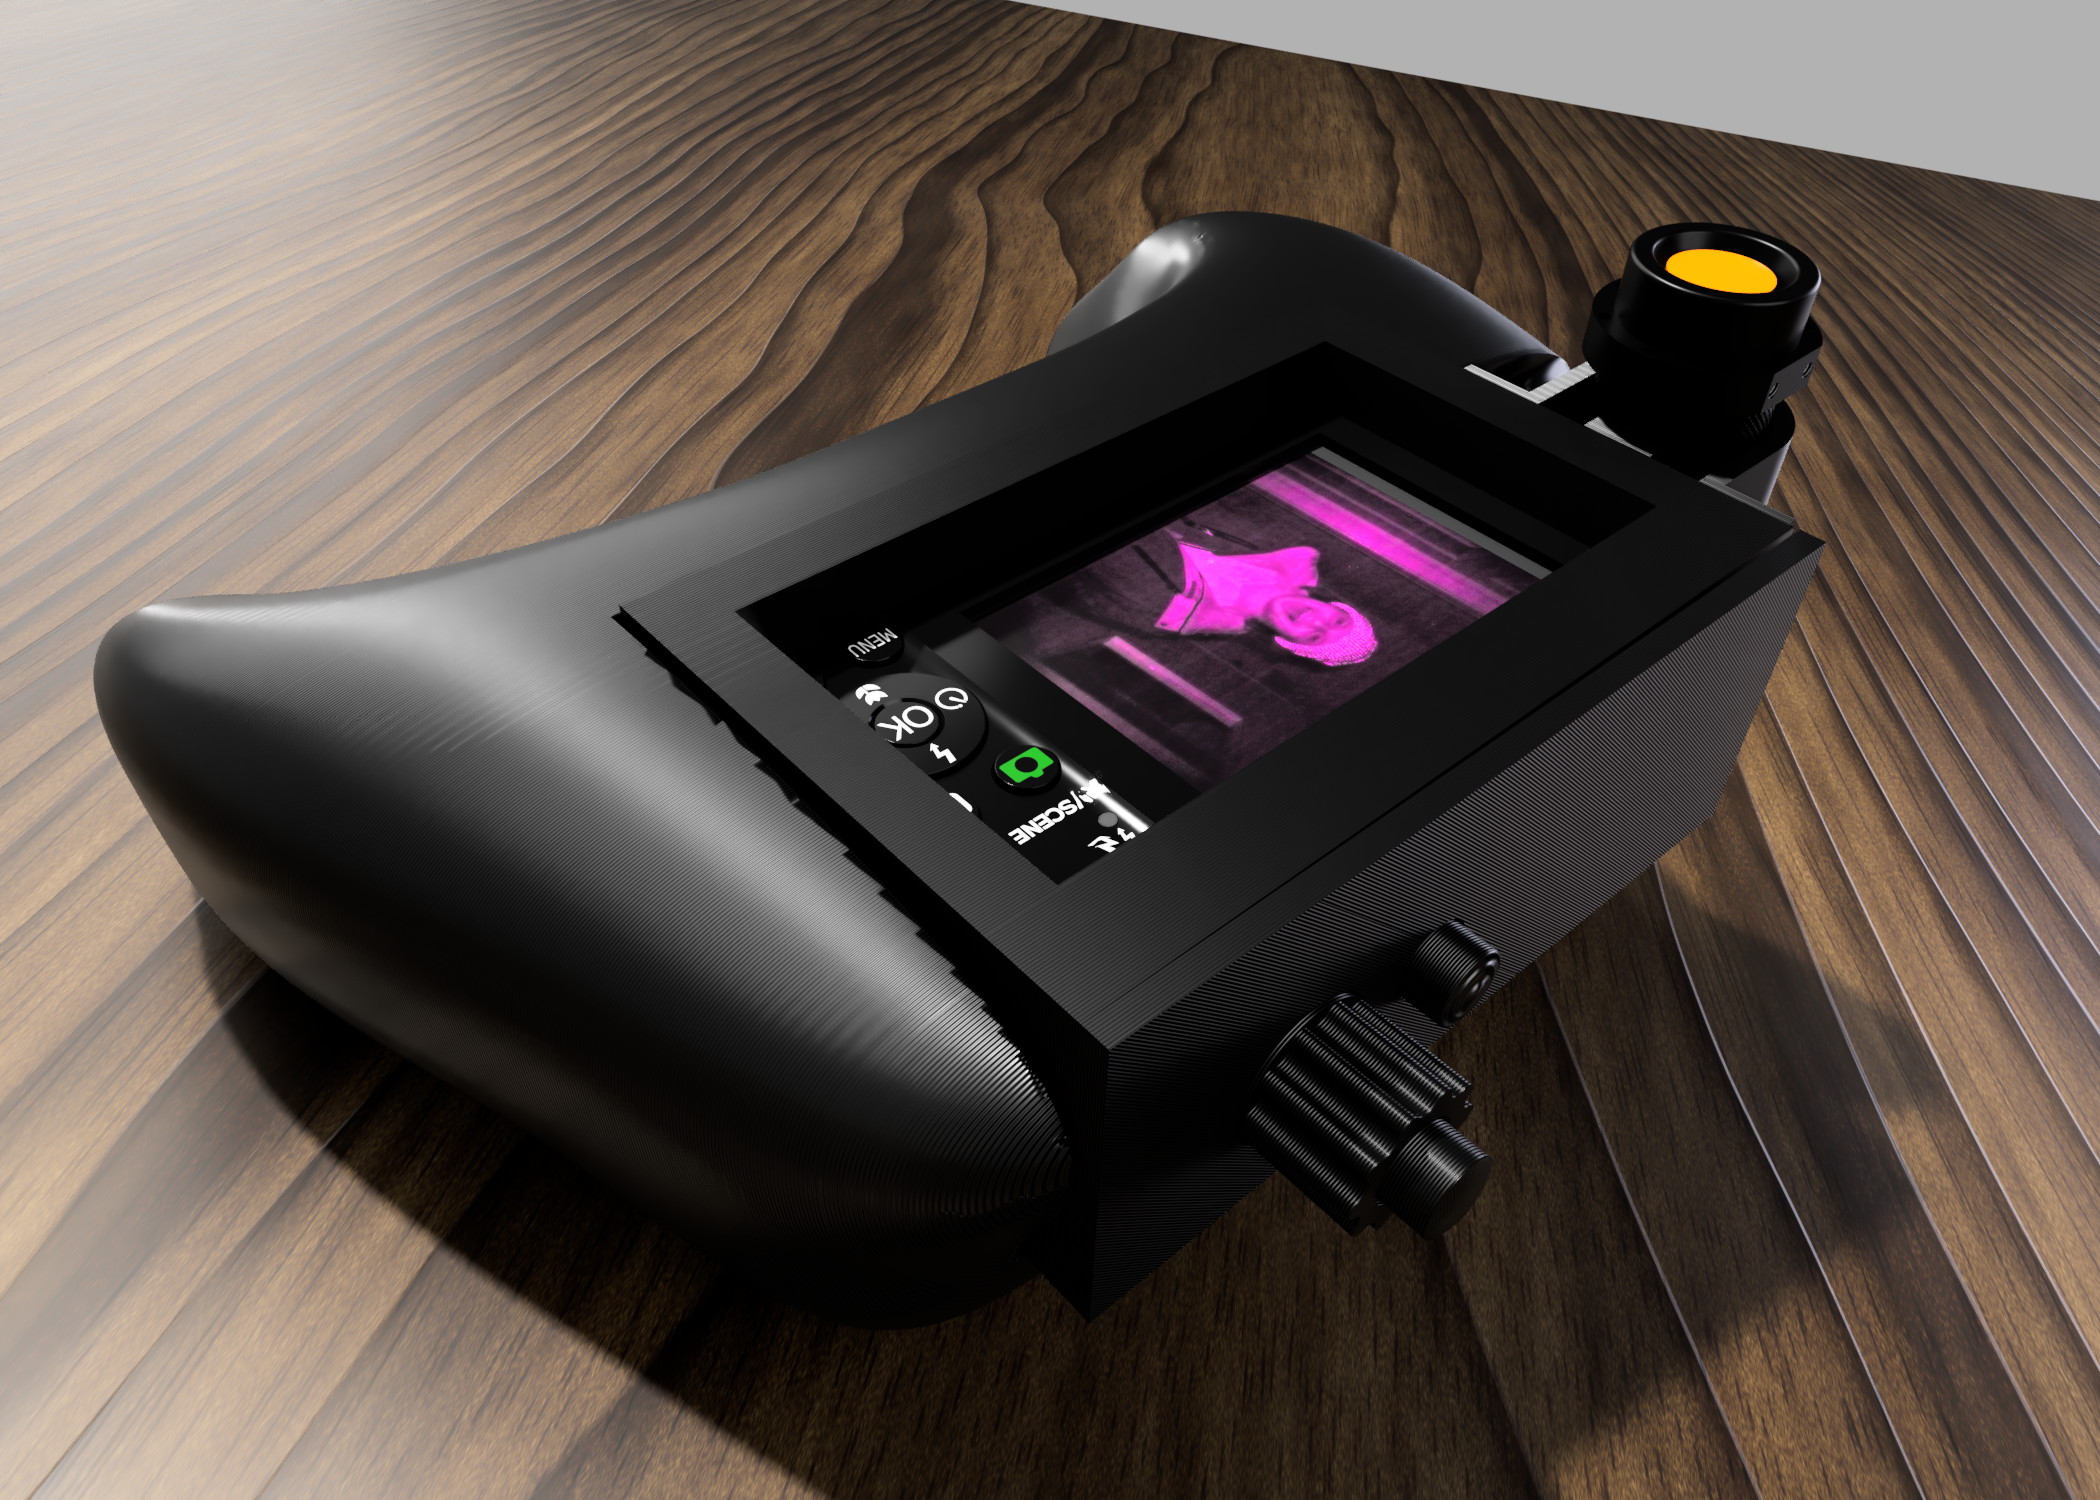
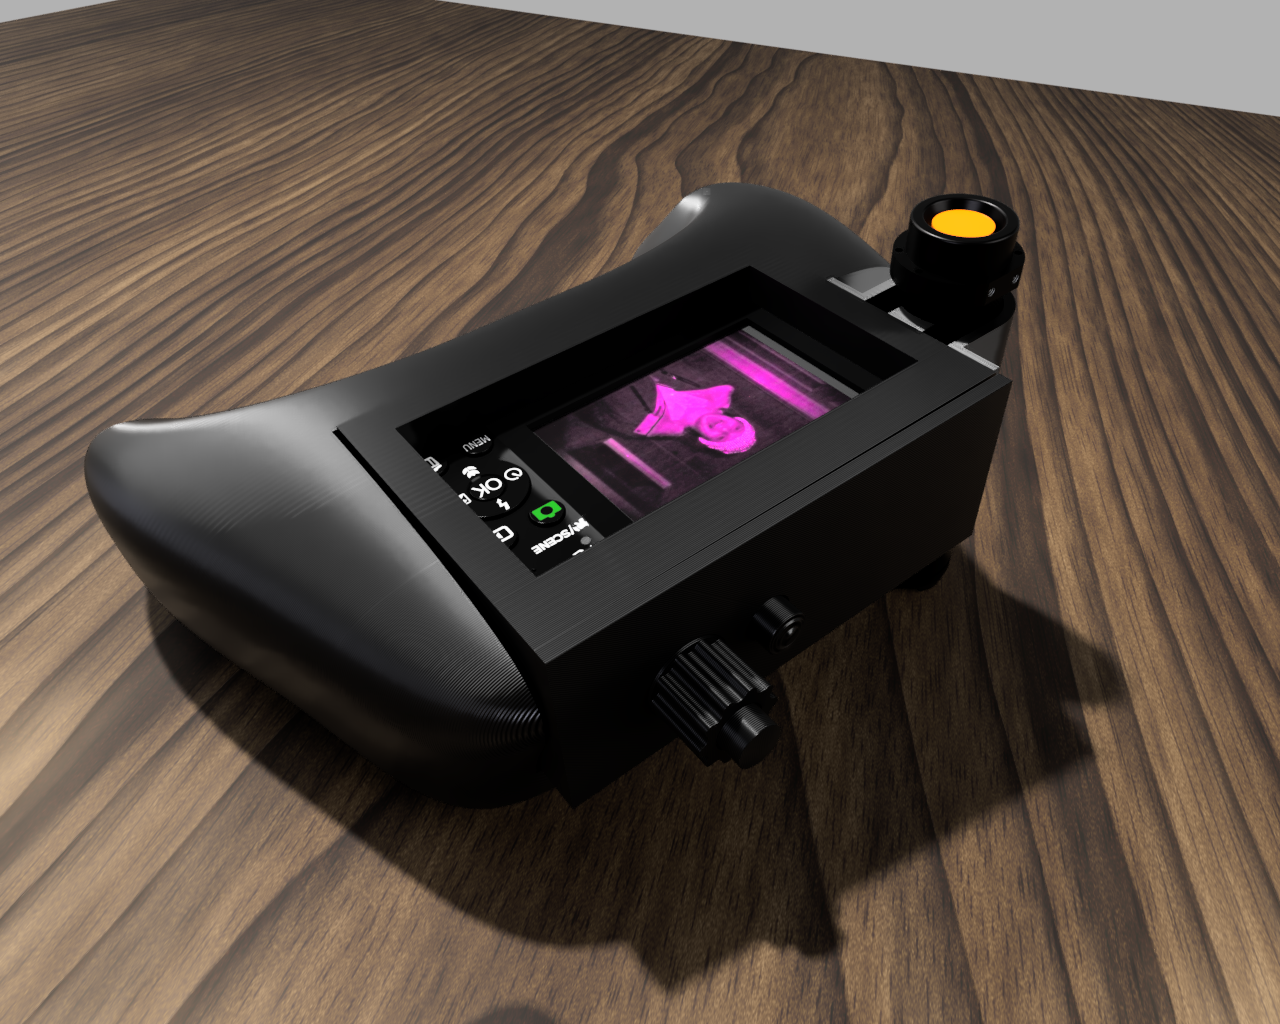
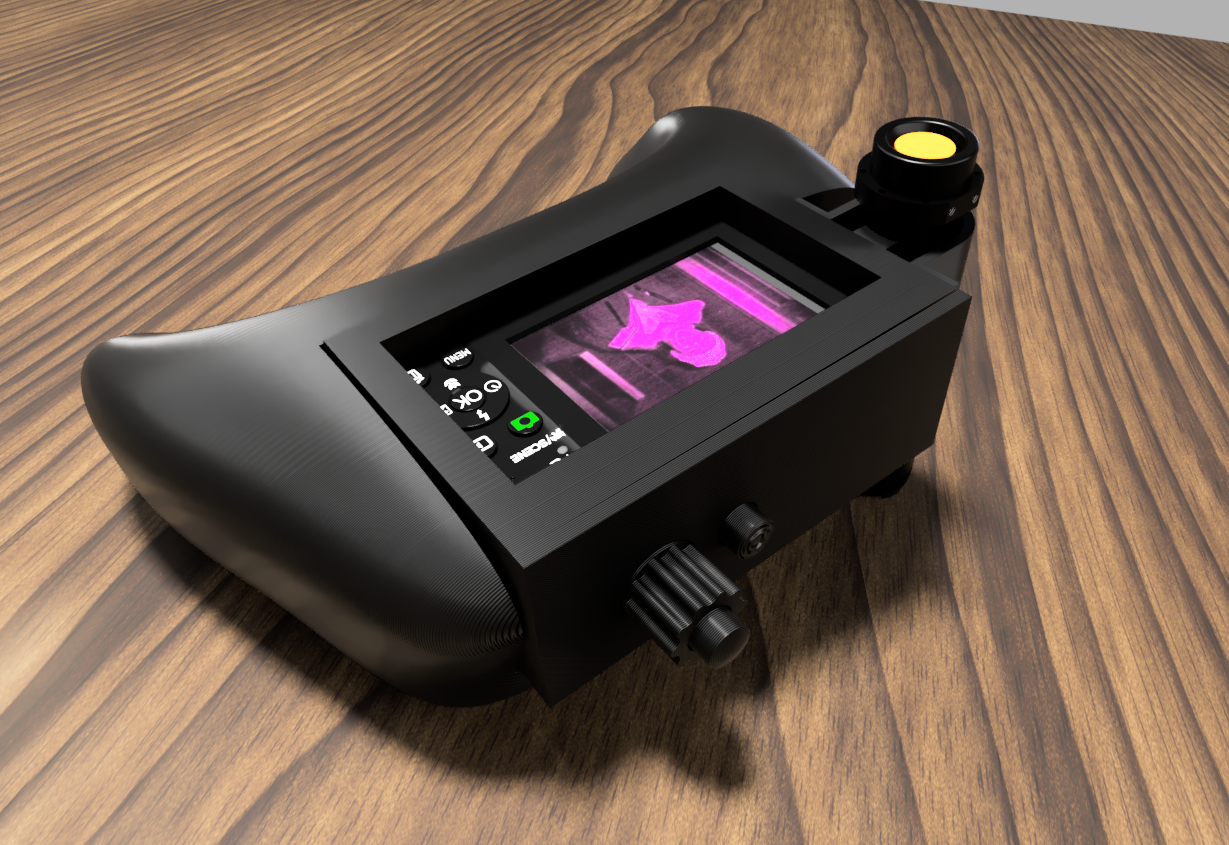
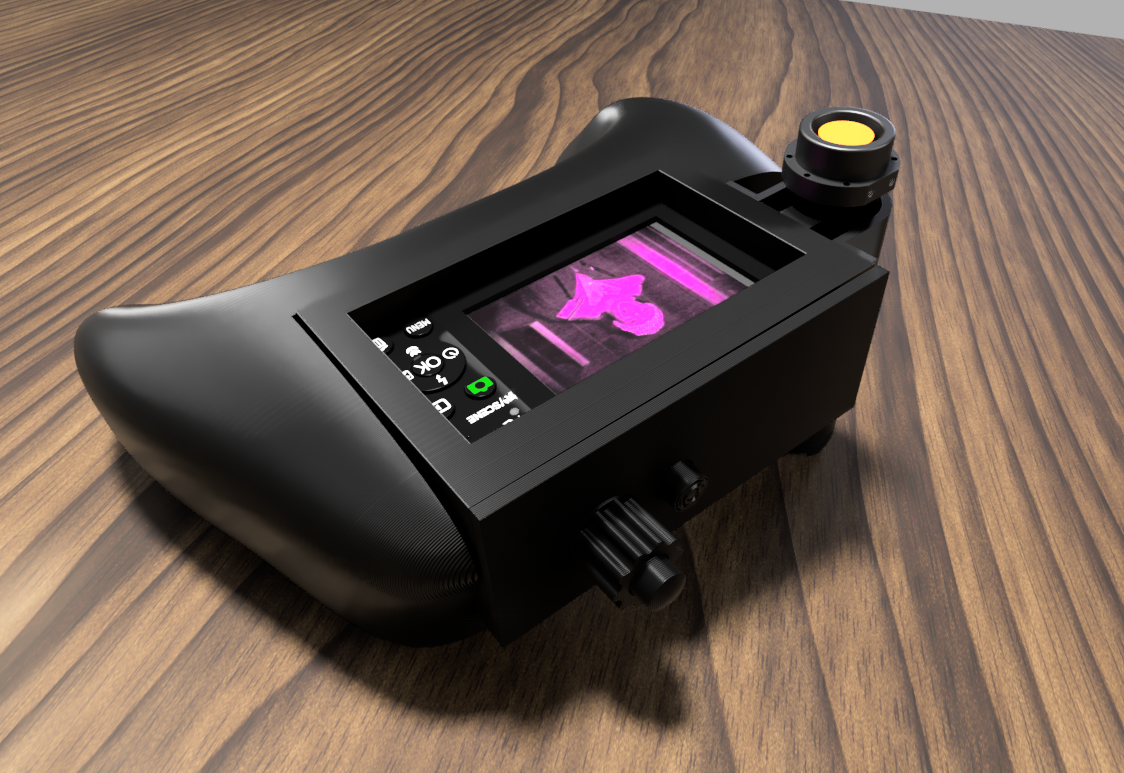
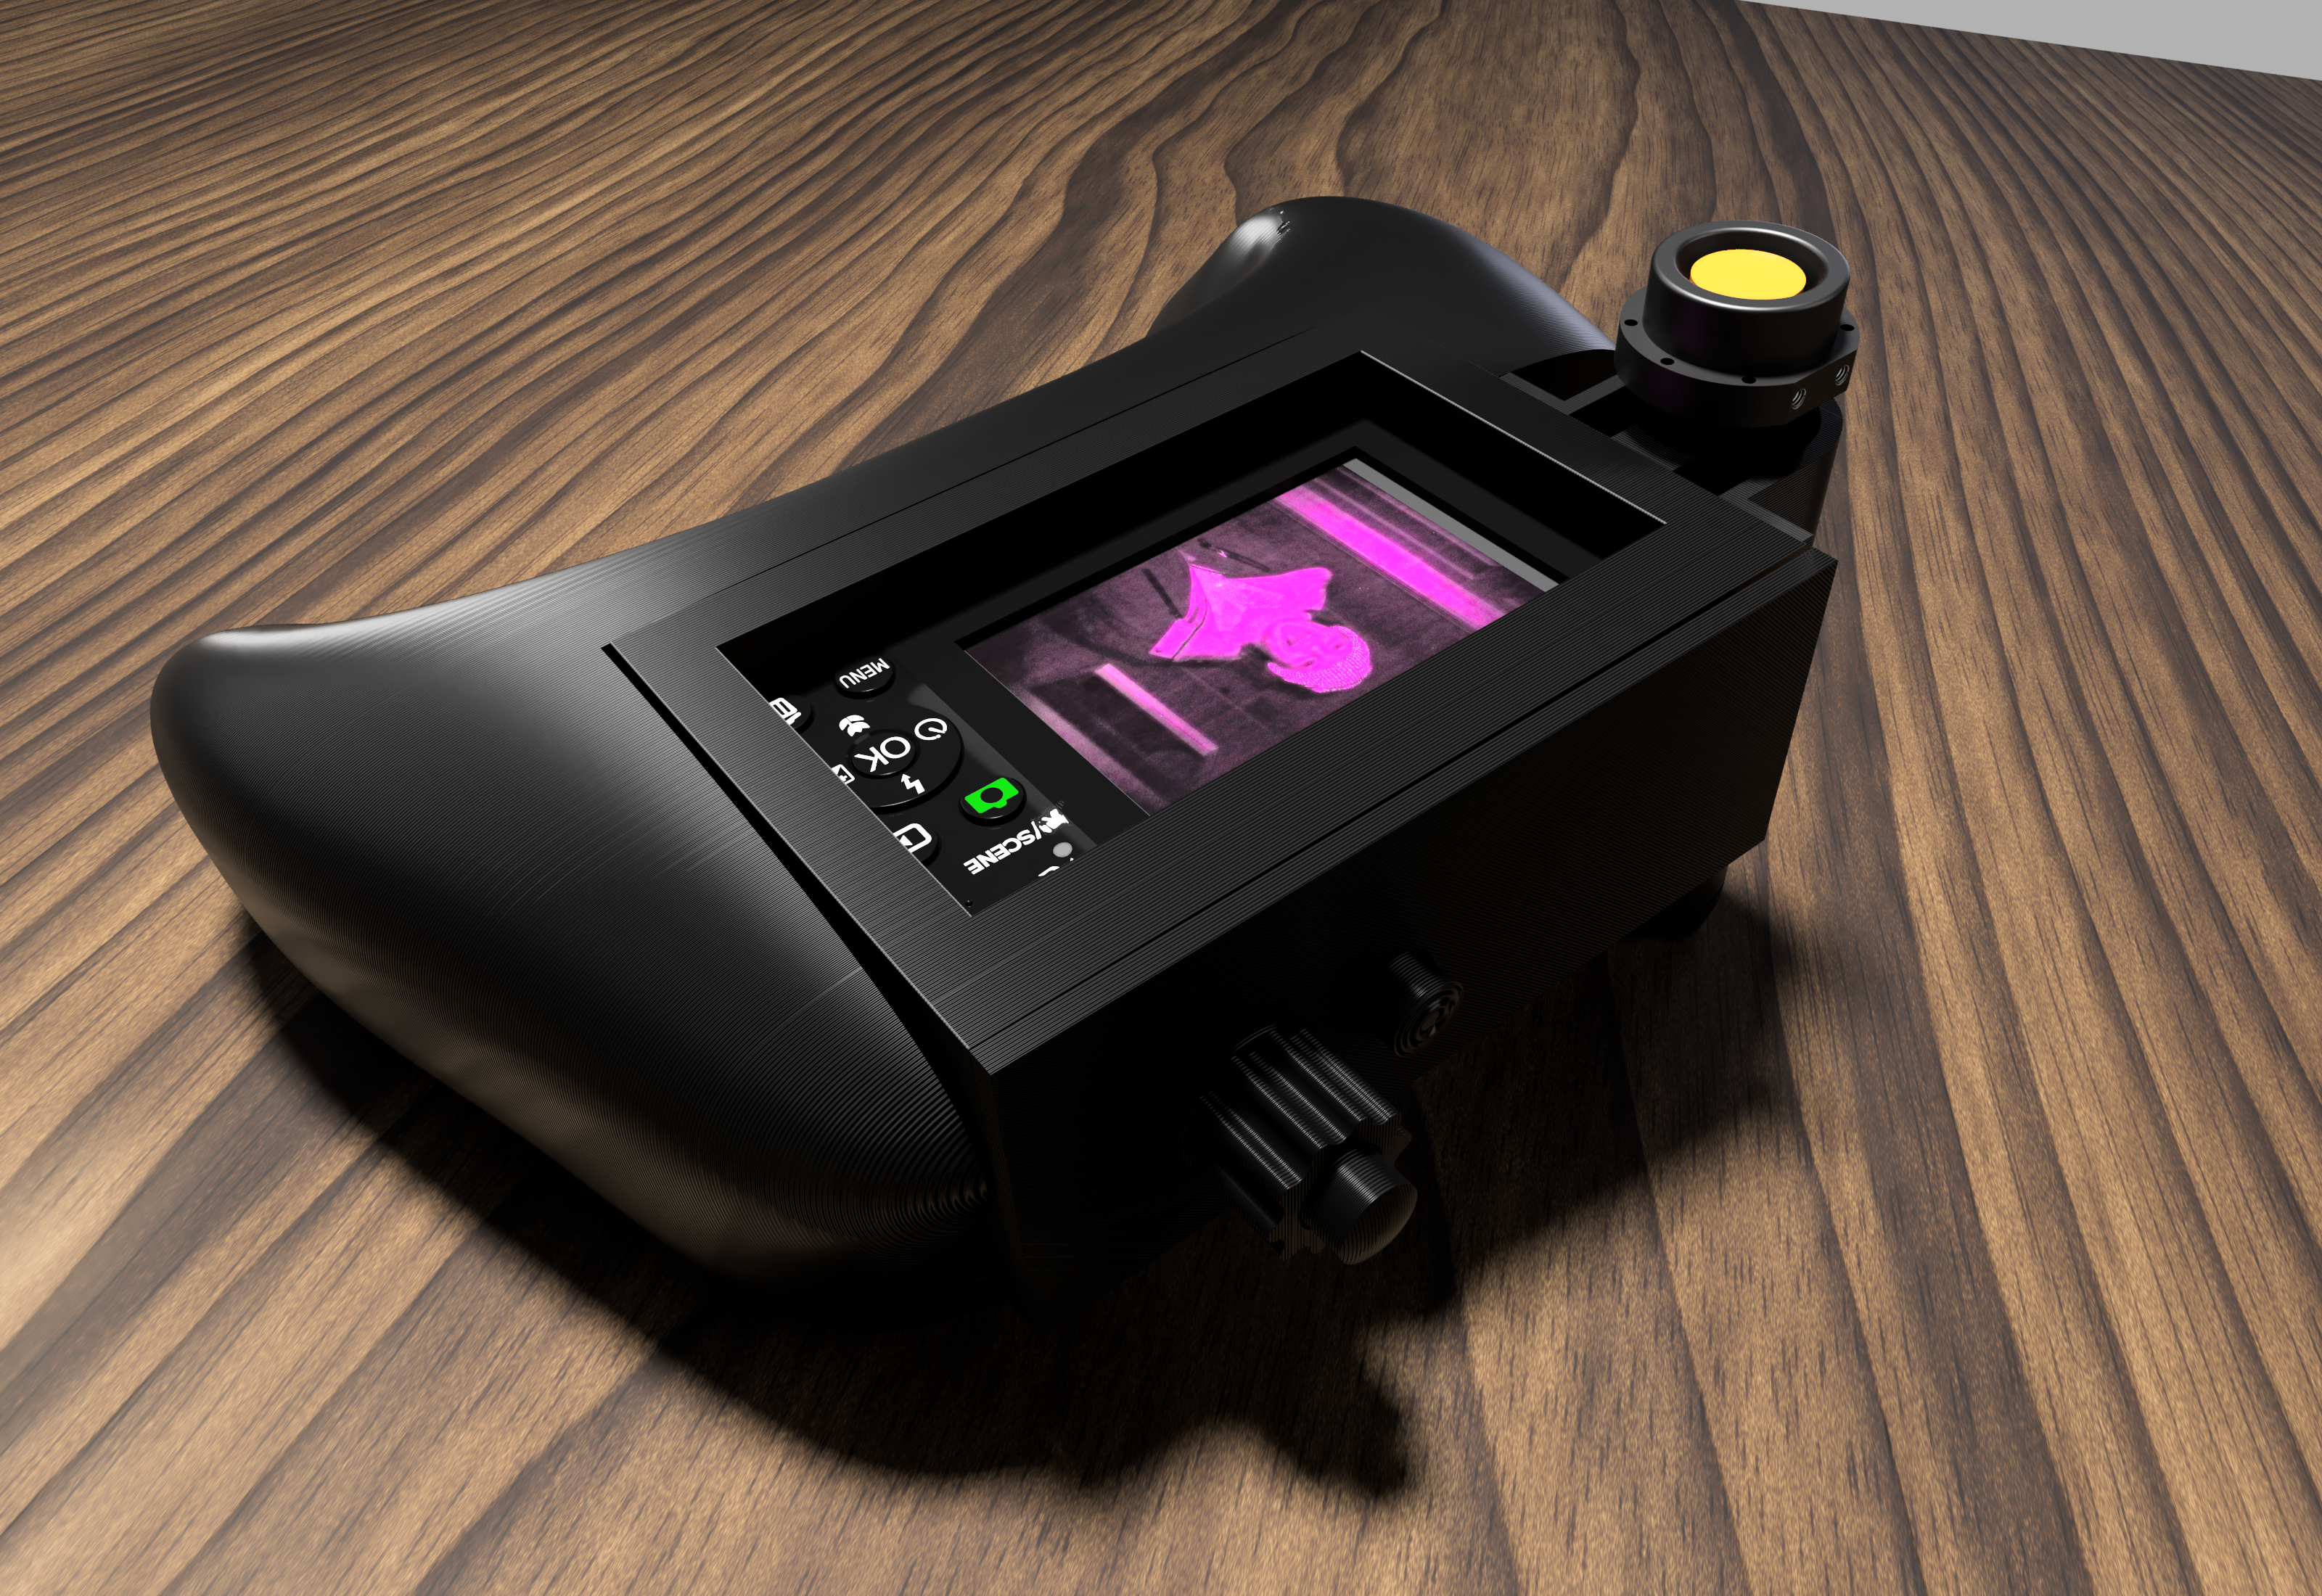
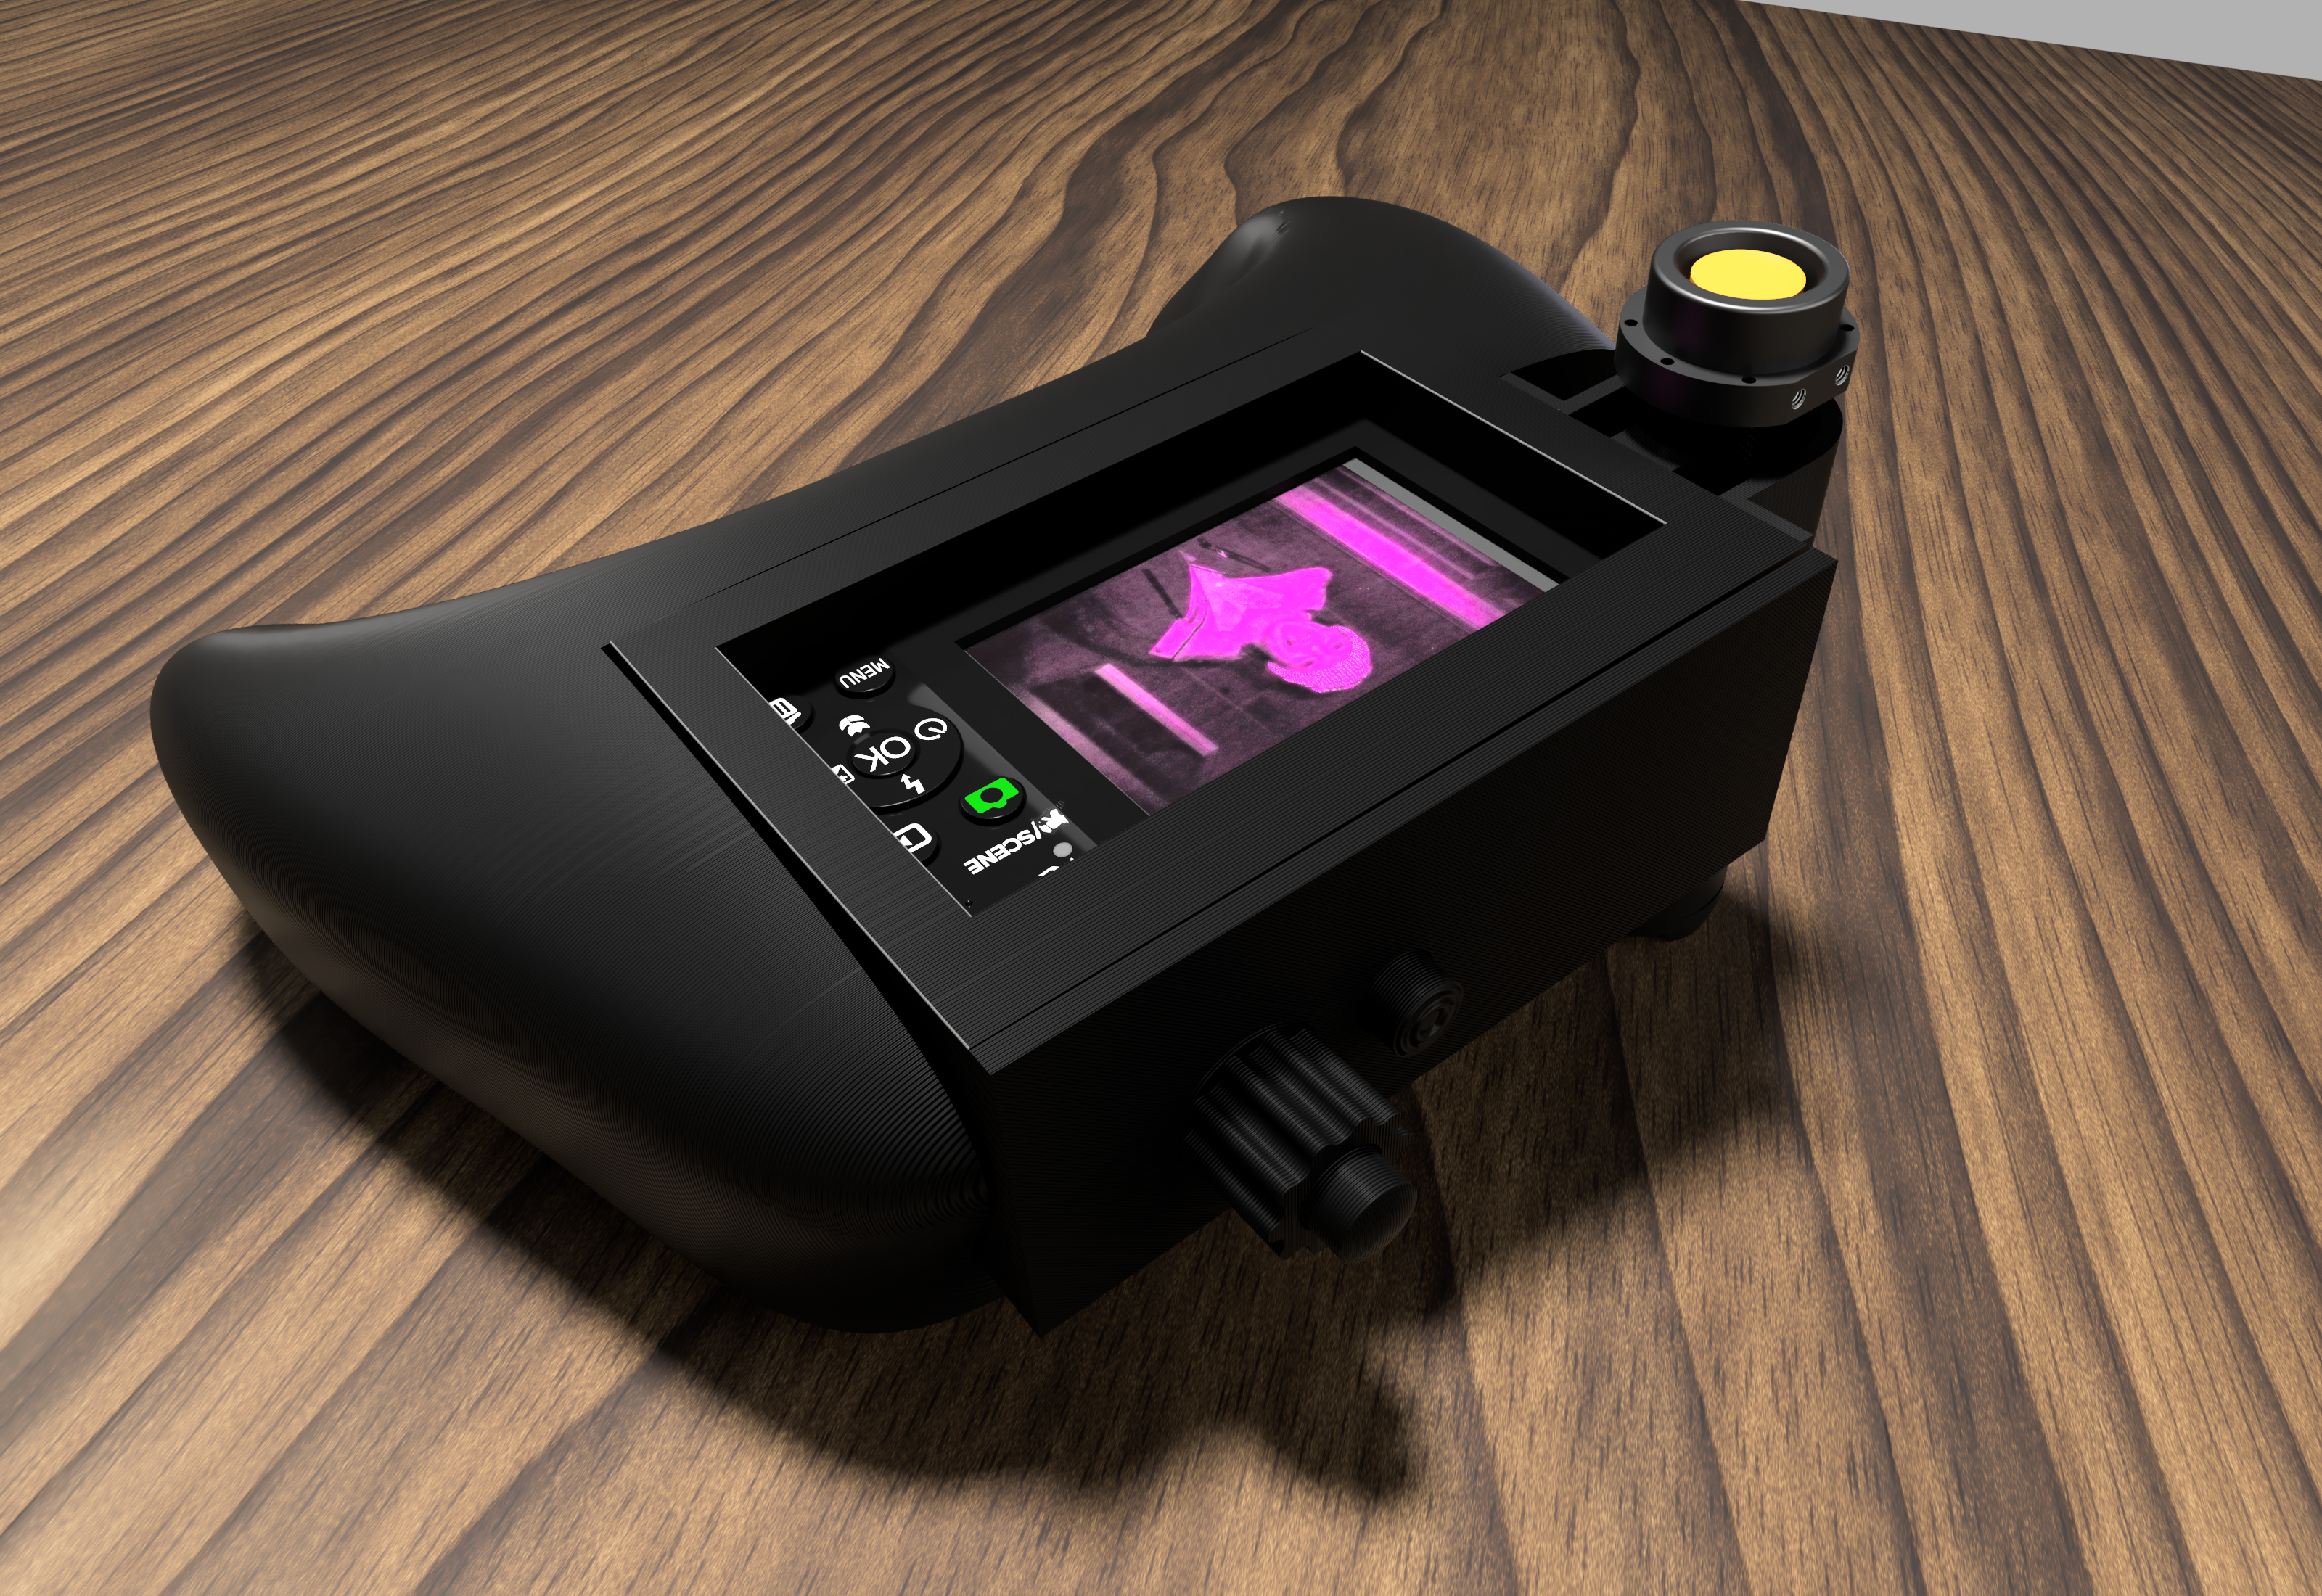
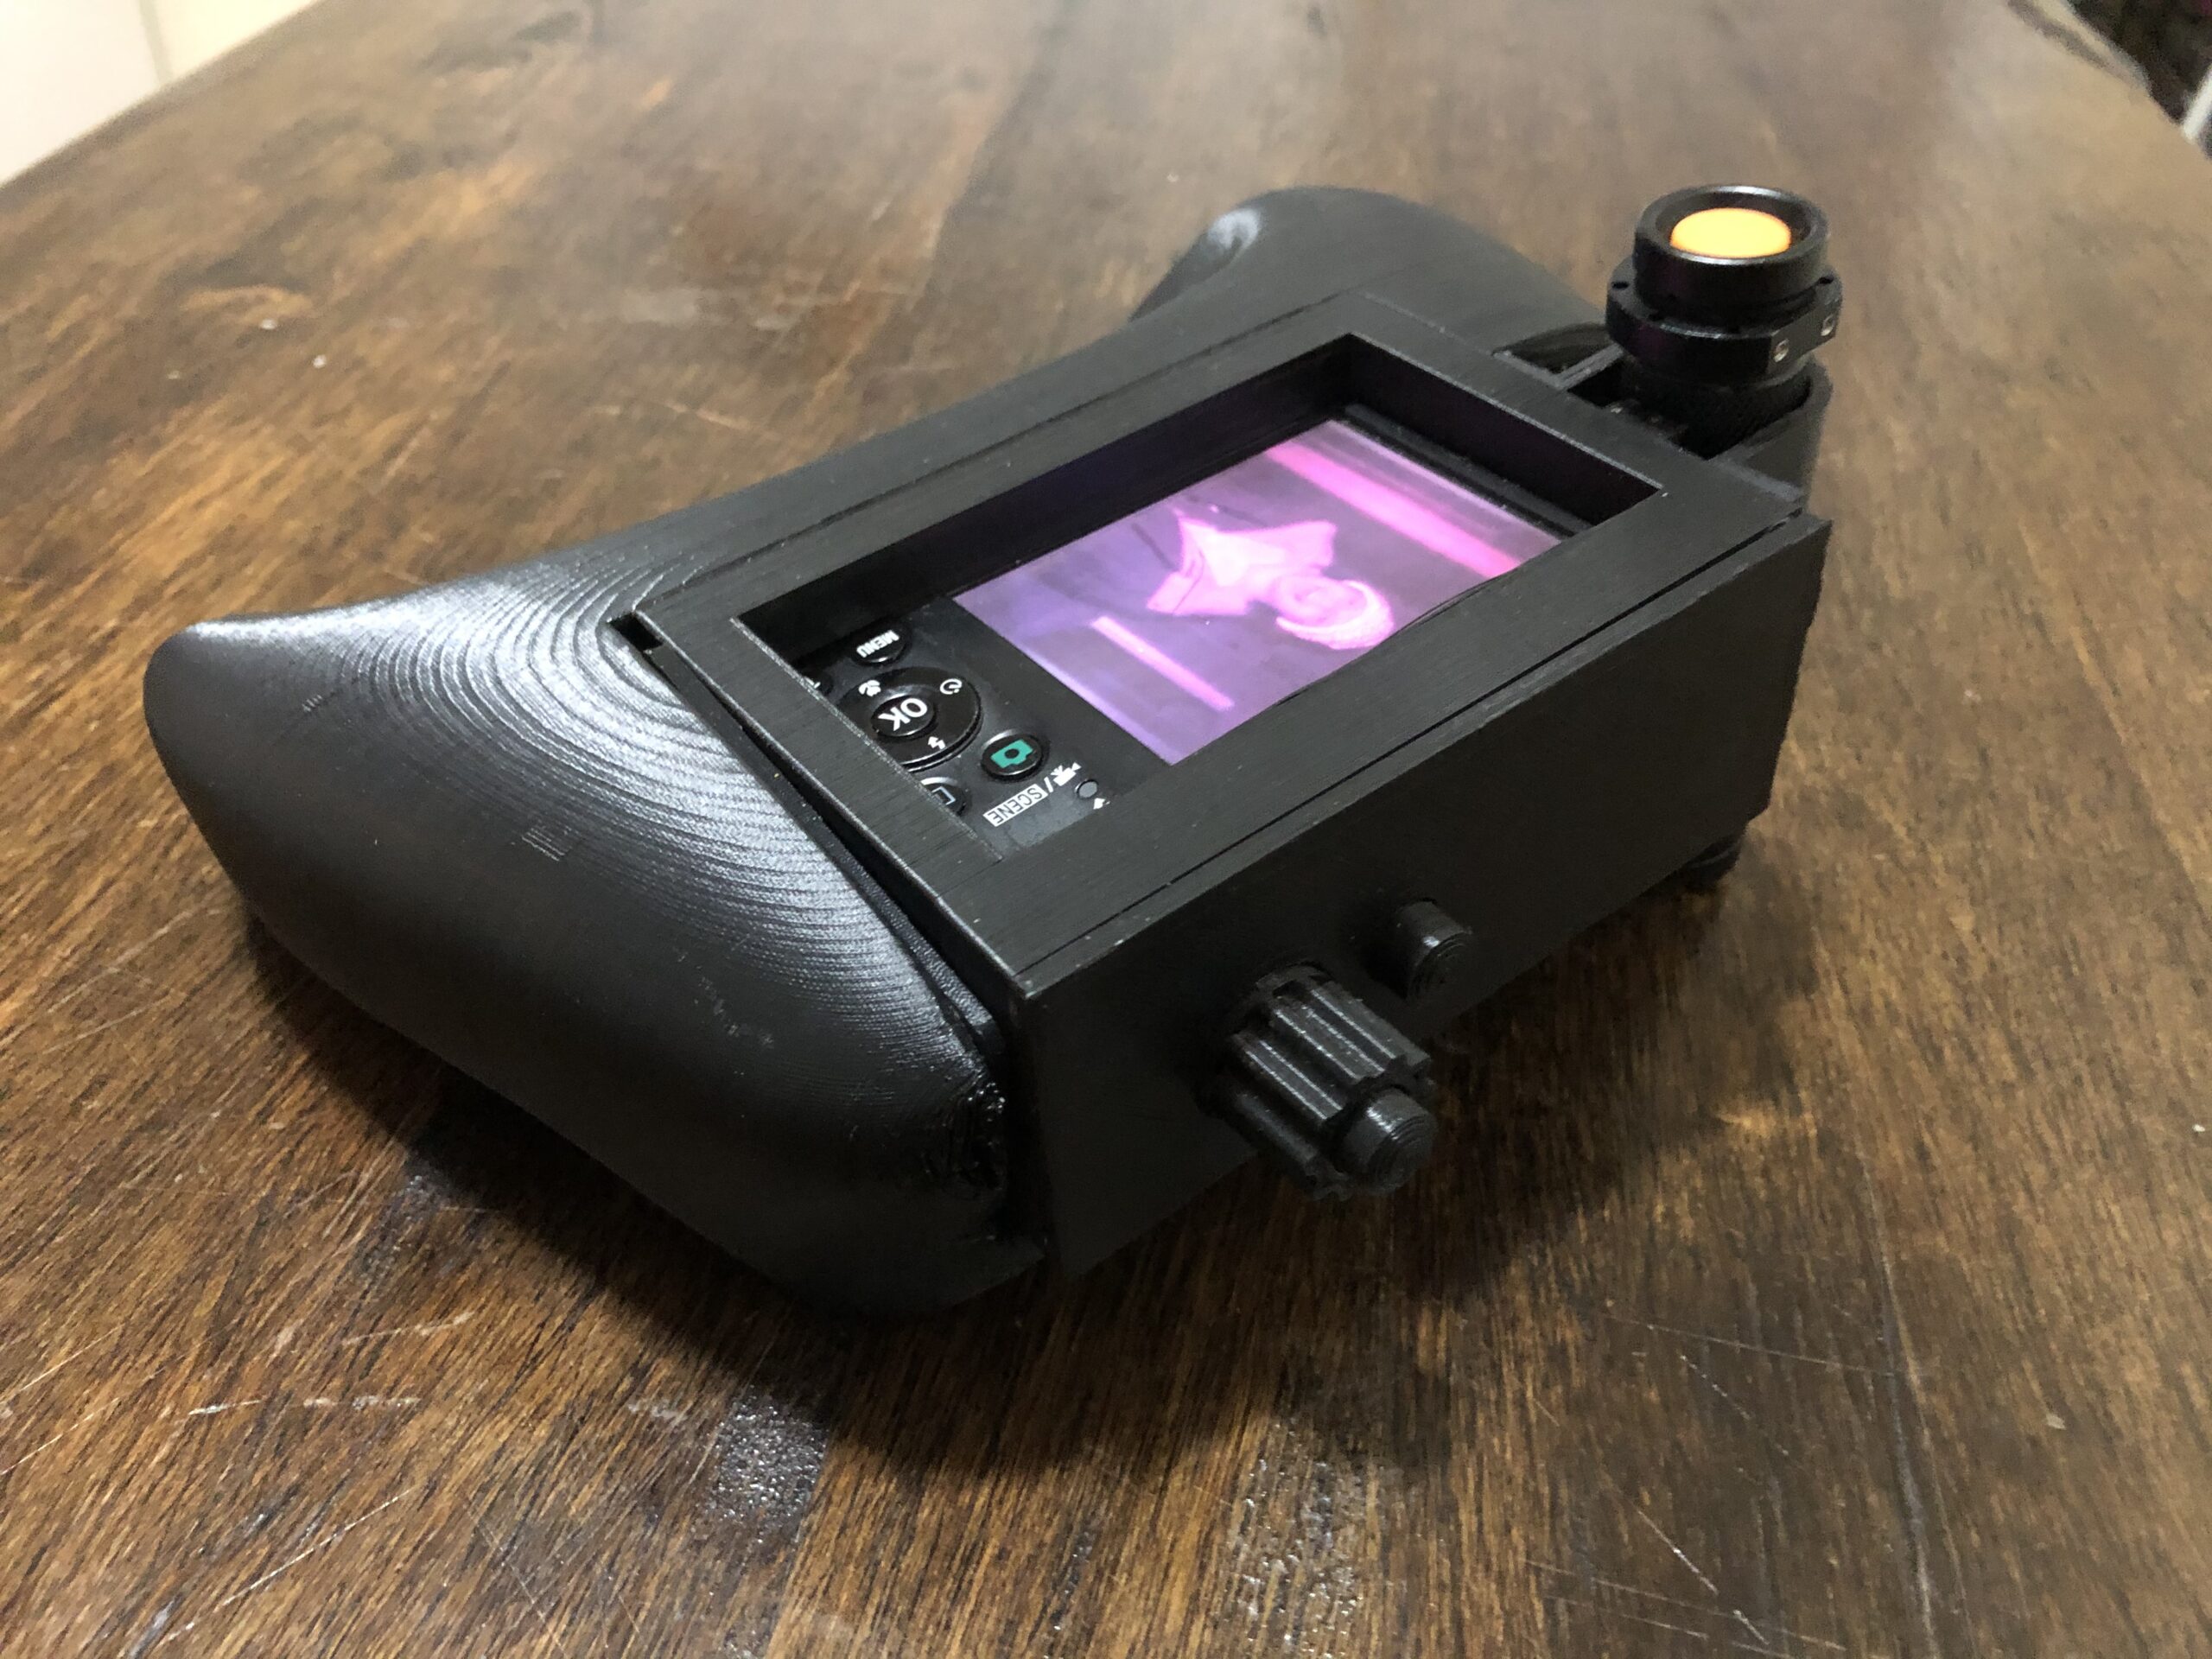
I have this picture of night vision set that I built. Since I had the whole model, I wondered if i could make a realistic looking rending. I figured a good way to go about that would to be to try and re-create the photo.


Ask me any questions you may have or share what you want to see next!