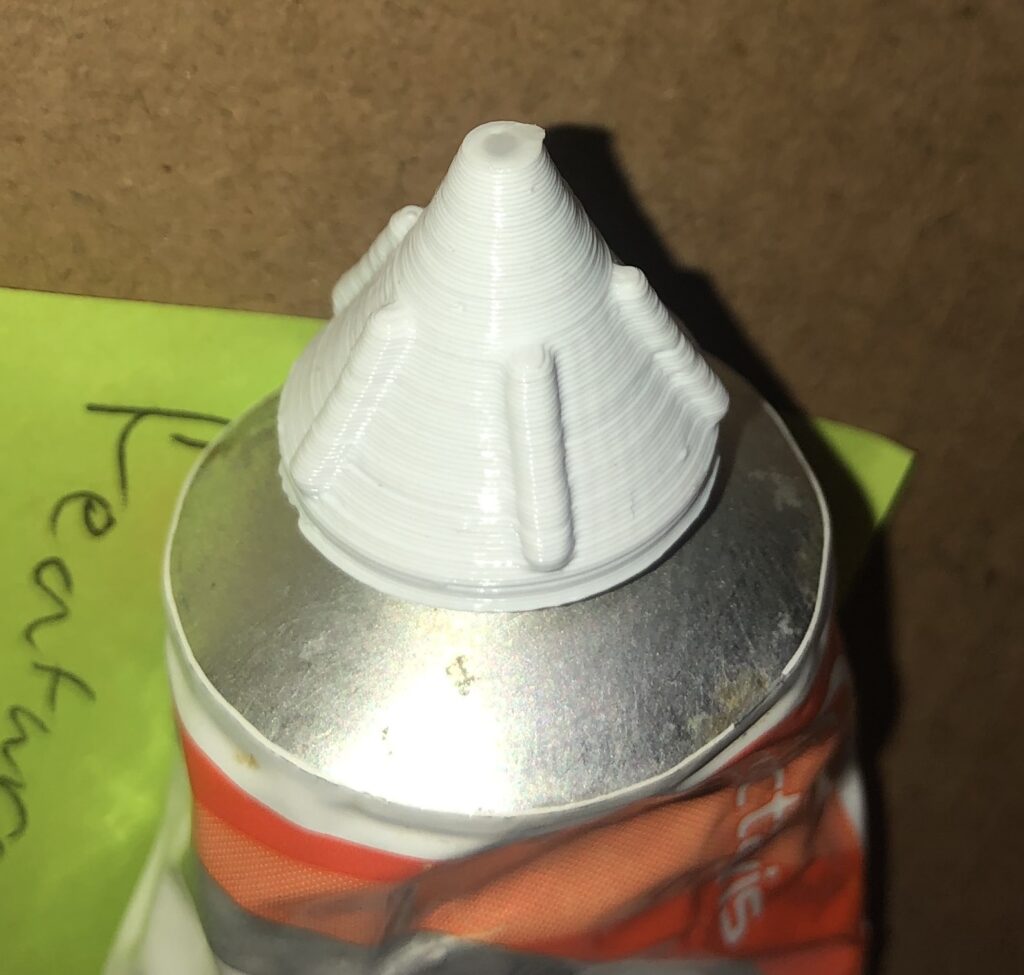
3D printed Squeeze Cream Cap
My grandpa asked me if i could do him a favor and make something for him. I said of course grandpa, what do you need. He asked me if I could make a new cap for his cream because too much comes out when he squeezes it. I told him that sounds like the perfect thing to 3d print, he would just need to bring me the ointment so I could take some measurements.
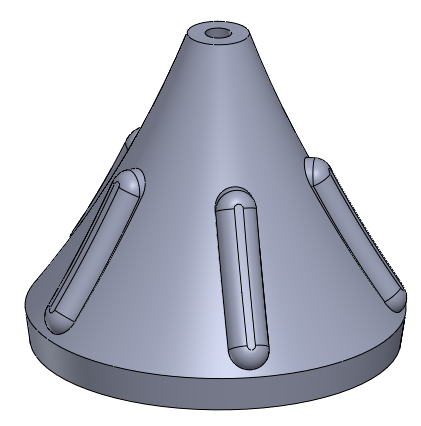
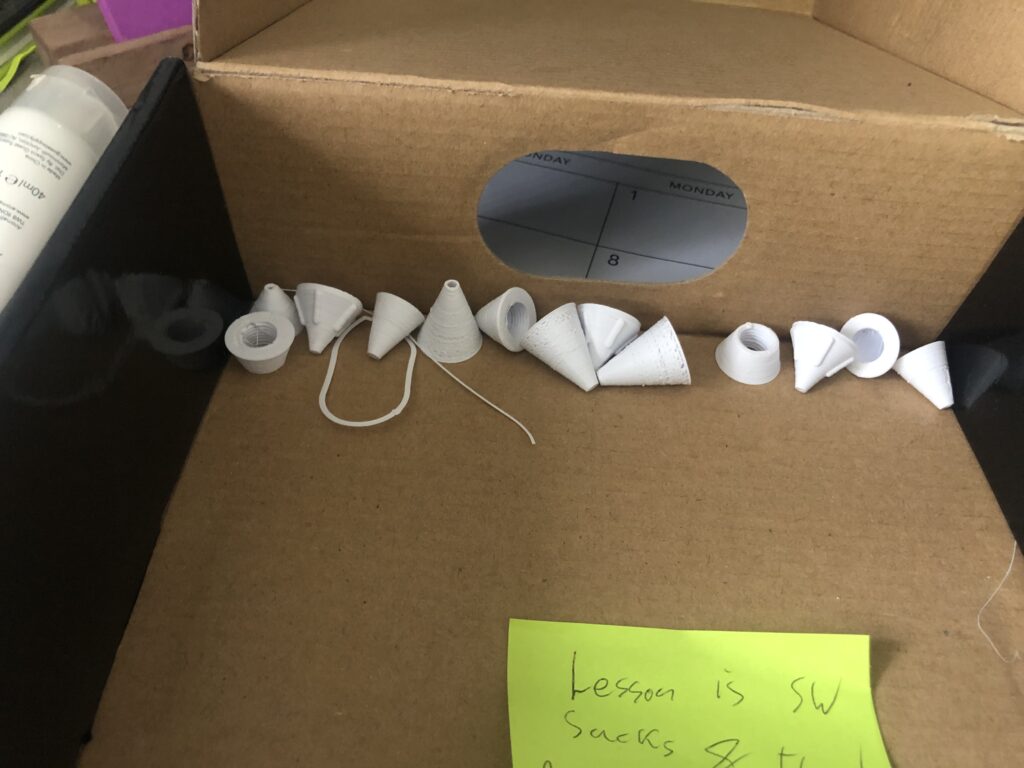
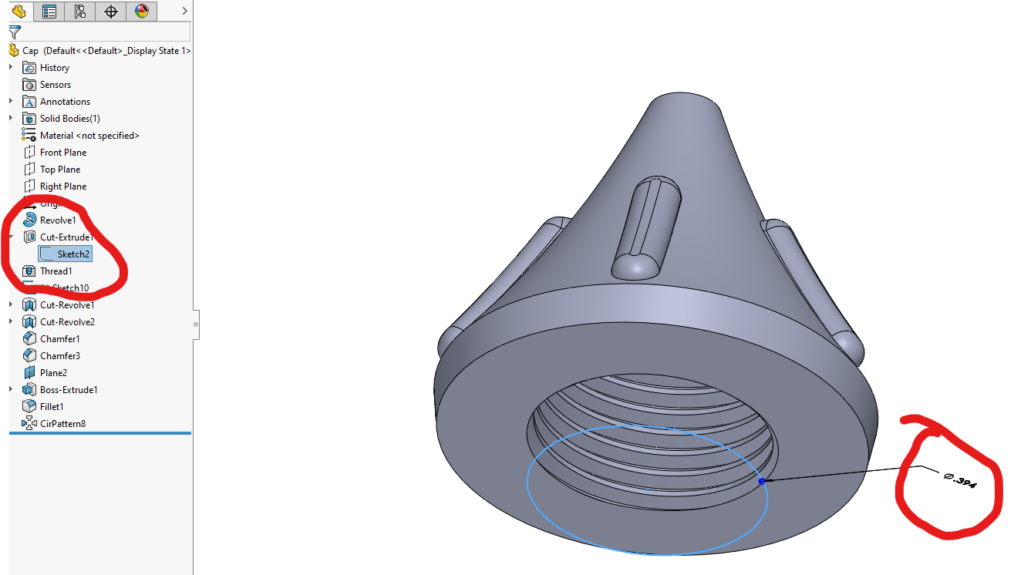
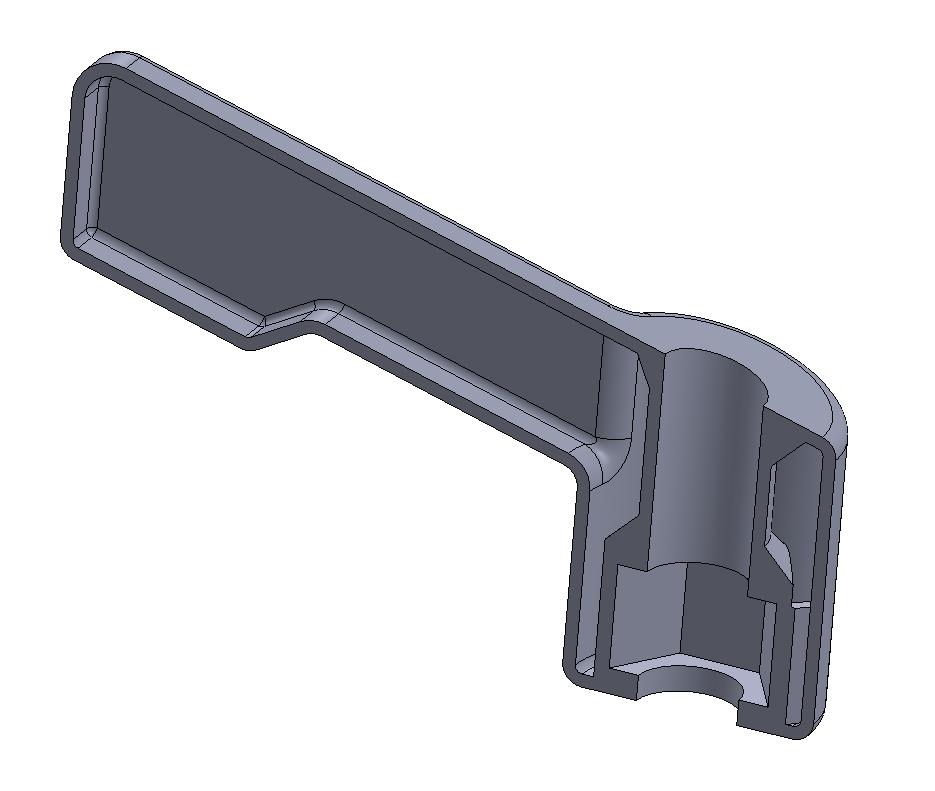
In Solidworks when you use the THREAD feature, the cylindrical face you choose must match the NOMINAL DIAMETER of the threads you want. Otherwise it still makes threads, just at the wrong diameter.
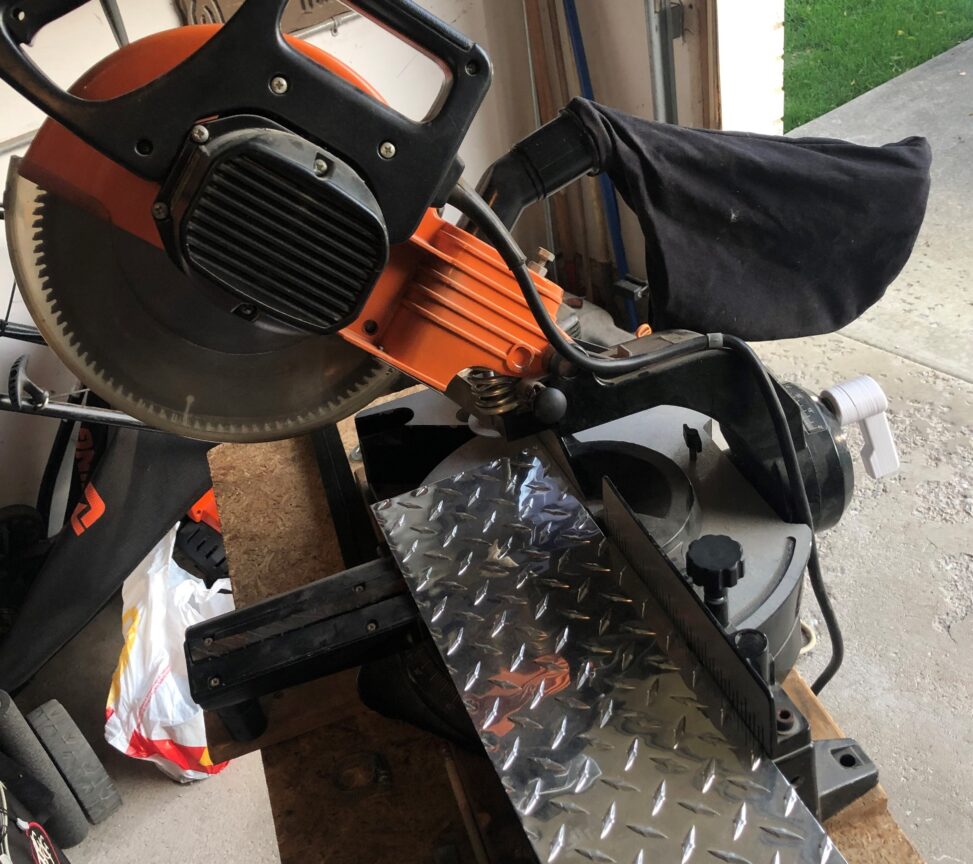
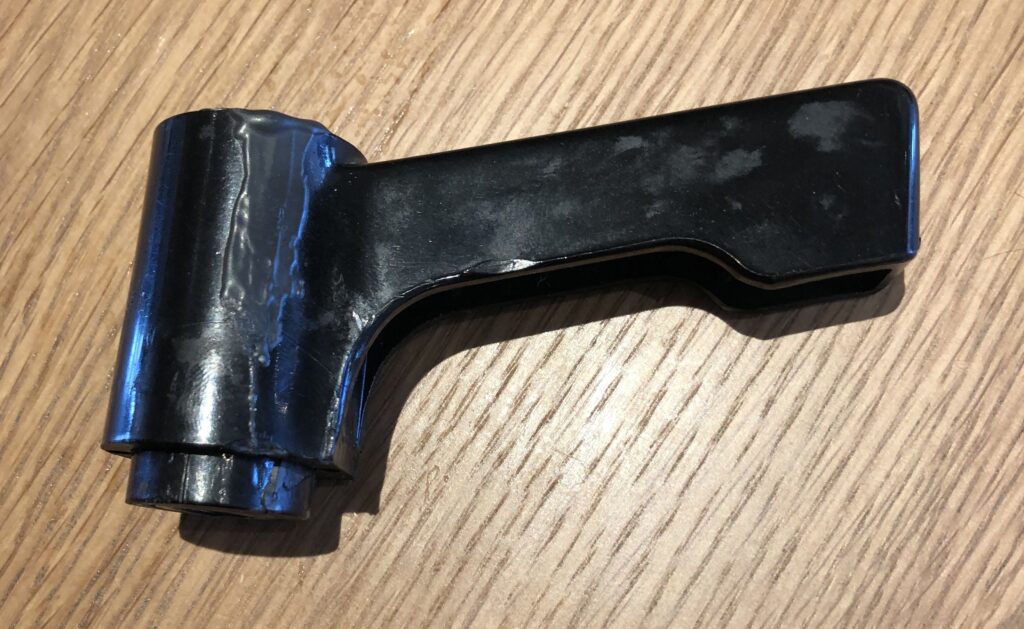
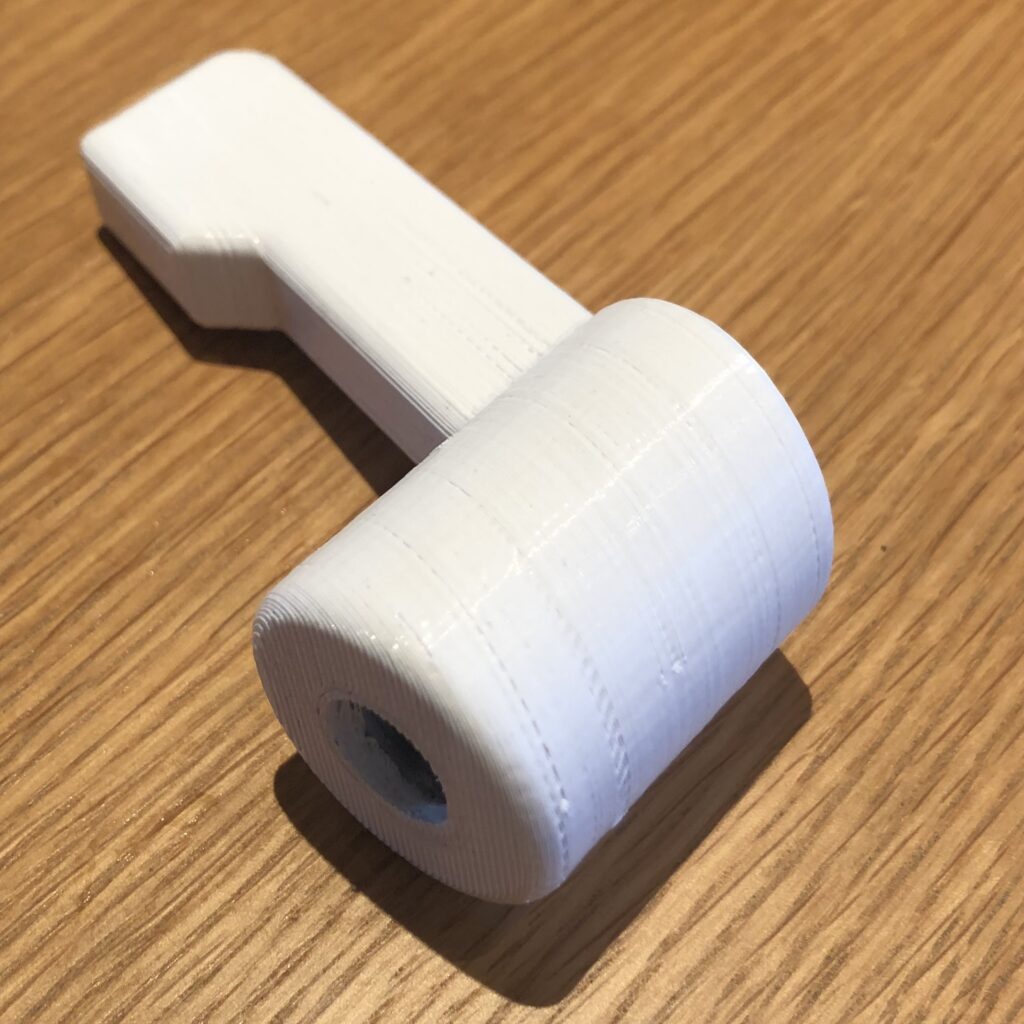
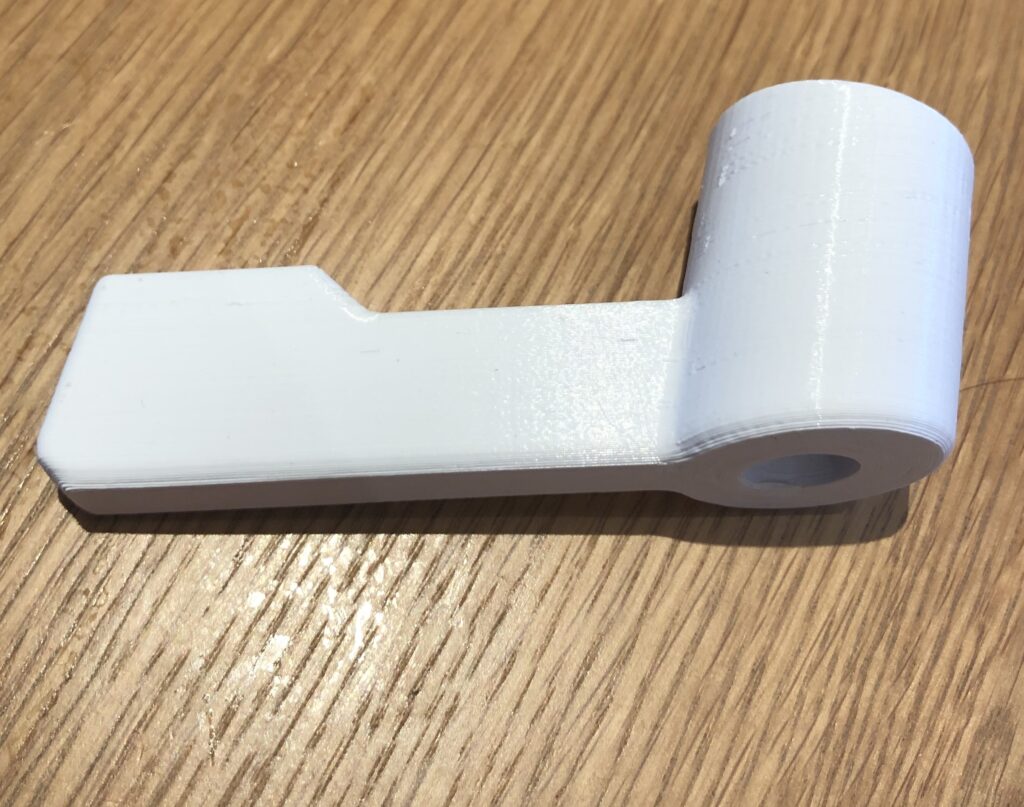
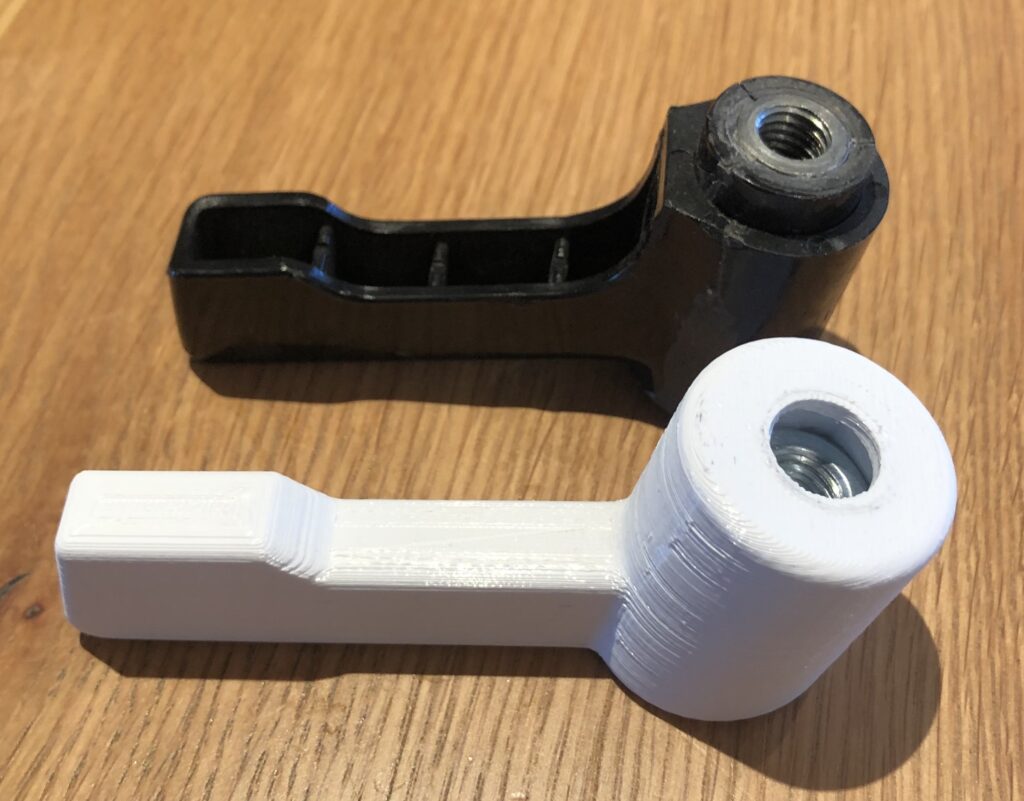
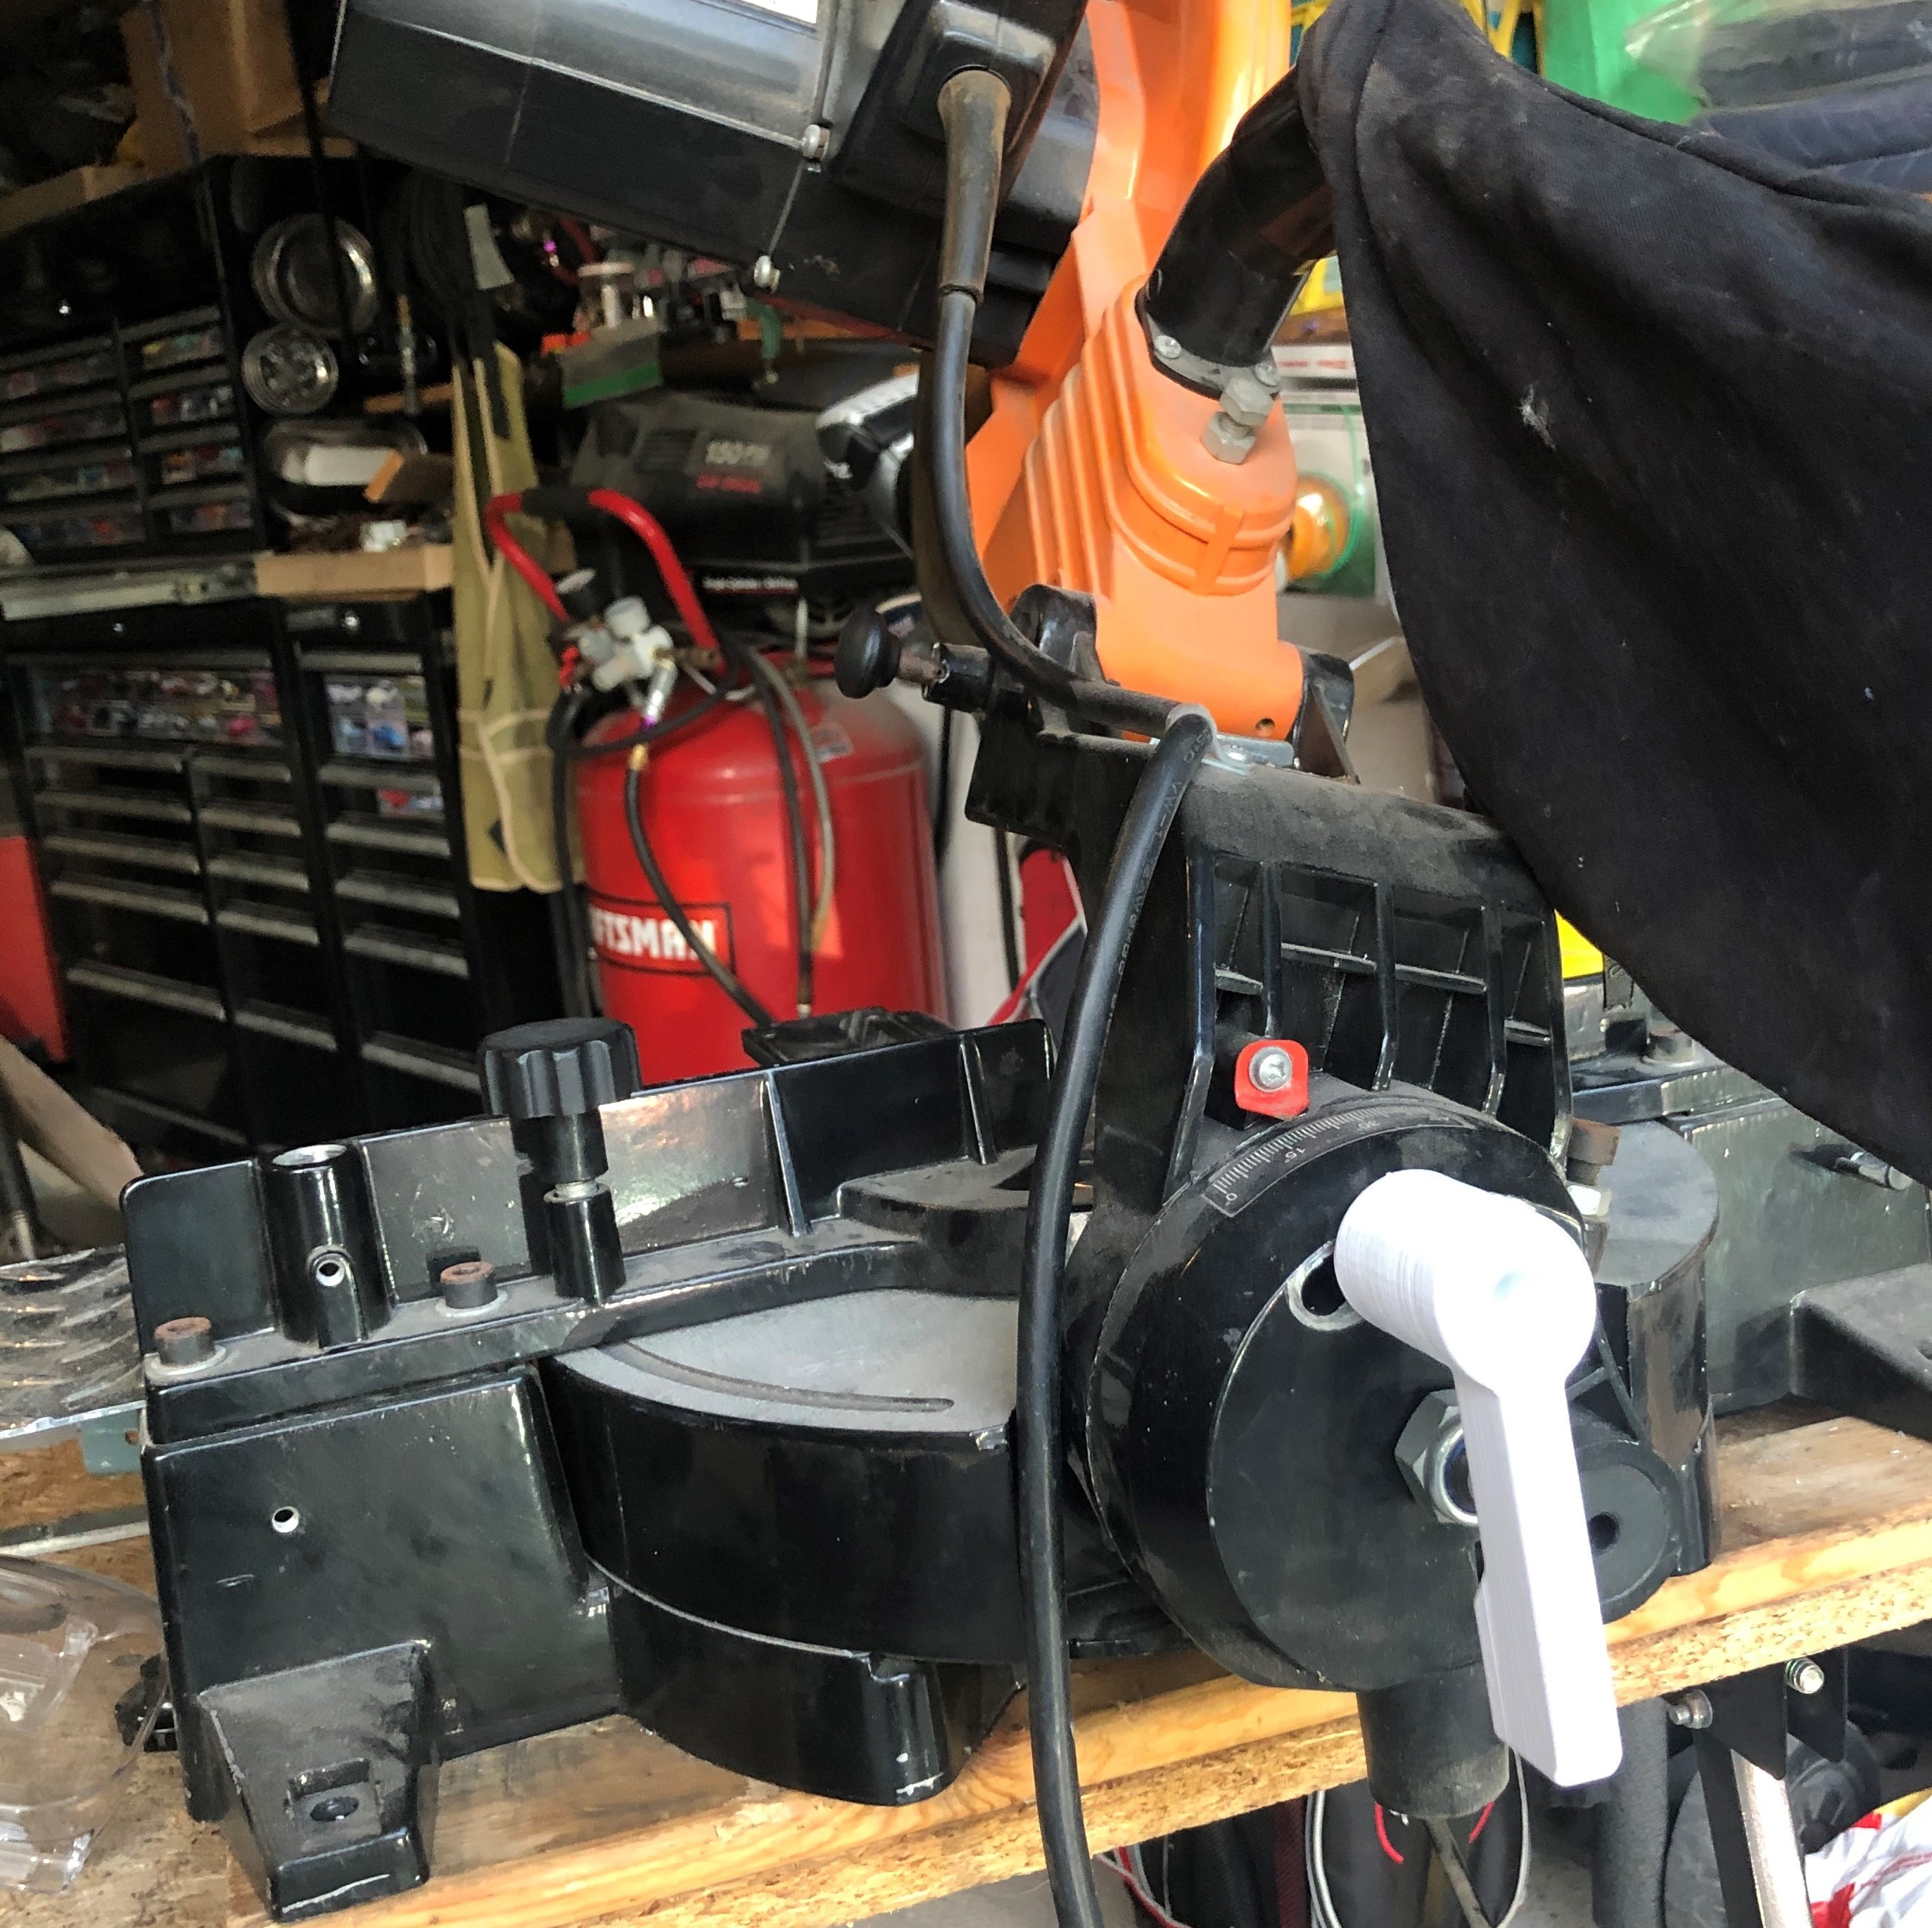
3D Printed Miter Saw Handle Replacement.
I was looking at my dads saw and saw that he had epoxied a broken handle together. I said aw you should have had me print you a handle instead of gluing it. He immediately said, “Oh you cant print that”, and started rambling on a bunch of reasons why printing that wouldn’t work. I felt challenged. I could already see that this would be an easy print that would probably work great.
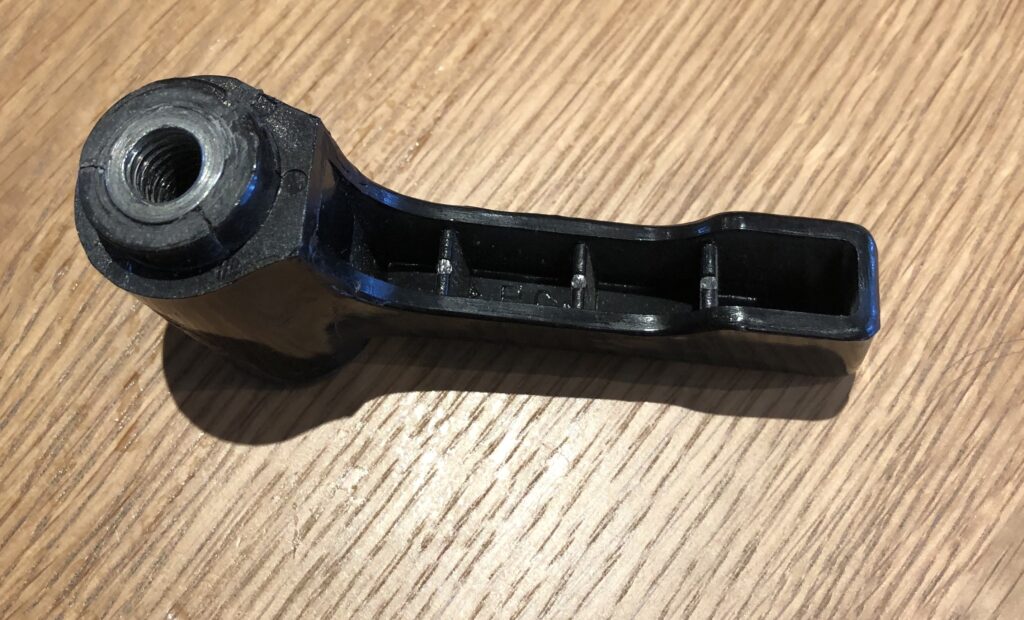
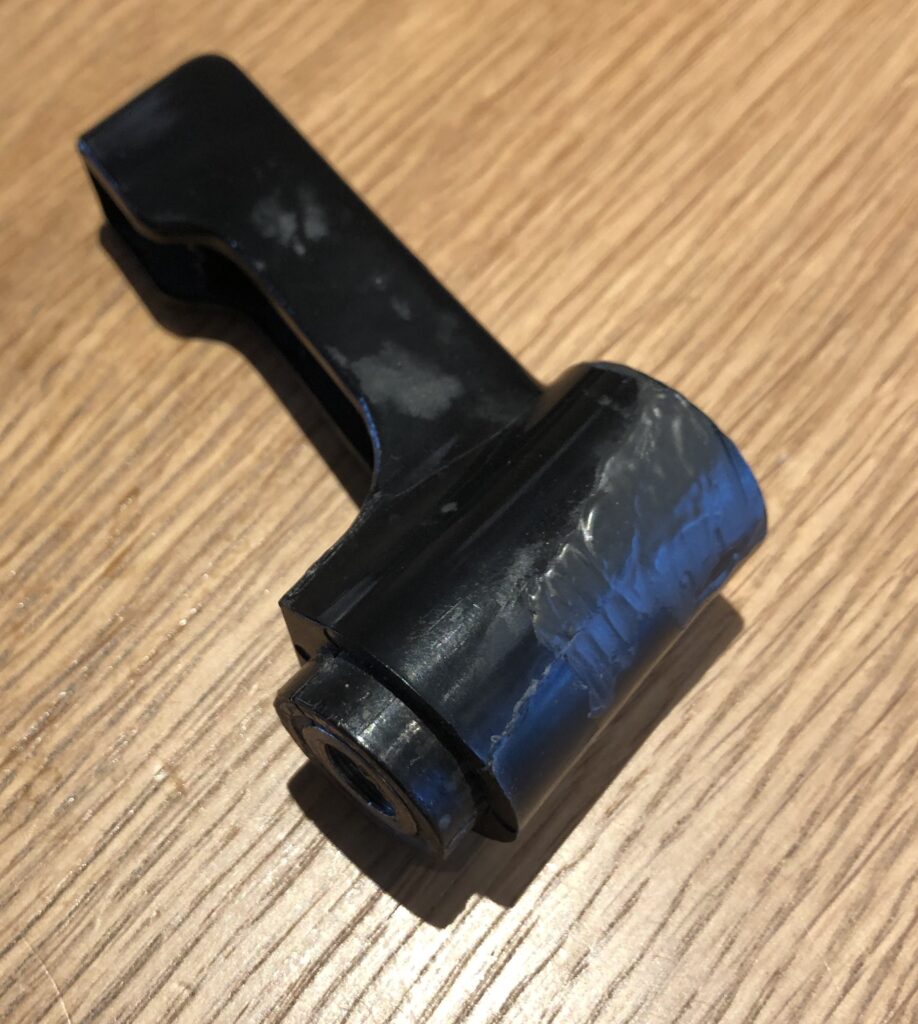
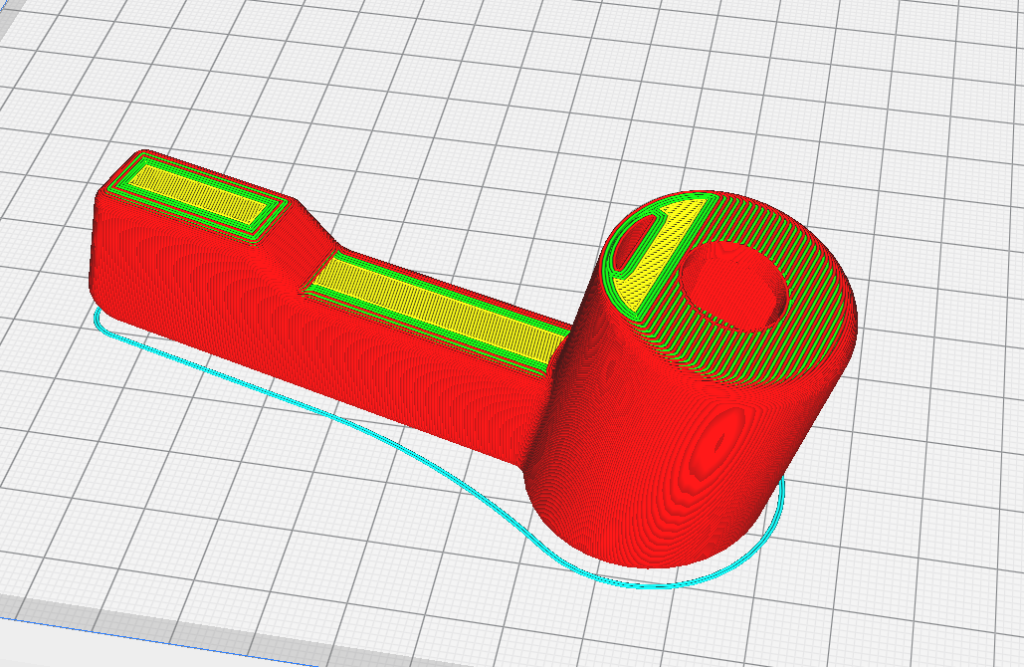
What I thought would be the hardest part, was that instead of printing plastic threads, my idea was to stop the printer in the middle of printing, and insert a steel nut I got from the hardware store.
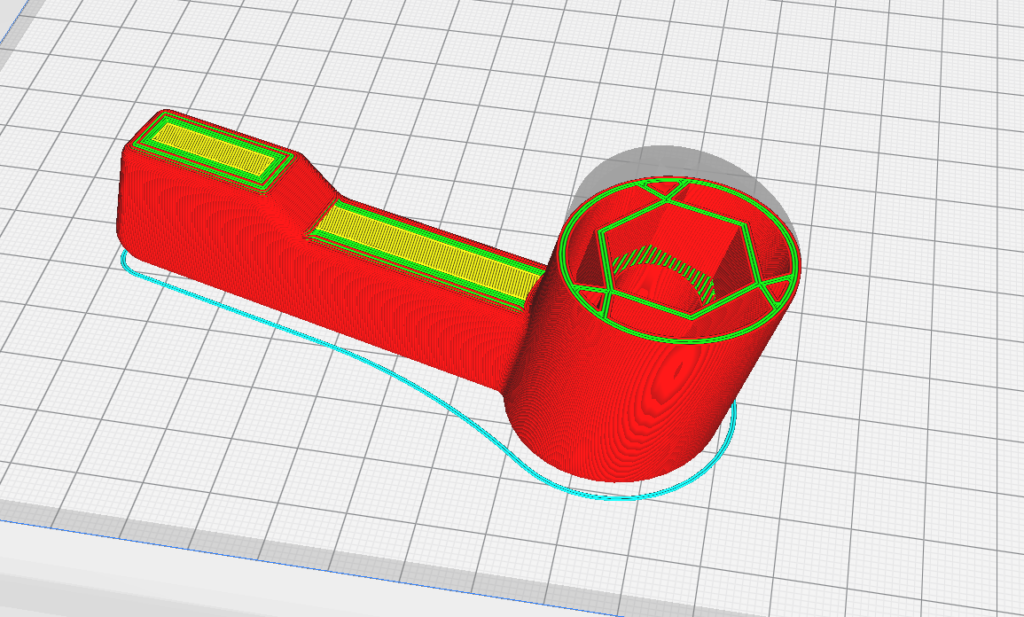
Now i know When i need to pause but i still need to figure out how to actually get the machine to pause. I tried a few plug ins, they didnt work, then i tried the M0 command but couldnt get that to work either. I finally had some spotty luck with M25( SD pause). I figured out that if i just put a move and pause, it sometimes skips it because of the buffering.
To solve this i put 5 move commands, then the pause, then 5 more move commands. This way, the buffer would fill up with move commands and not skip the pause.
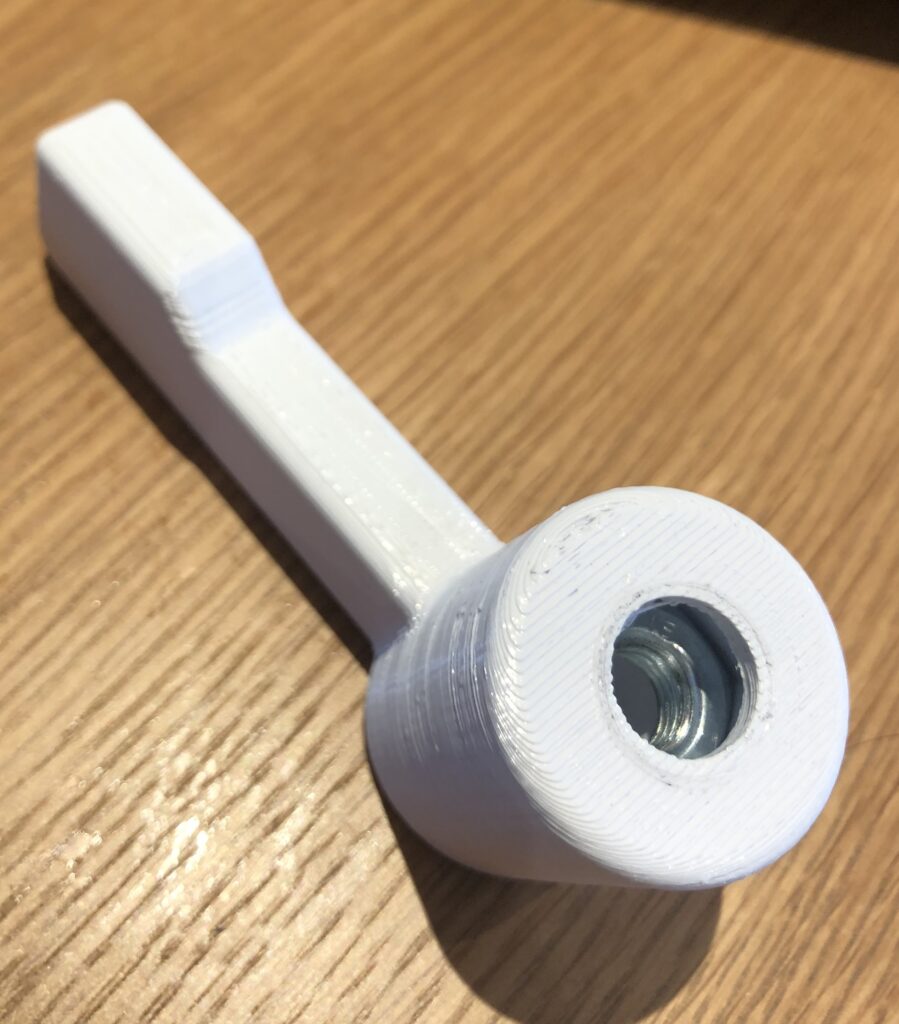
It worked great the first try and the part is stronger than I ever imagined.


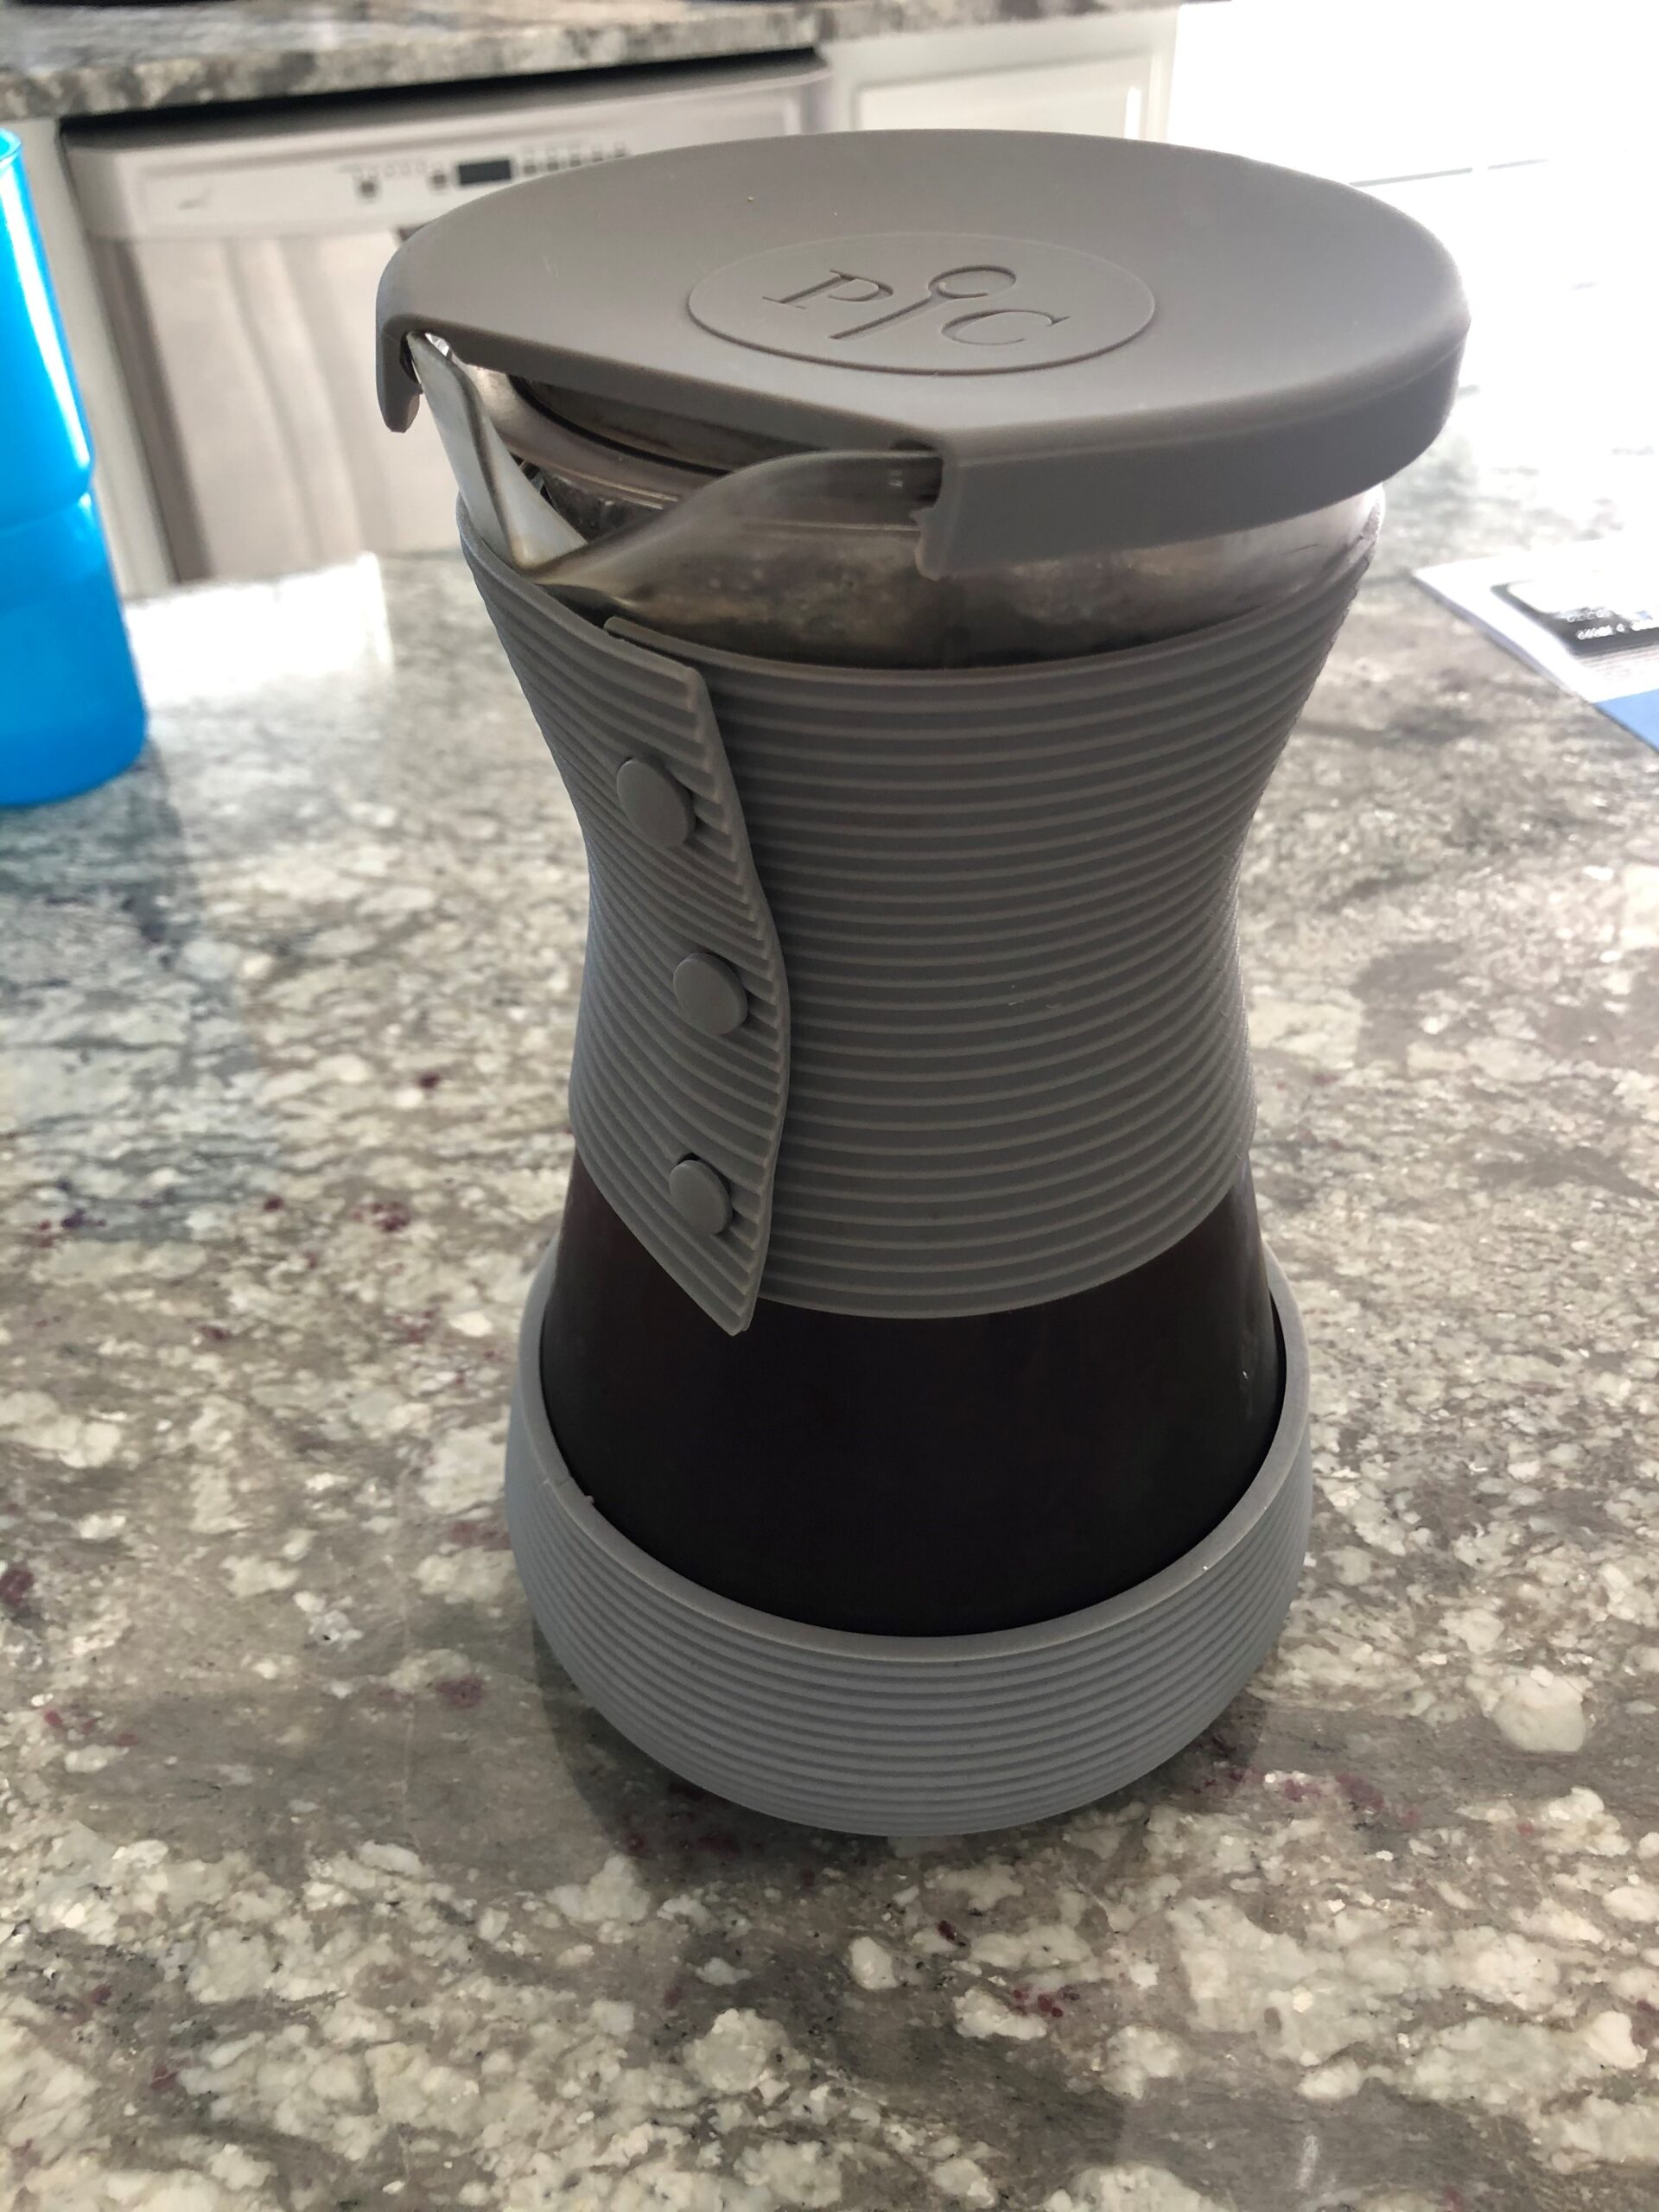
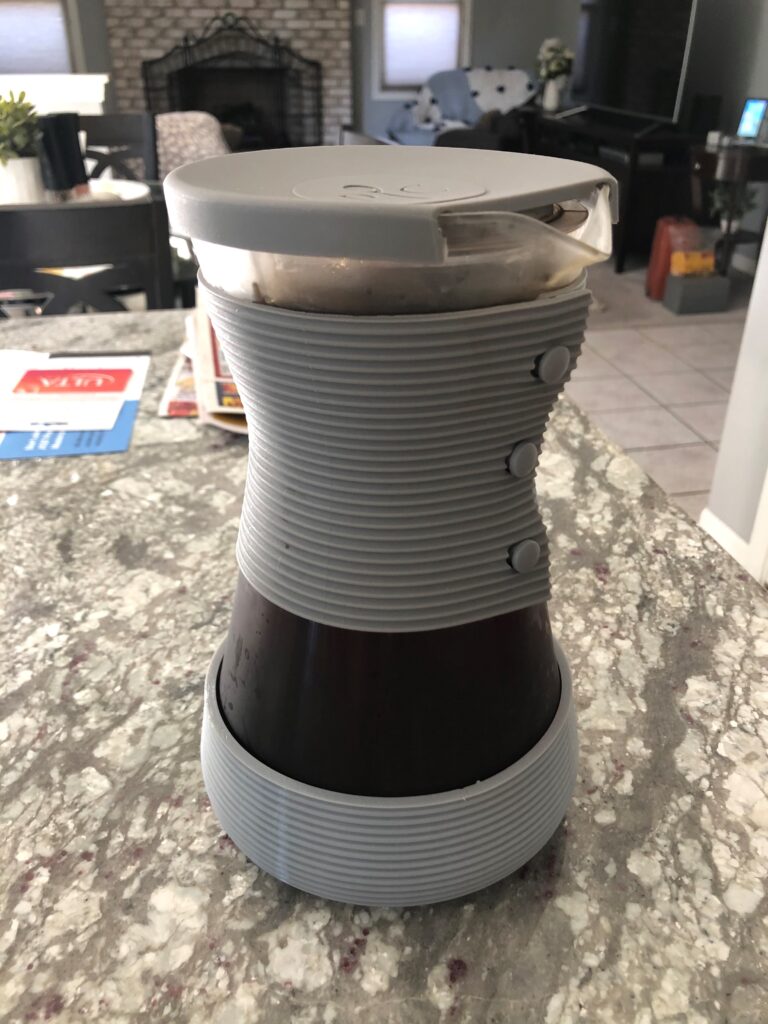
Rubber Base for Glass Tea Pitcher
My Mom had this cool tea brewing pitcher that had a neat silicone lid and body-wrap-grip-thing. But the pitcher itself was glass and fairly thin. I felt like I would almost break it every time I set it down on the counter. The design and shape looked very tempting to try and print a matching bottom sleeve. So I bought some grey TPU and did it.
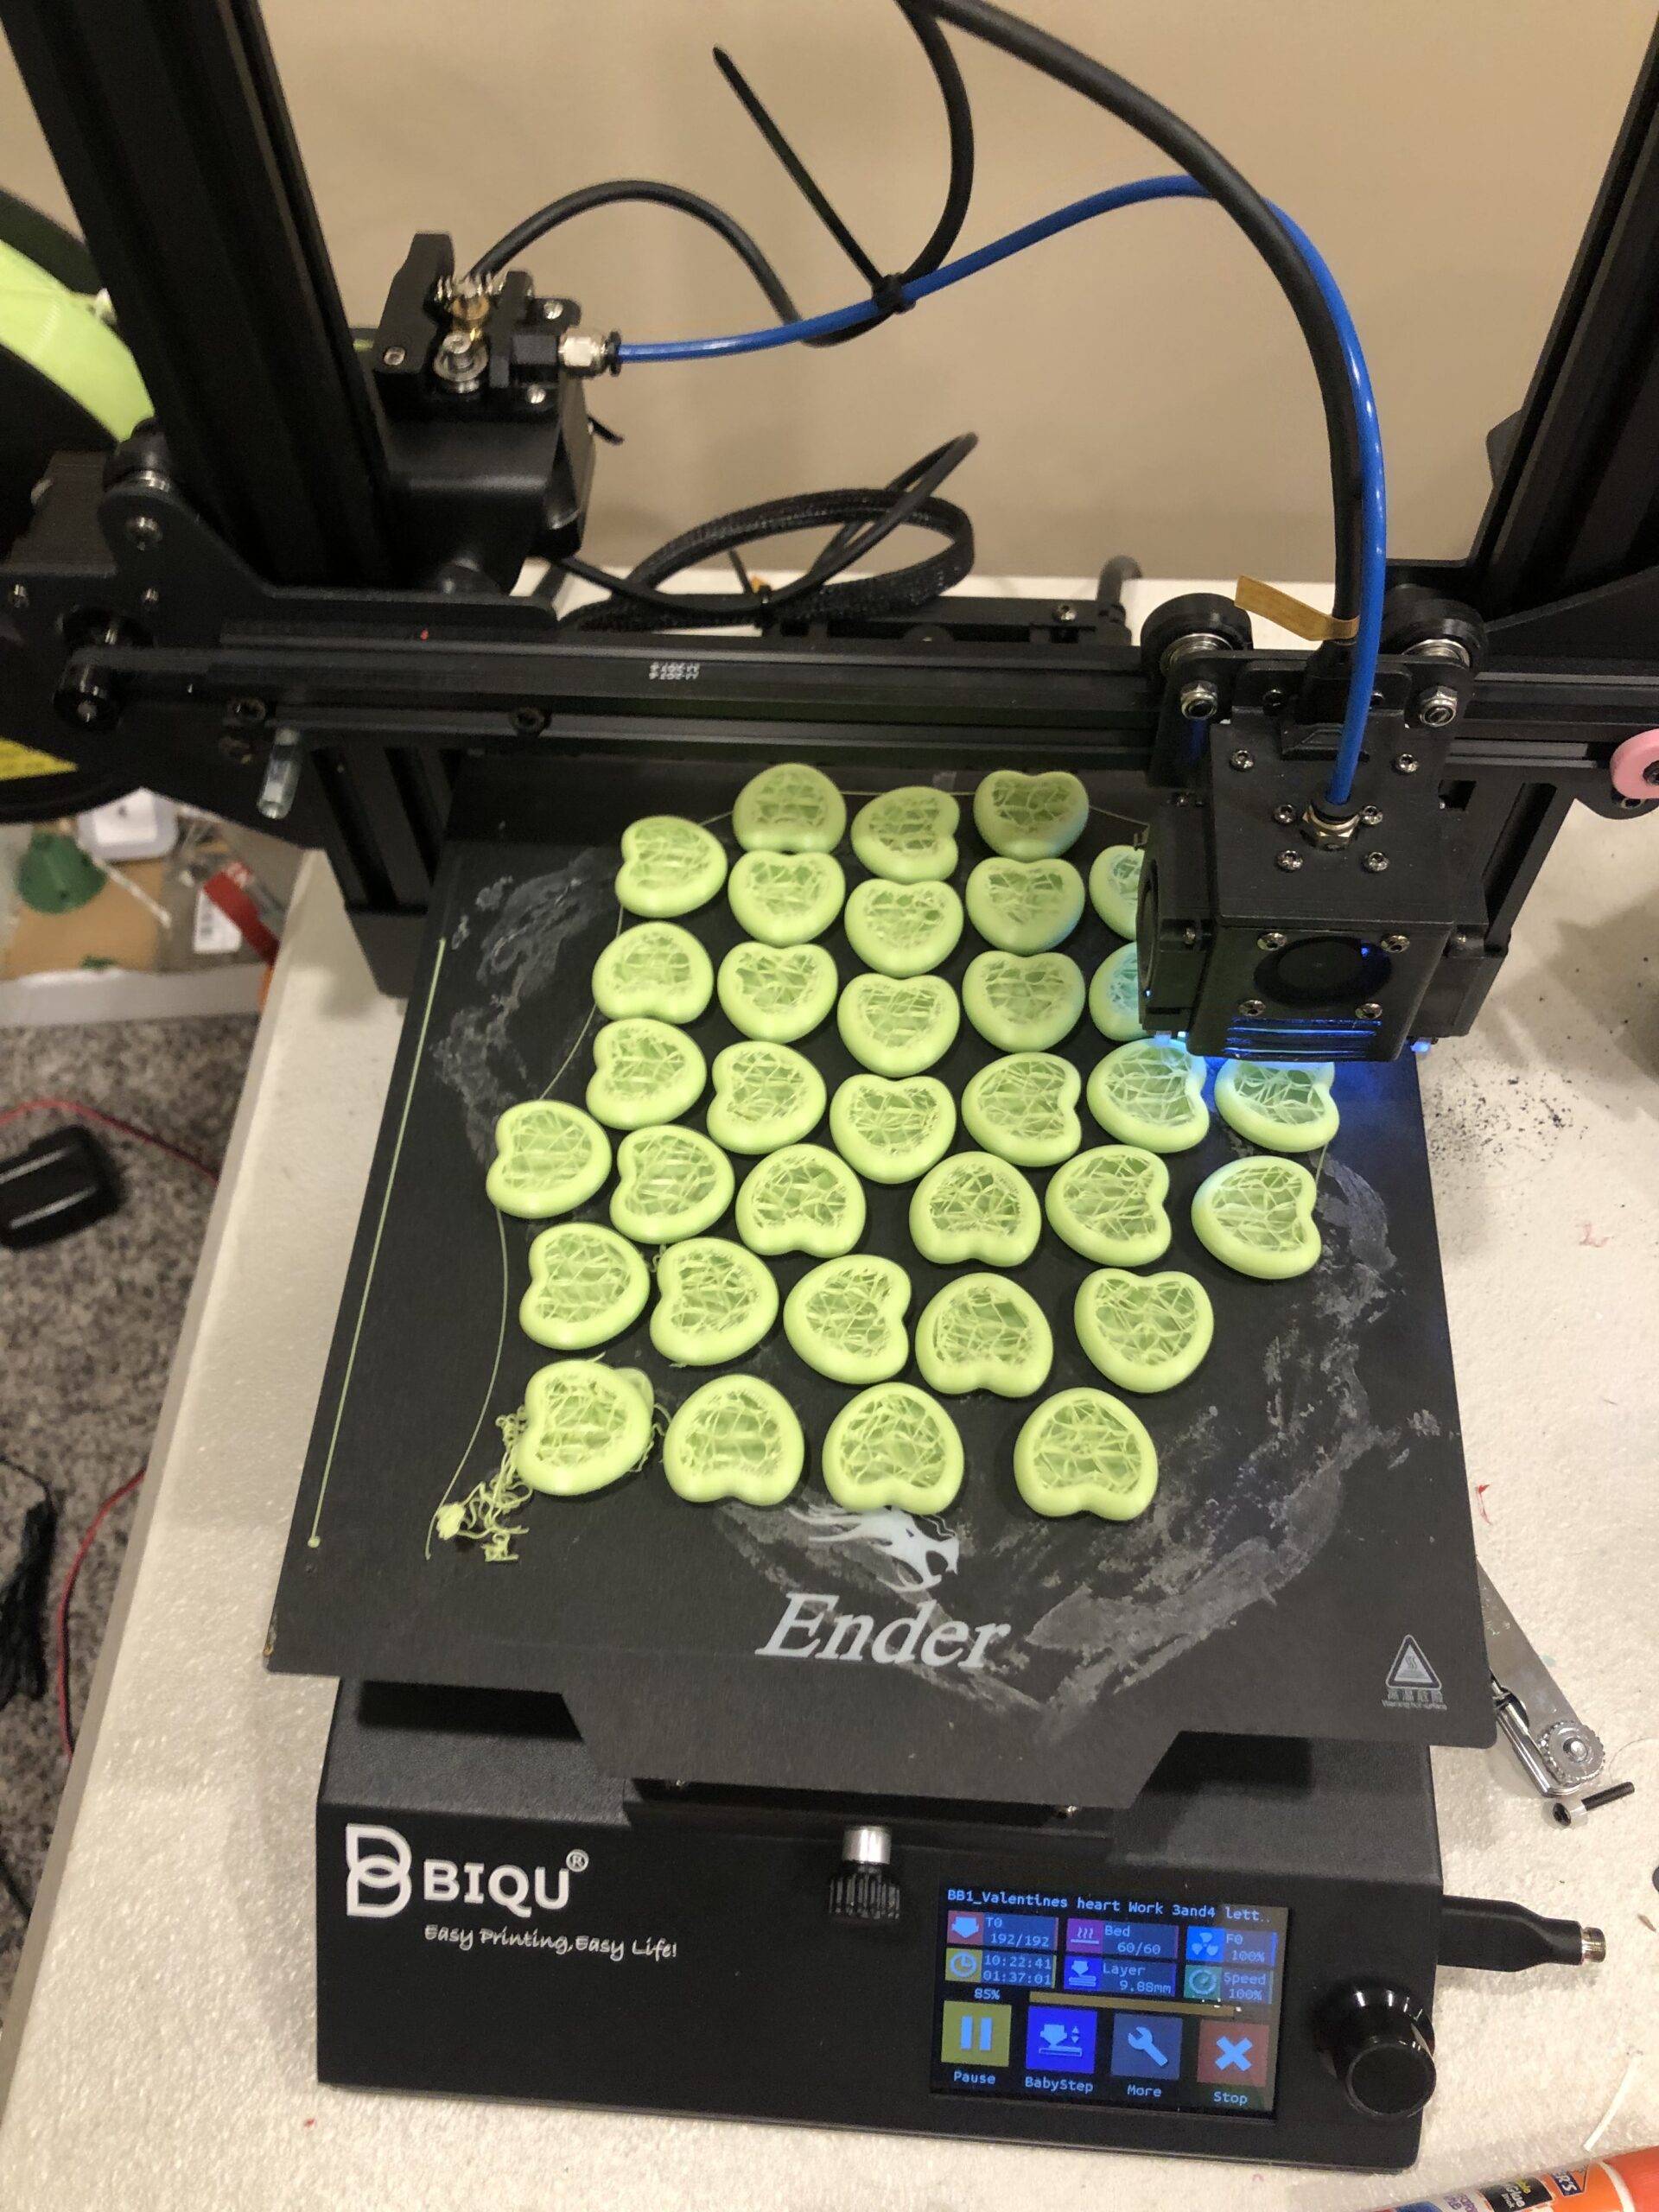
Personalized Valentine’s Heart Gifts
I bought myself a new 3D printer for Christmas, and as I was getting it dialed in, I started to think about what I could make for valentines day. At the same time I was frustrated with solidworkss lack of STL functionality
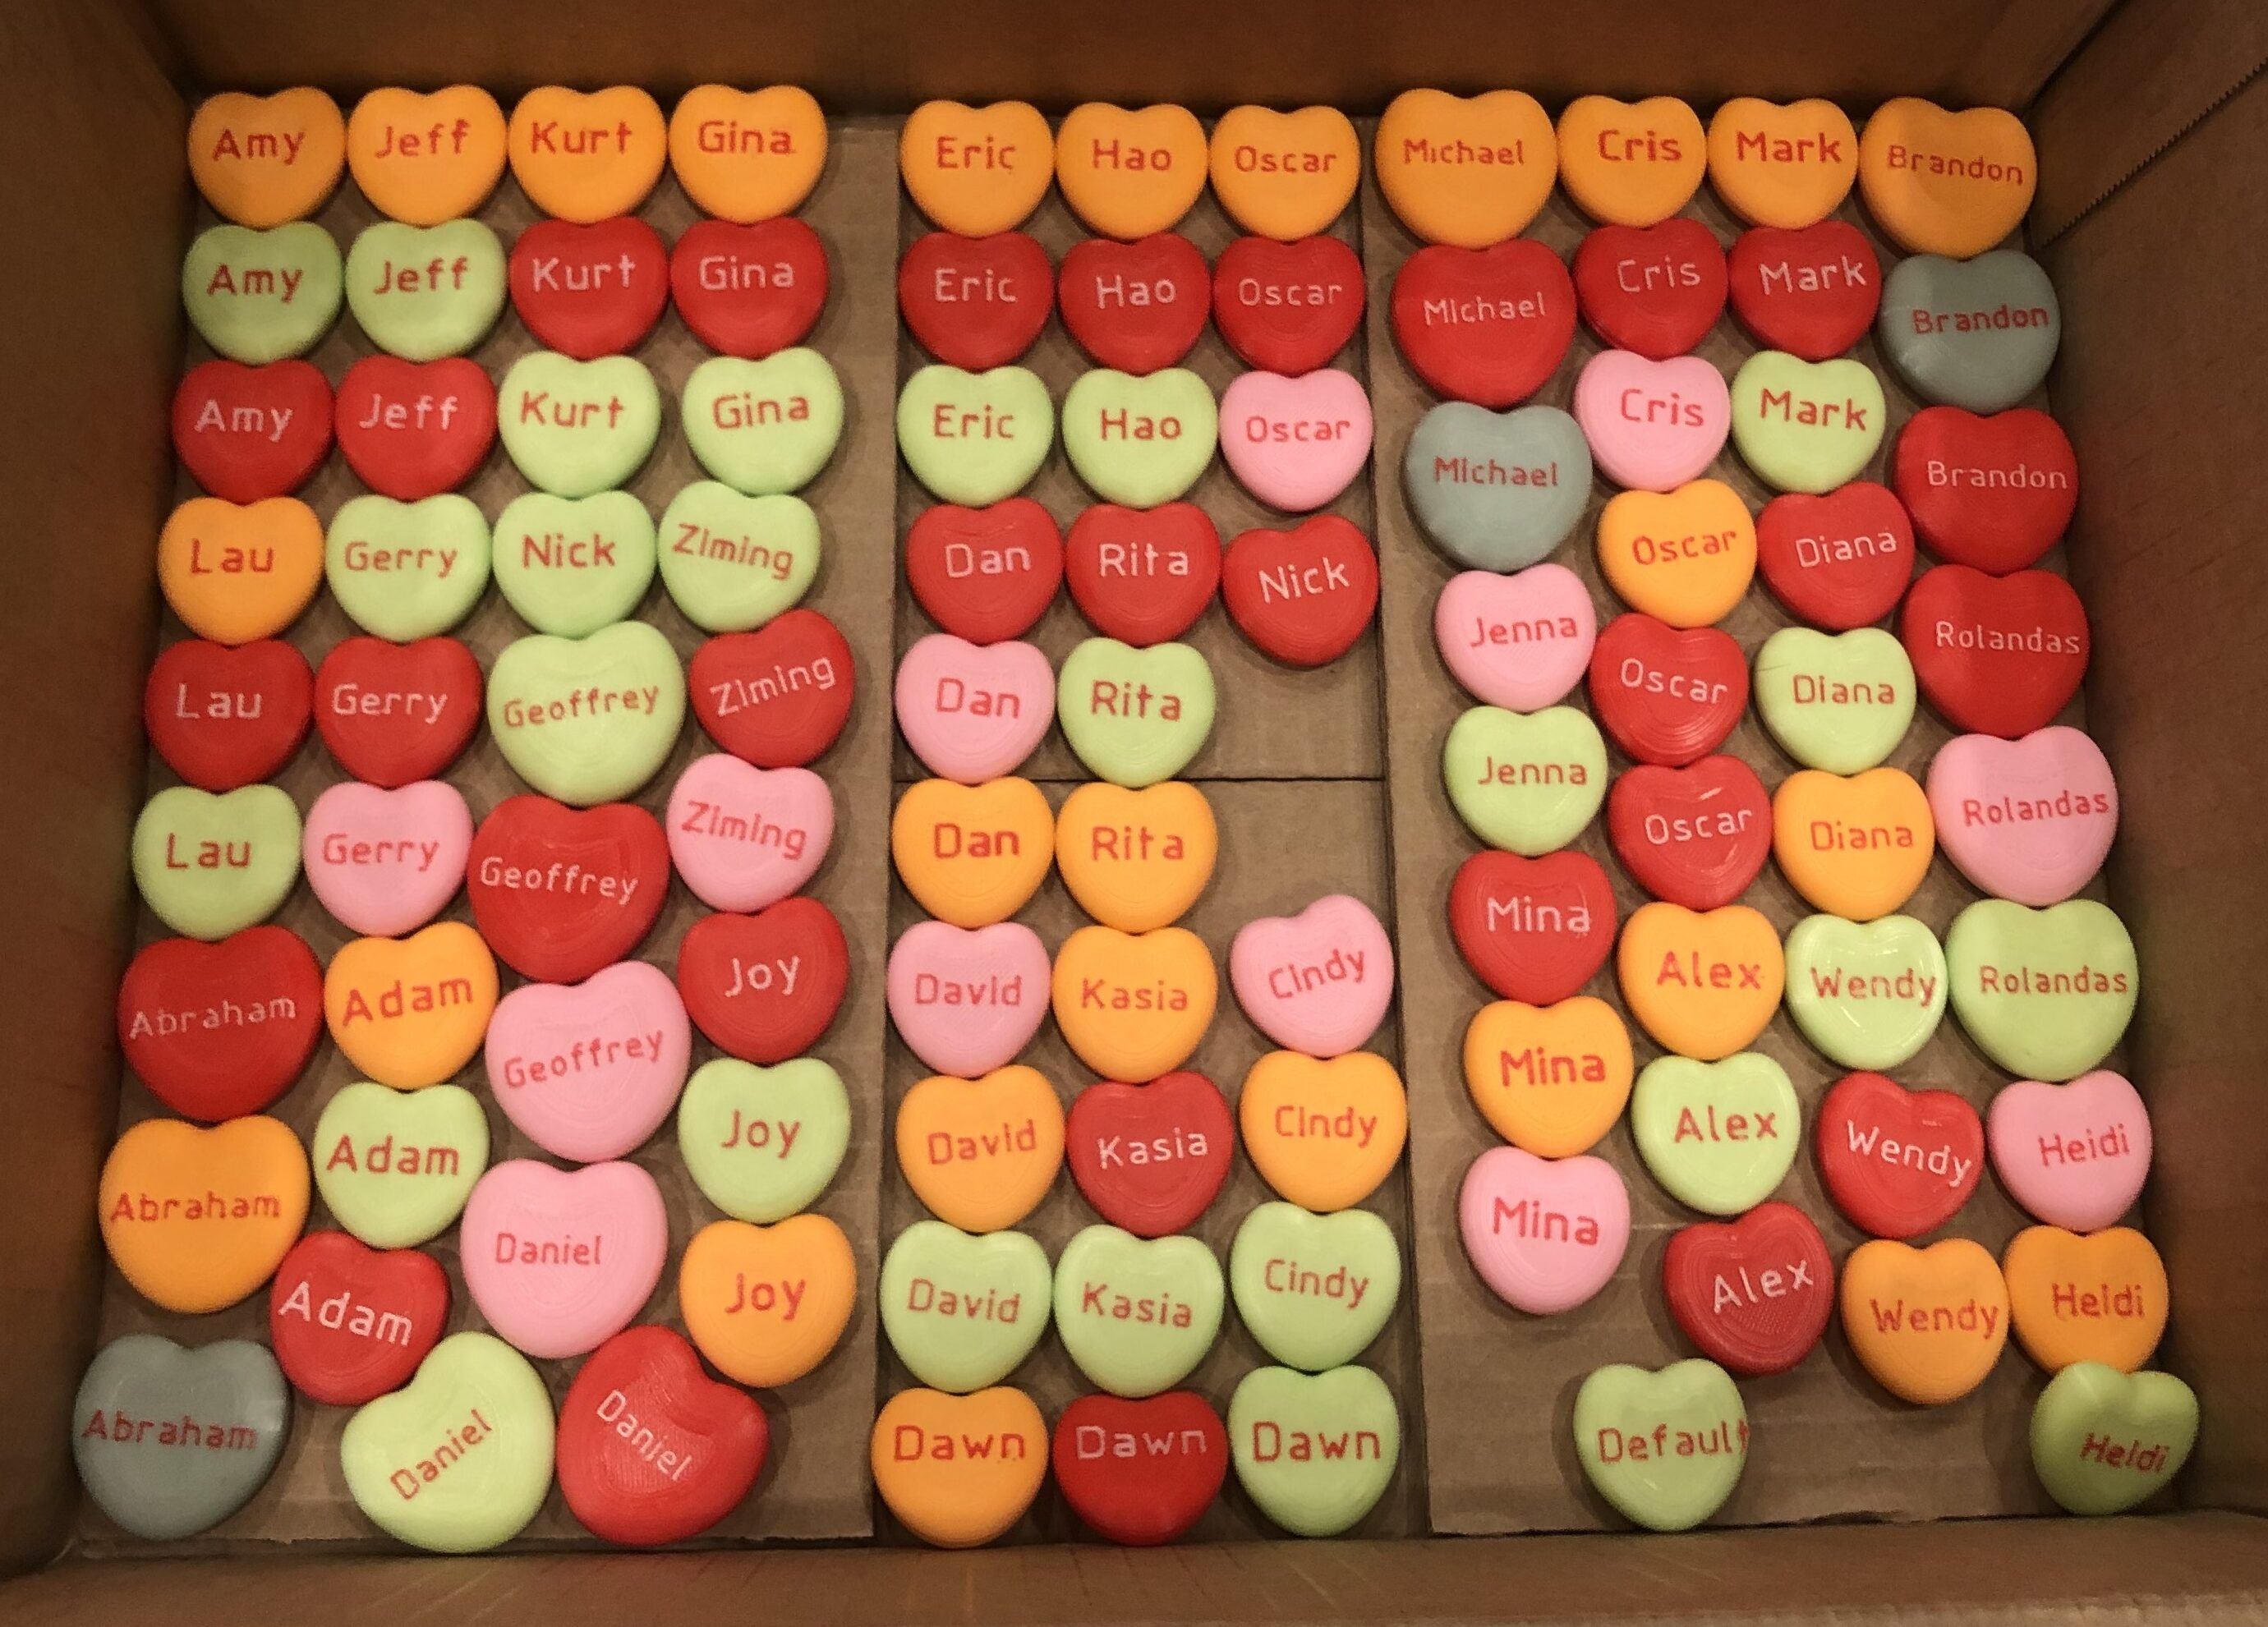
I wanted to print a bunch of little valentines hearts. They are quick, simple prints, and easily customizable. I was able to link the name of a SW configuration, to the text that is embossed on my heart model.
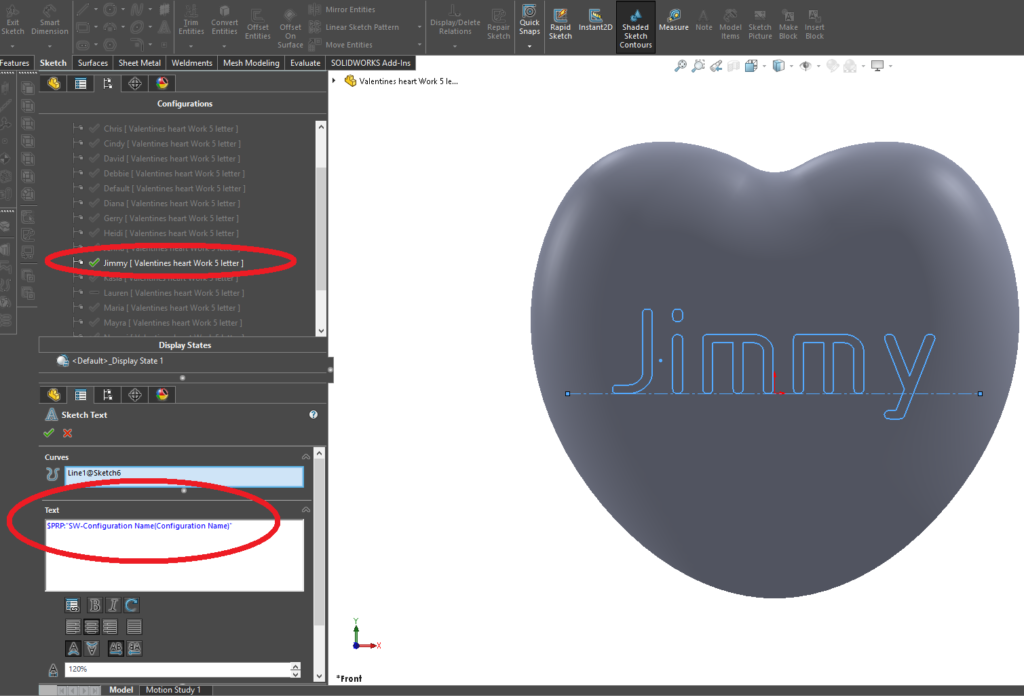
Wow, solidwork was pretty useful for that. It would be sweet if it didn’t take a minimum of 9 clicks to save something as a printable file. Even so, if there was an option to save all configurations as STL, it would be tolerable. But no. SW is still lacking in some fairly simple, reasonable built-in commands.
I had to write a macro to go and do those 9 clicks, for EACH configuration that I had. It works fine and all, but it’s annoying that there are “export all configurations” options for other file types, just nothing that can be 3D printed.
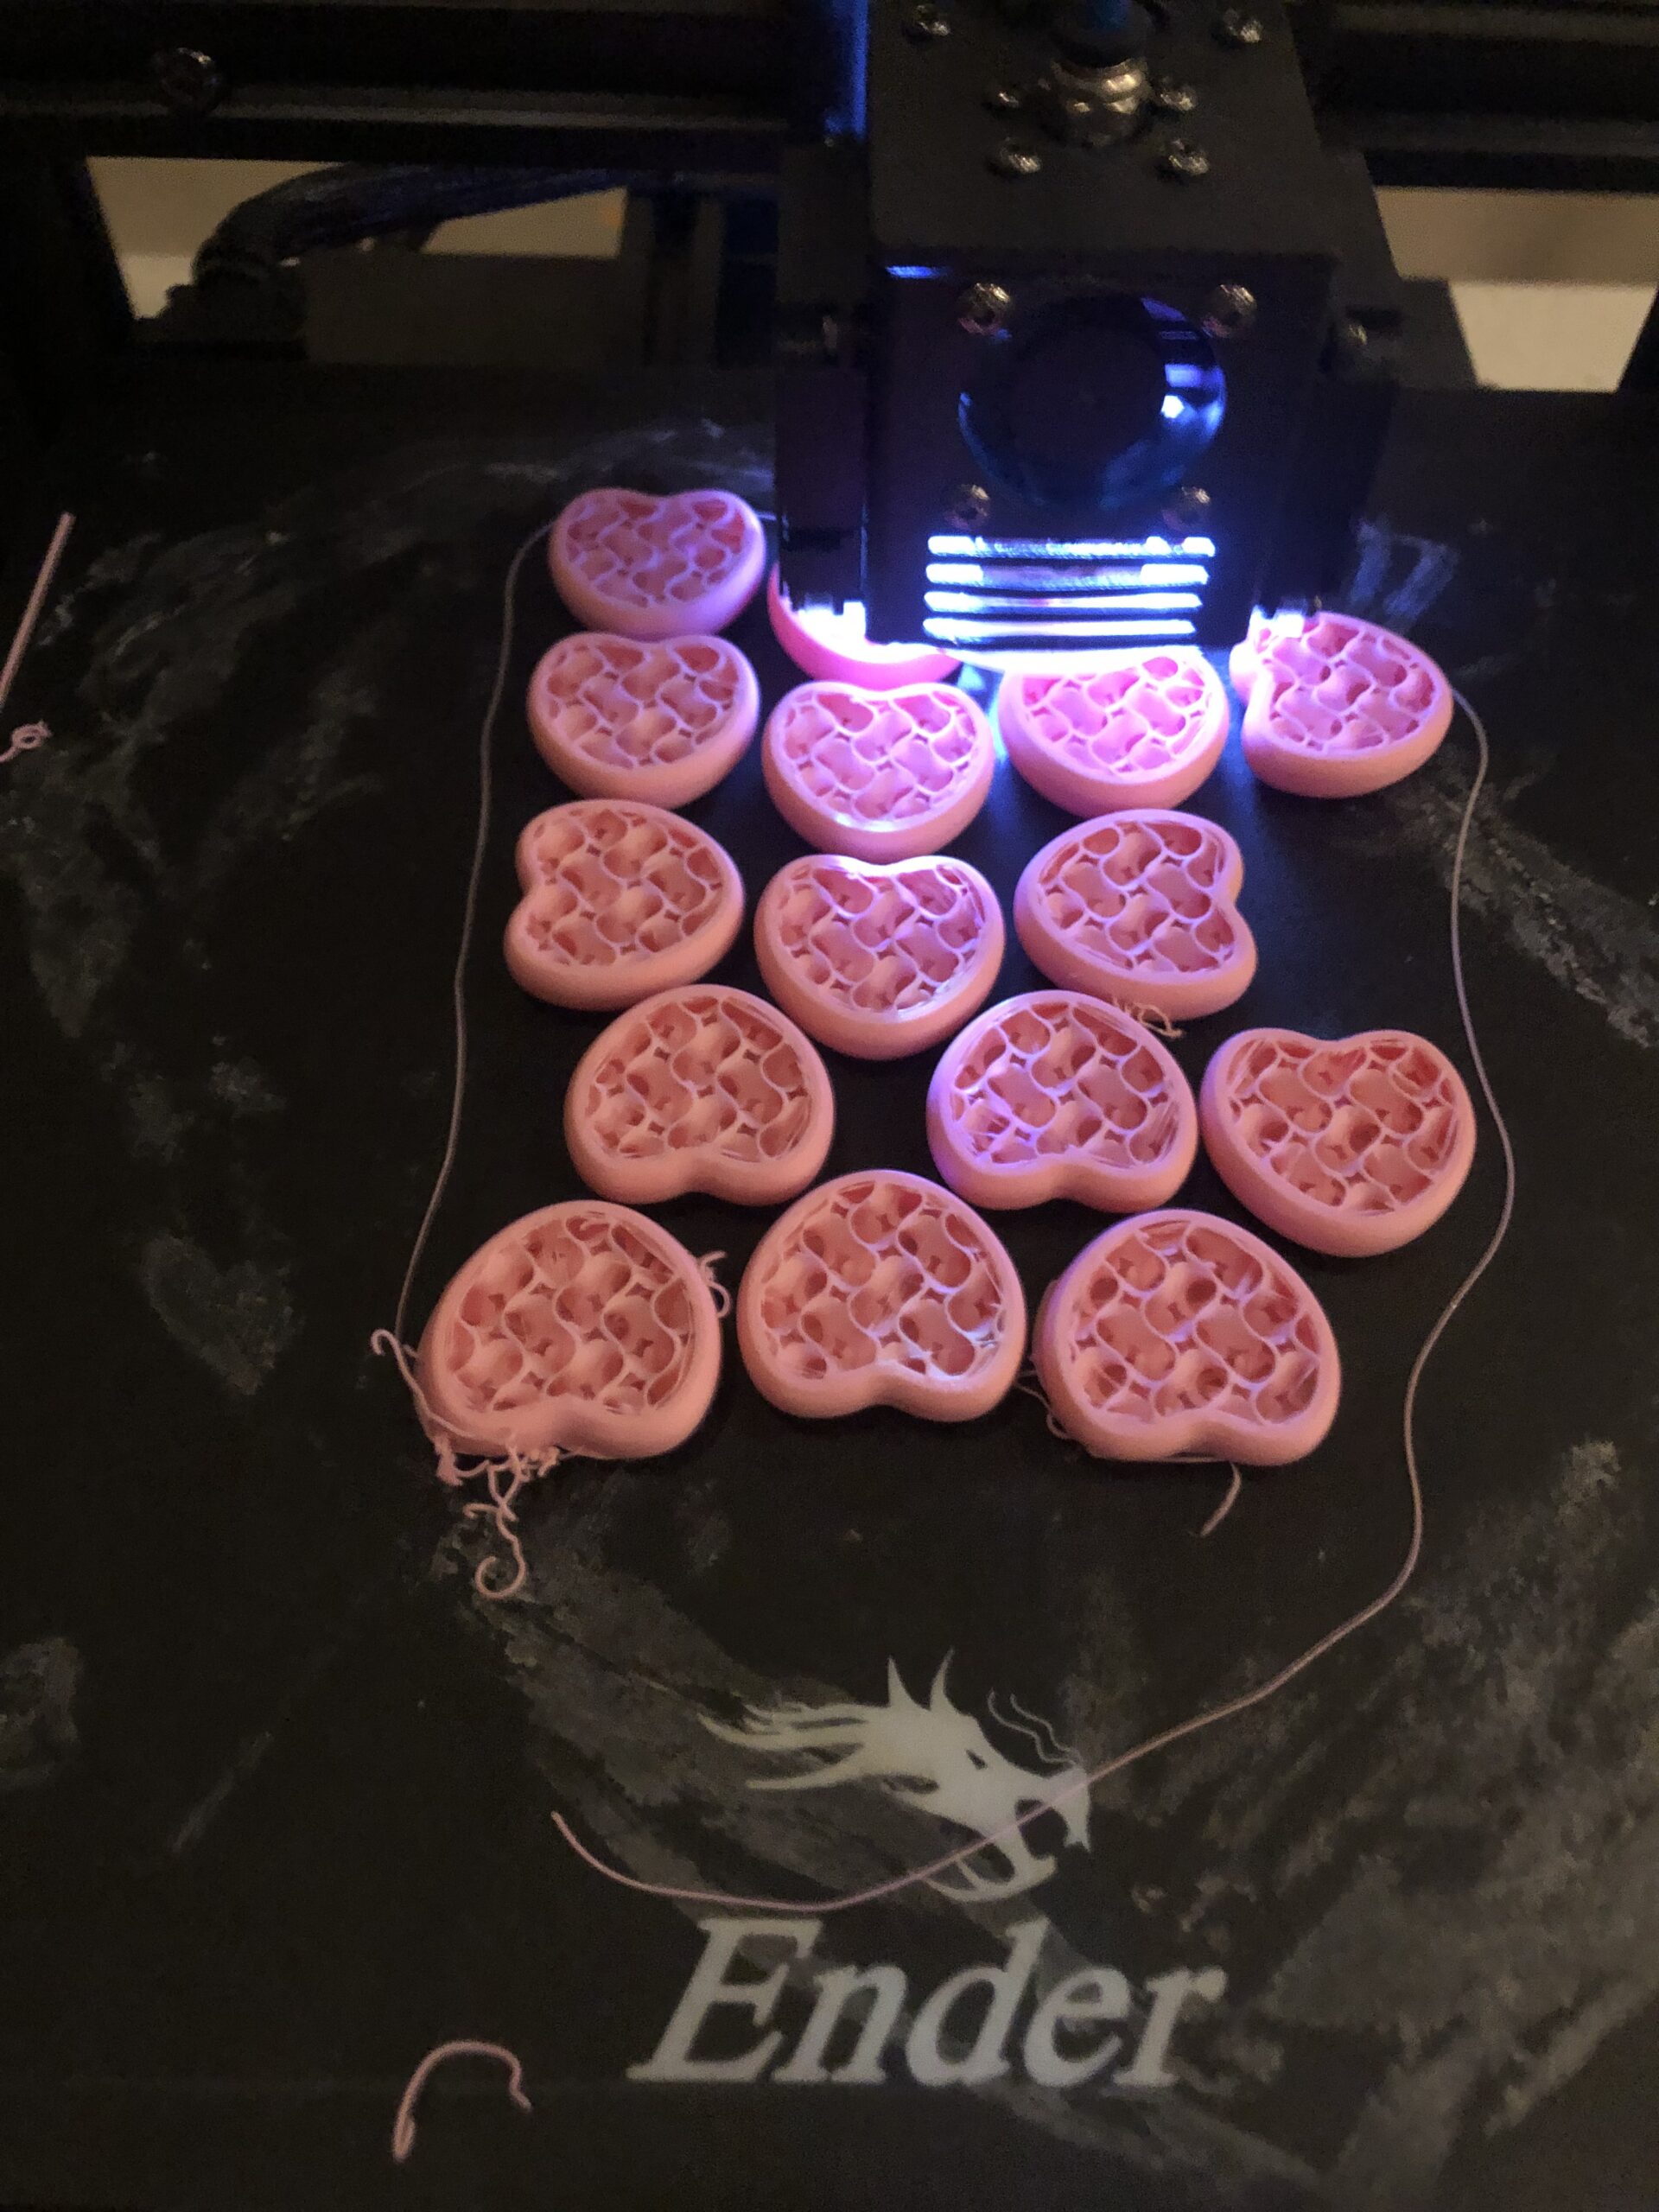
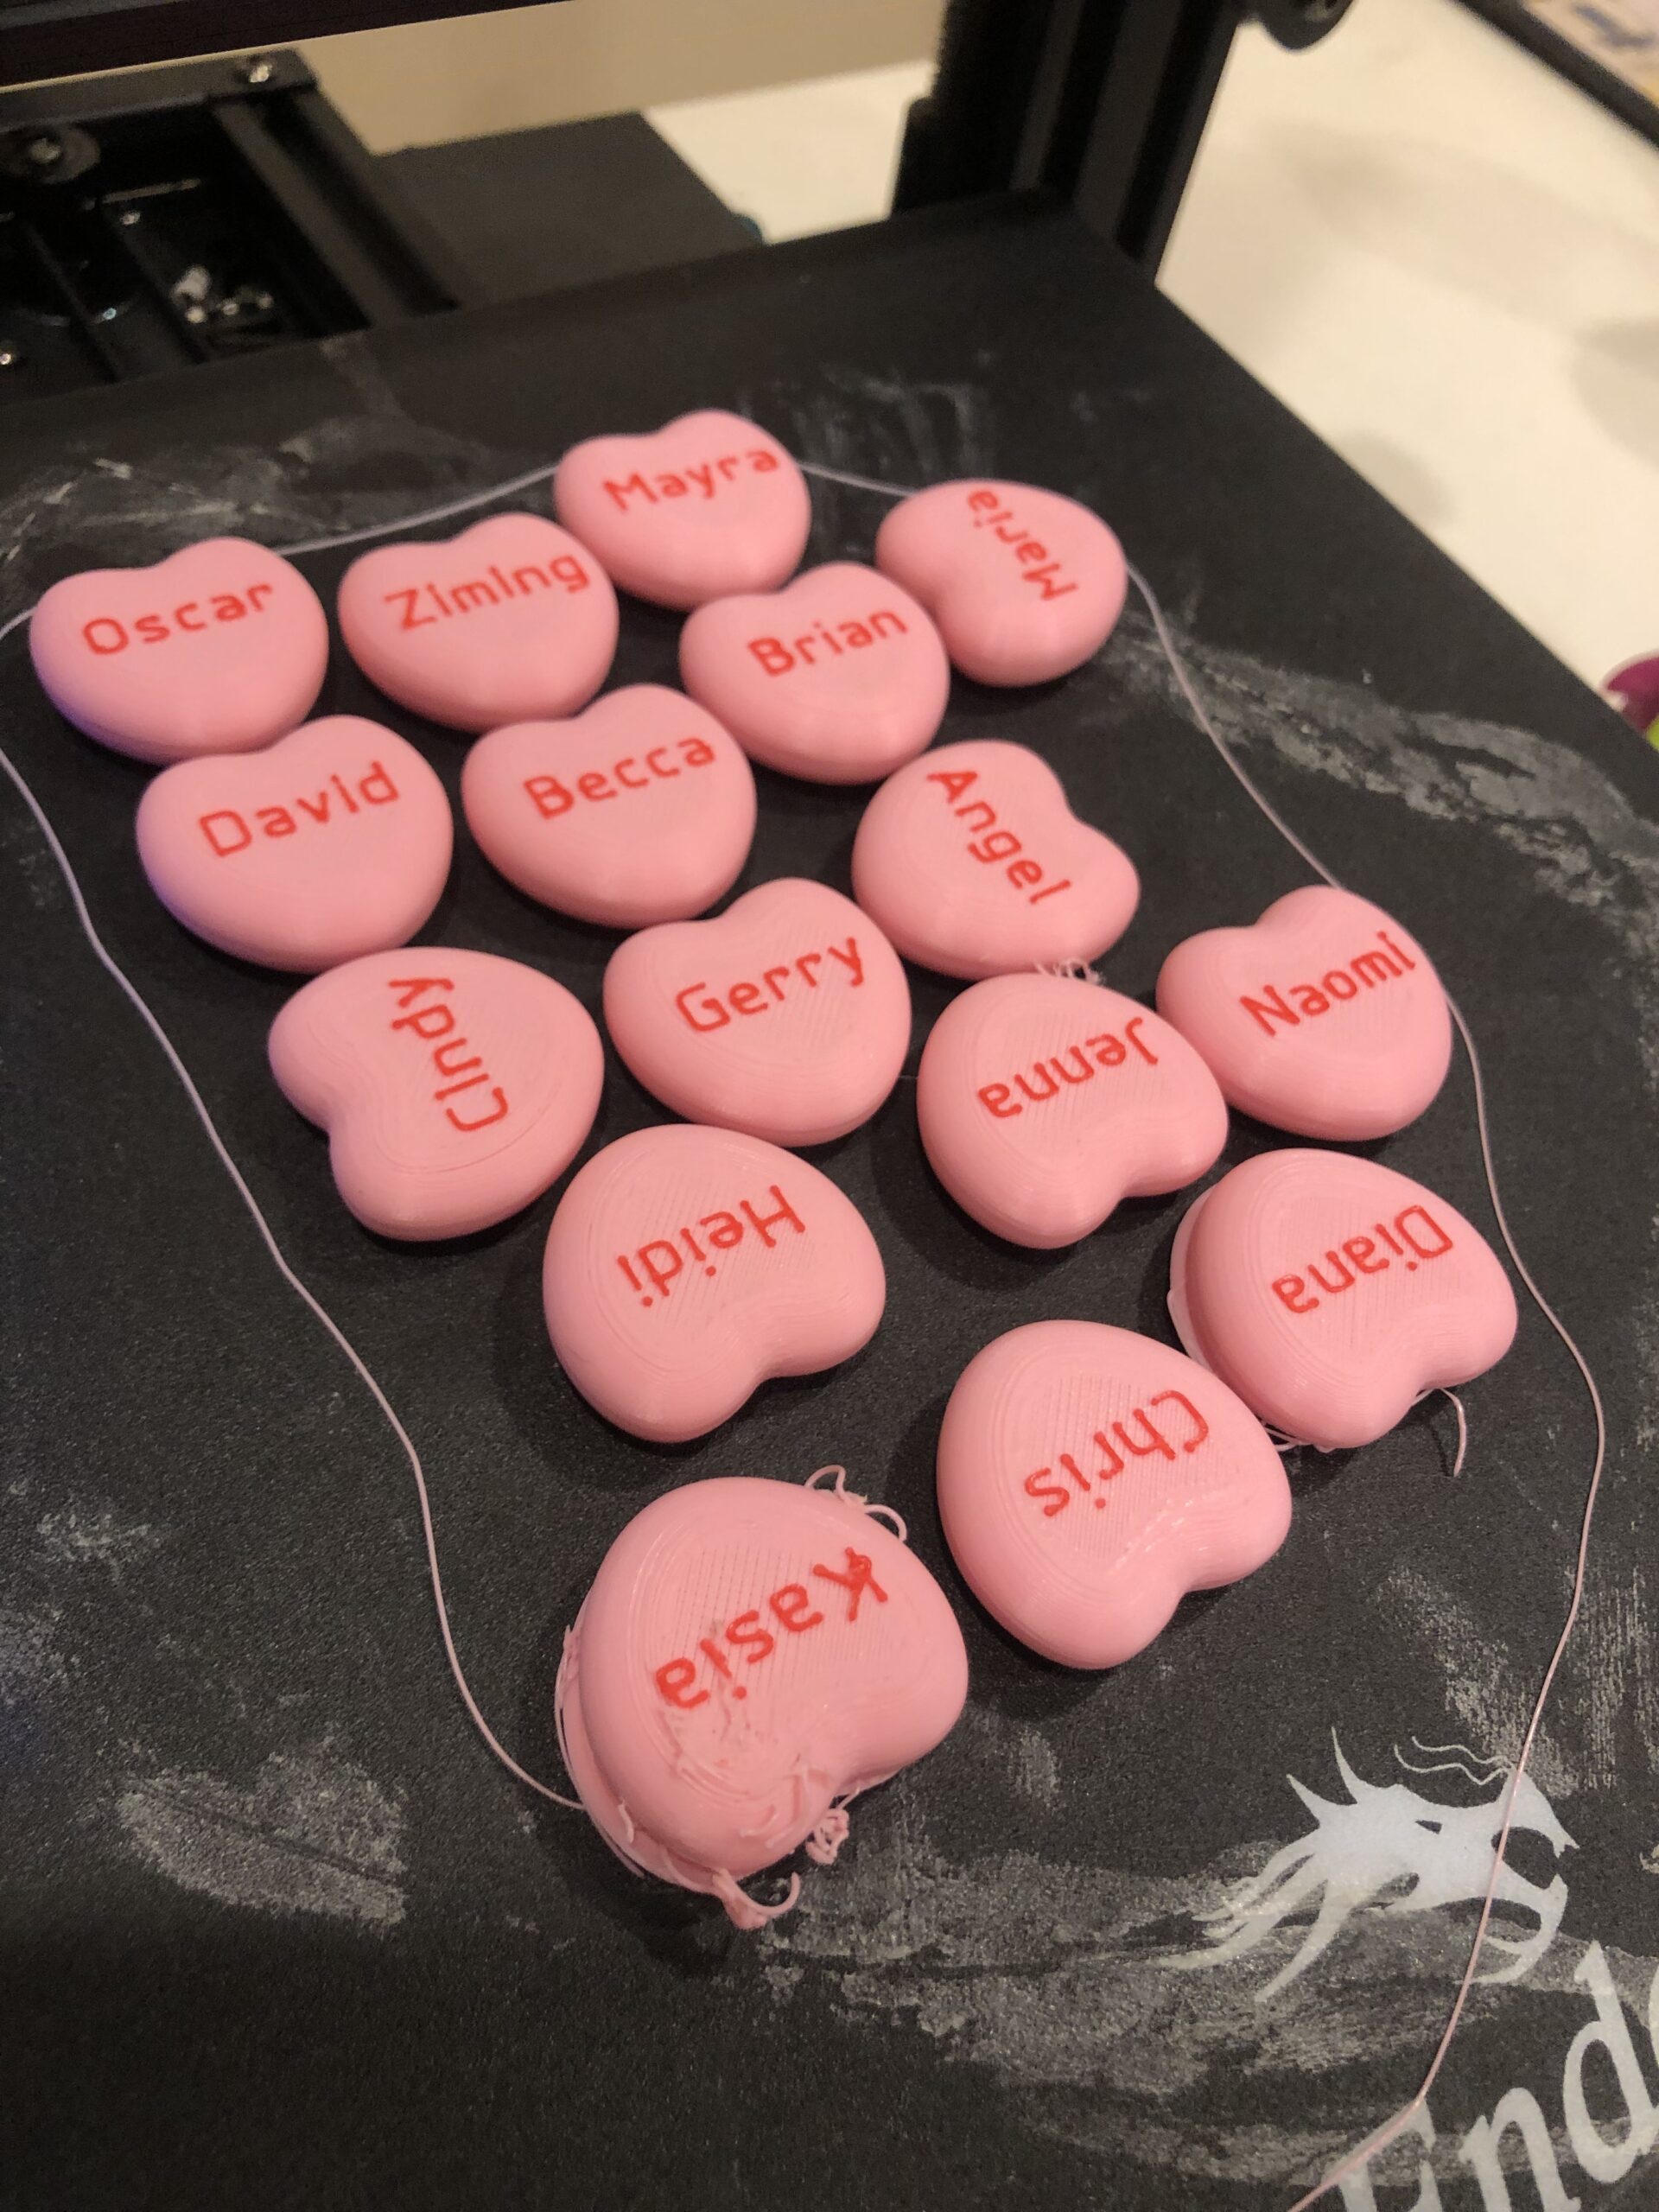
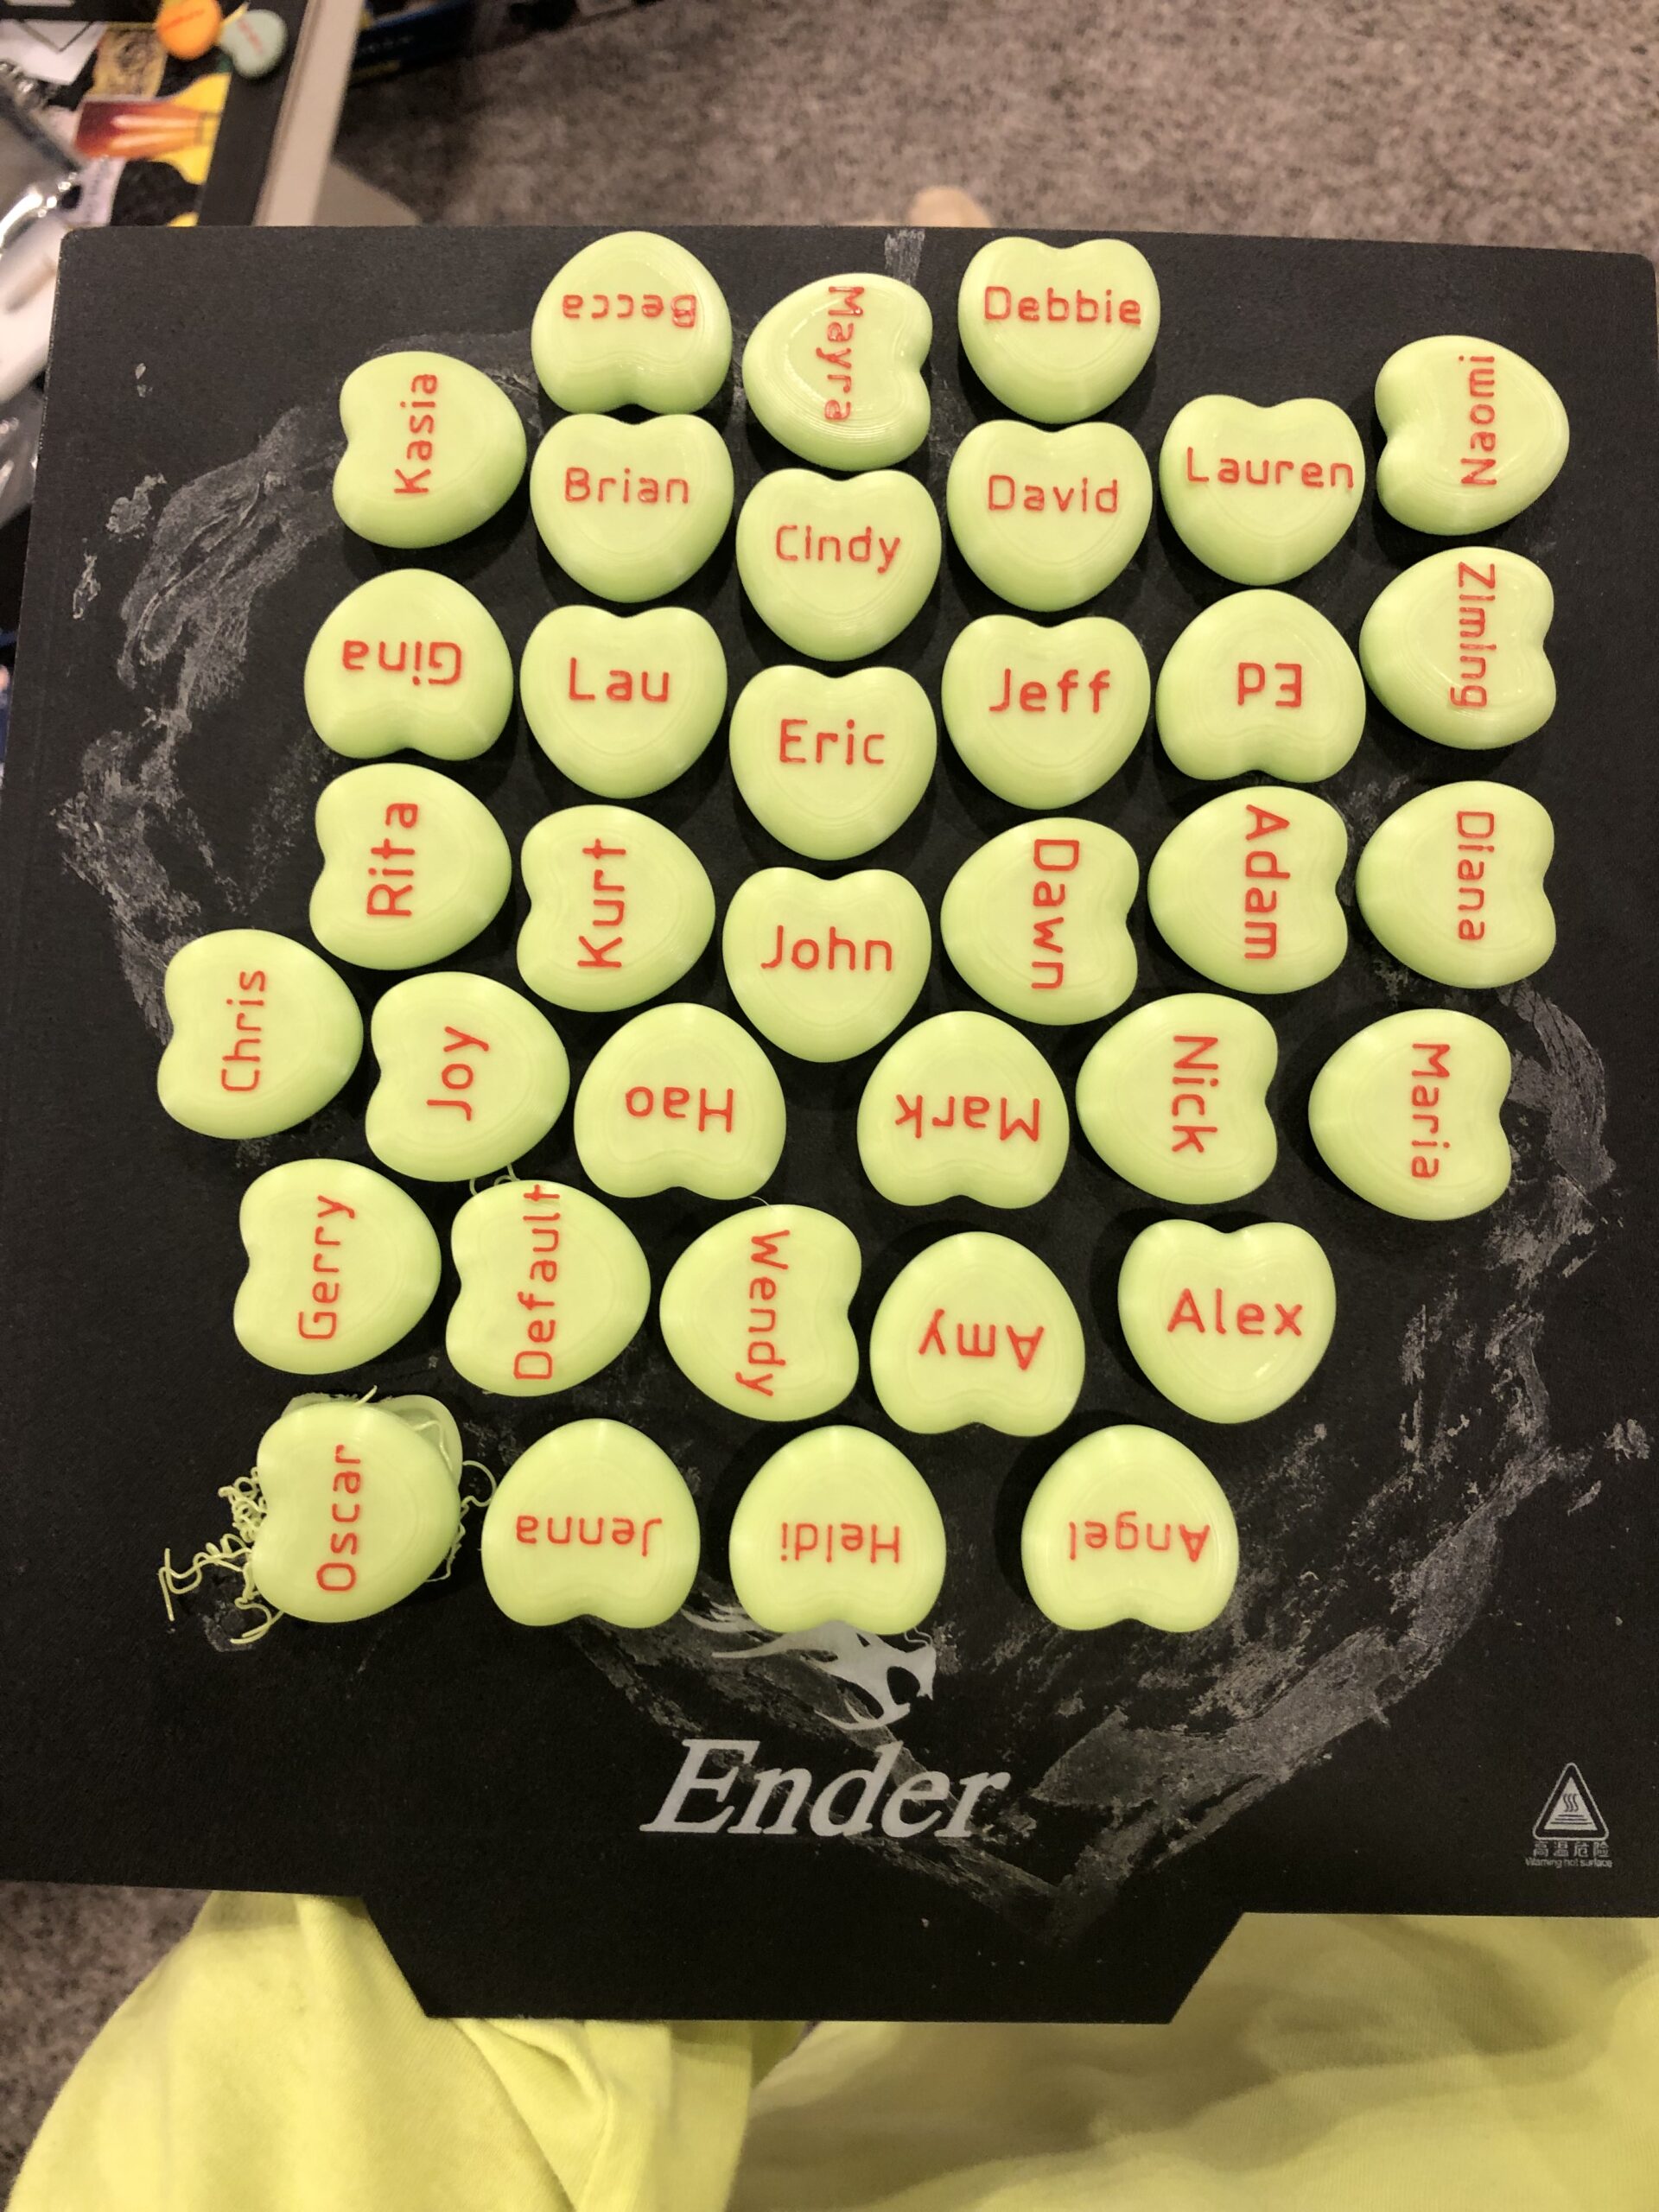
After getting everyone at work, i bagged them up and and displayed them for valentine’s day. I had some other fun decorations and candy left over from a birthday.

Ask me any questions you may have or share what you want to see next!